4After your system completes the boot procedure, a console login prompt appears with fields for both a login and password. At the prompt, supply admin for both the login and password, and press Enter.
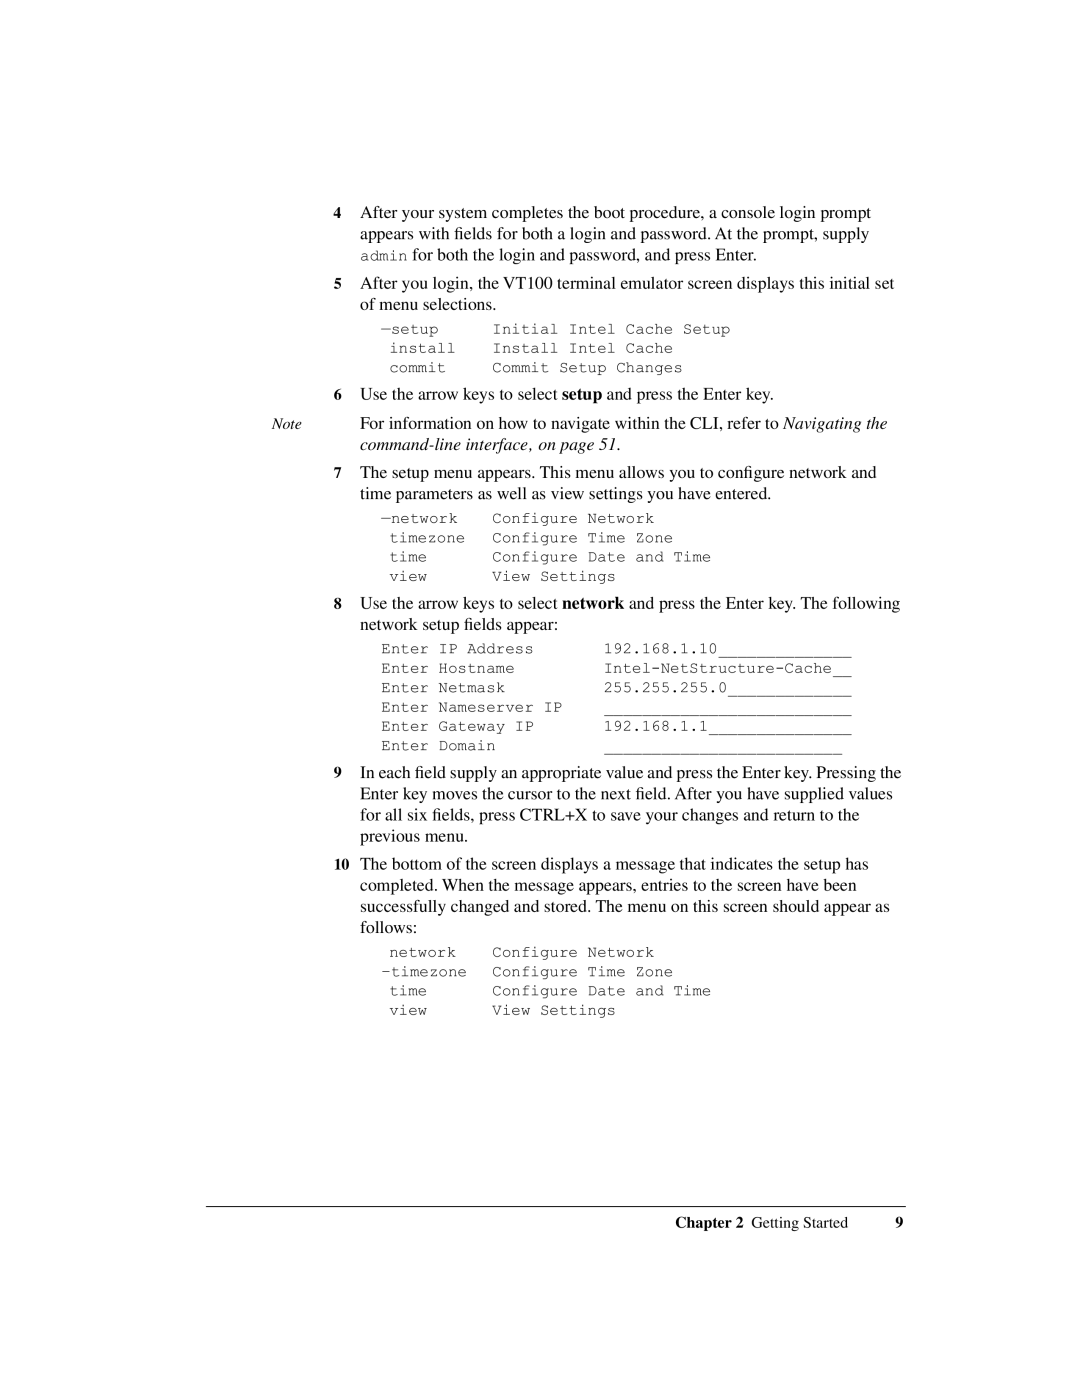
5After you login, the VT100 terminal emulator screen displays this initial set of menu selections.
Initial Intel Cache Setup | |
install | Install Intel Cache |
commit | Commit Setup Changes |
6Use the arrow keys to select setup and press the Enter key.
Note | For information on how to navigate within the CLI, refer to Navigating the |
|
|
7The setup menu appears. This menu allows you to configure network and time parameters as well as view settings you have entered.
Configure Network | |
timezone | Configure Time Zone |
time | Configure Date and Time |
view | View Settings |
8Use the arrow keys to select network and press the Enter key. The following network setup fields appear:
Enter IP Address | 192.168.1.10______________ |
Enter Hostname | |
Enter Netmask | 255.255.255.0_____________ |
Enter Nameserver IP | __________________________ |
Enter Gateway IP | 192.168.1.1_______________ |
Enter Domain | _________________________ |
9In each field supply an appropriate value and press the Enter key. Pressing the Enter key moves the cursor to the next field. After you have supplied values for all six fields, press CTRL+X to save your changes and return to the previous menu.
10The bottom of the screen displays a message that indicates the setup has completed. When the message appears, entries to the screen have been successfully changed and stored. The menu on this screen should appear as follows:
network | Configure Network |
Configure Time Zone | |
time | Configure Date and Time |
view | View Settings |
Chapter 2 Getting Started | 9 |
