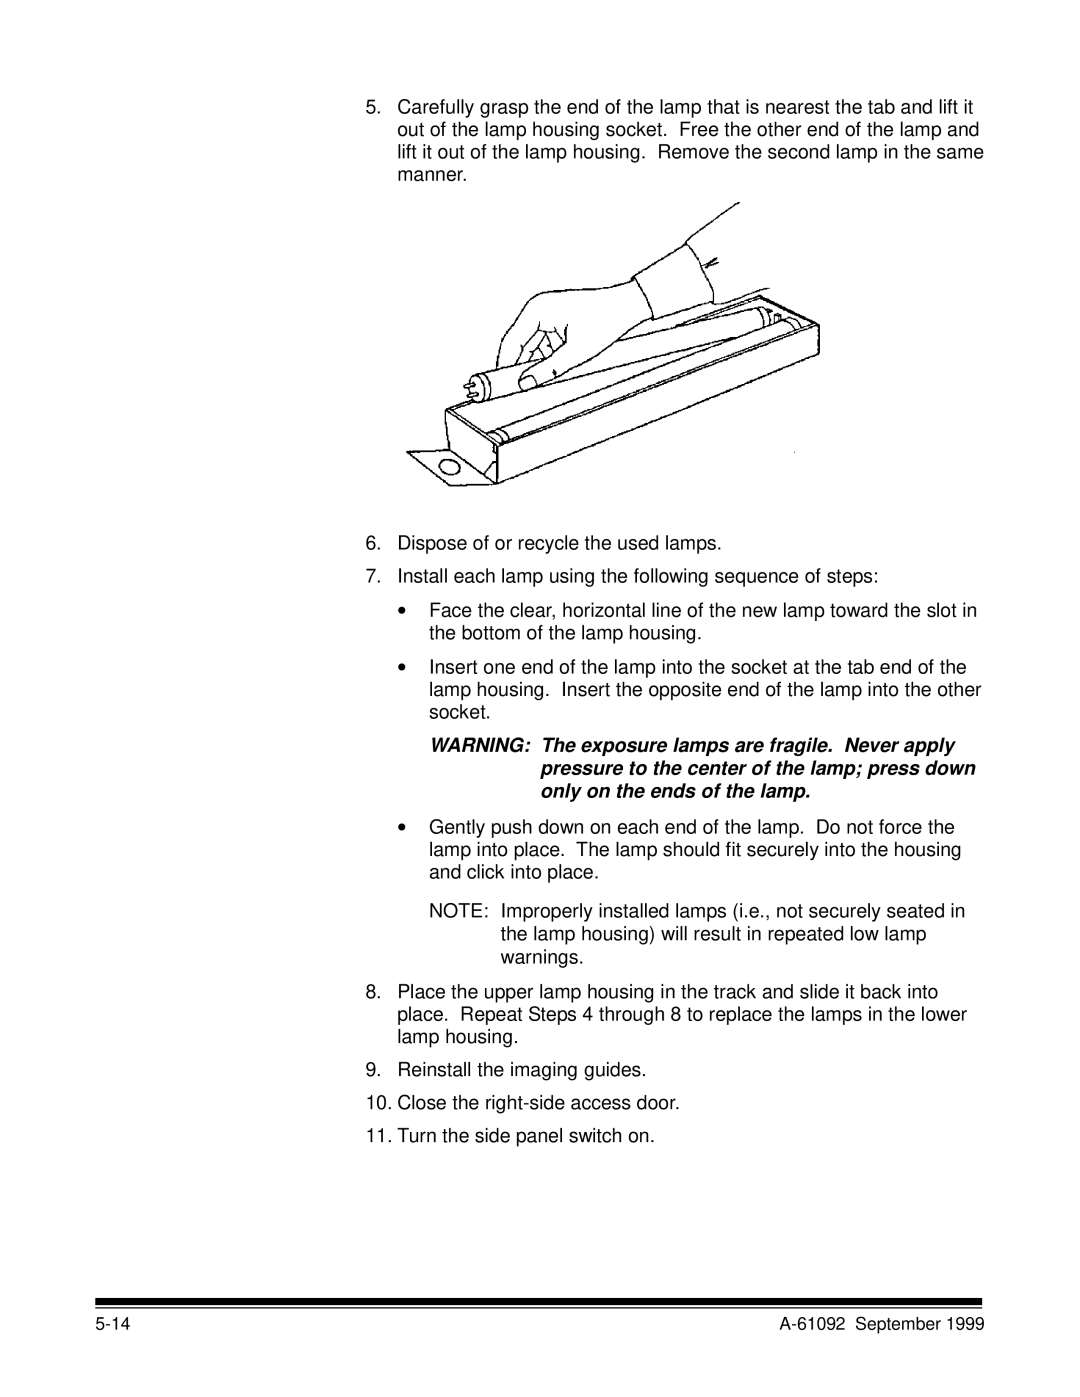
5.Carefully grasp the end of the lamp that is nearest the tab and lift it out of the lamp housing socket. Free the other end of the lamp and lift it out of the lamp housing. Remove the second lamp in the same manner.
6.Dispose of or recycle the used lamps.
7.Install each lamp using the following sequence of steps:
∙Face the clear, horizontal line of the new lamp toward the slot in the bottom of the lamp housing.
∙Insert one end of the lamp into the socket at the tab end of the lamp housing. Insert the opposite end of the lamp into the other socket.
WARNING: The exposure lamps are fragile. Never apply pressure to the center of the lamp; press down only on the ends of the lamp.
∙Gently push down on each end of the lamp. Do not force the lamp into place. The lamp should fit securely into the housing and click into place.
NOTE: Improperly installed lamps (i.e., not securely seated in the lamp housing) will result in repeated low lamp warnings.
8.Place the upper lamp housing in the track and slide it back into place. Repeat Steps 4 through 8 to replace the lamps in the lower lamp housing.
9.Reinstall the imaging guides.
10.Close the
11.Turn the side panel switch on.
|
