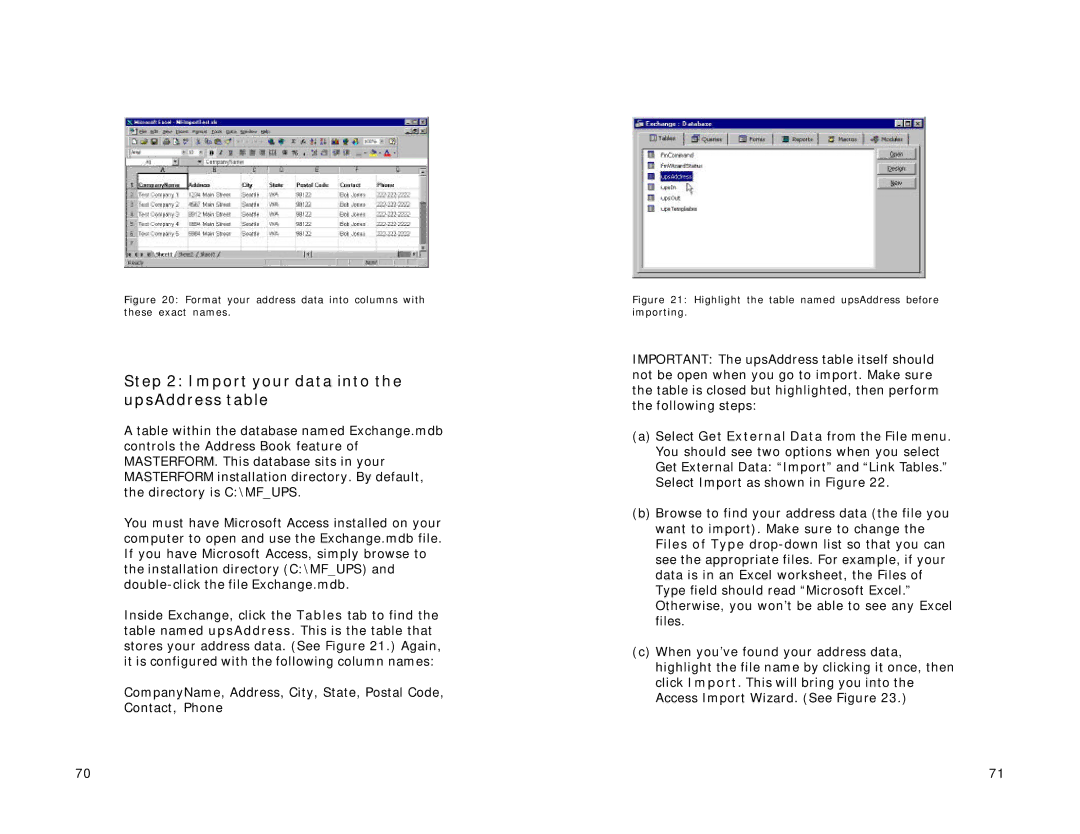
Figure 20: Format your address data into columns with these exact names.
Step 2: Import your data into the upsAddress table
A table within the database named Exchange.mdb controls the Address Book feature of MASTERFORM. This database sits in your MASTERFORM installation directory. By default, the directory is C:\MF_UPS.
You must have Microsoft Access installed on your computer to open and use the Exchange.mdb file. If you have Microsoft Access, simply browse to the installation directory (C:\MF_UPS) and
Inside Exchange, click the Tables tab to find the table named upsAddress. This is the table that stores your address data. (See Figure 21.) Again, it is configured with the following column names:
CompanyName, Address, City, State, Postal Code, Contact, Phone
Figure 21: Highlight the table named upsAddress before importing.
IMPORTANT: The upsAddress table itself should not be open when you go to import. Make sure the table is closed but highlighted, then perform the following steps:
(a)Select Get External Data from the File menu. You should see two options when you select Get External Data: “Import”and “Link Tables.” Select Import as shown in Figure 22.
(b)Browse to find your address data (the file you want to import). Make sure to change the Files of Type
(c)When you’ve found your address data, highlight the file name by clicking it once, then click Import. This will bring you into the Access Import Wizard. (See Figure 23.)
70 | 71 |