OPERATION
Clock/Events ➤
UTIL 7 1
Baud Rate
This item contains the projector’s
Notes: 1) If unsure of your computer’s baud rate setting, refer to the system documentation provided with the computer. 2) For information about cable connections between devices, refer to Appendix D.
Clock/Events allows you to set the projector’s
To select the Clock/Events menu press 7 from the Utilities menu. Two selection items are available: Set Clock and Programmable Events. The current time and date setting is displayed at the bottom of the menu.
Set Clock
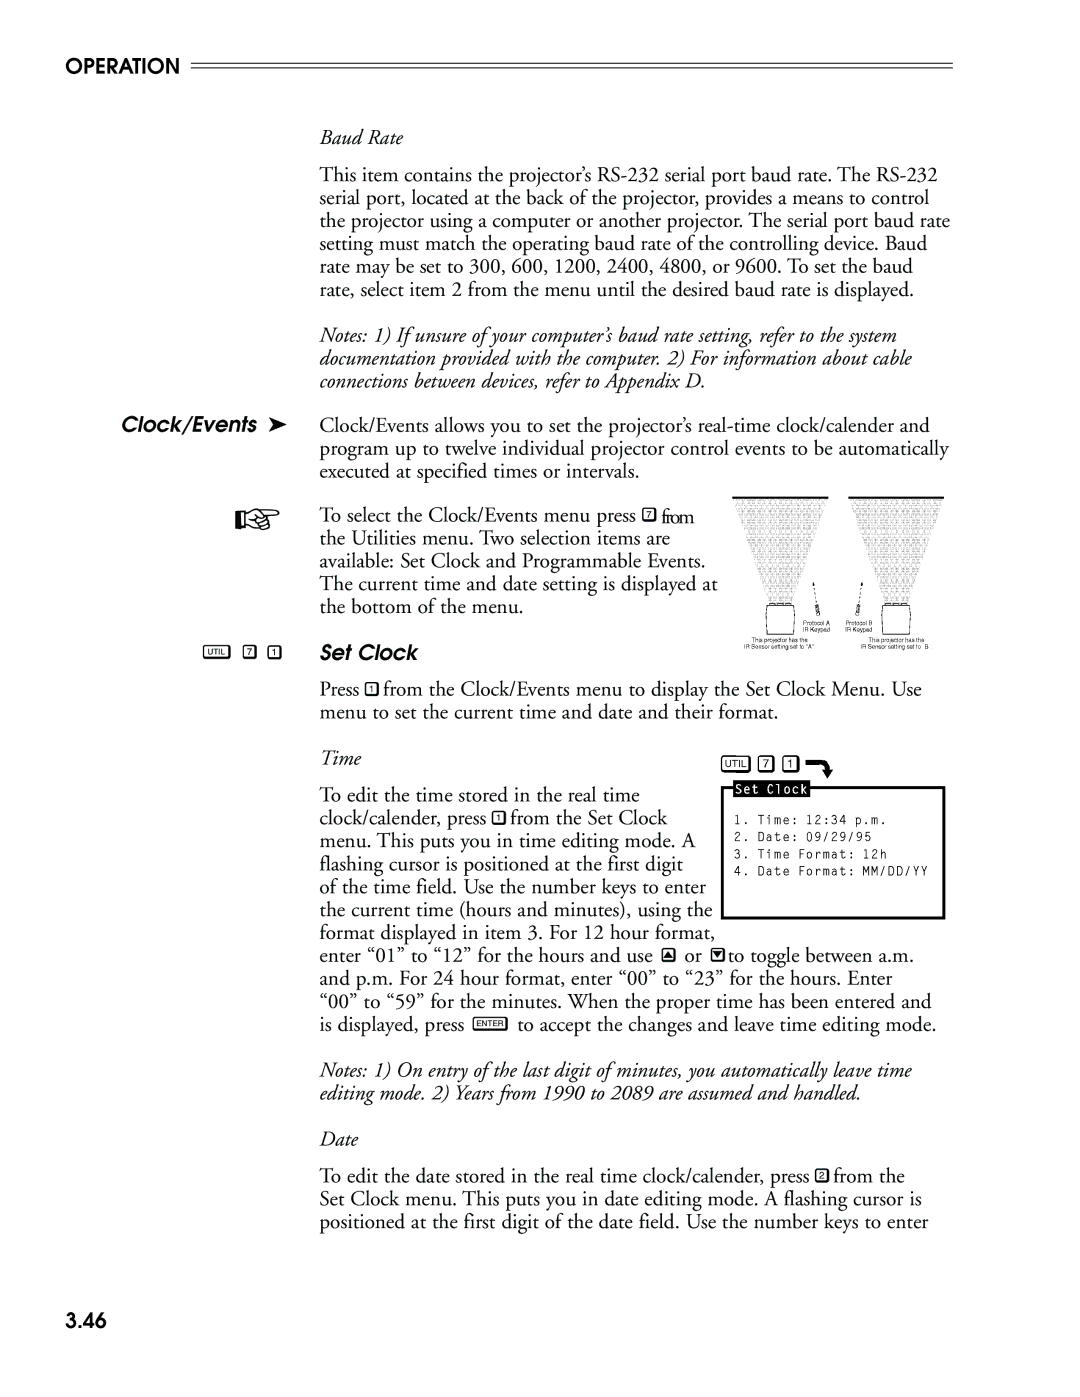
Press 1 from the Clock/Events menu to display the Set Clock Menu. Use menu to set the current time and date and their format.
Time
To edit the time stored in the real time clock/calender, press 1 from the Set Clock menu. This puts you in time editing mode. A flashing cursor is positioned at the first digit of the time field. Use the number keys to enter the current time (hours and minutes), using the format displayed in item 3. For 12 hour format,
enter “01” to “12” for the hours and use ![]() or
or ![]() to toggle between a.m. and p.m. For 24 hour format, enter “00” to “23” for the hours. Enter “00” to “59” for the minutes. When the proper time has been entered and is displayed, press ENTER to accept the changes and leave time editing mode.
to toggle between a.m. and p.m. For 24 hour format, enter “00” to “23” for the hours. Enter “00” to “59” for the minutes. When the proper time has been entered and is displayed, press ENTER to accept the changes and leave time editing mode.
Notes: 1) On entry of the last digit of minutes, you automatically leave time editing mode. 2) Years from 1990 to 2089 are assumed and handled.
Date
To edit the date stored in the real time clock/calender, press 2 from the Set Clock menu. This puts you in date editing mode. A flashing cursor is positioned at the first digit of the date field. Use the number keys to enter
3.46