OPERATION
To program or modify an event, first use the arrow keys to move the cursor to the field you want to modify (for example, the Type field). Next use ENTER and/or the number keys to modify that field. Details for field modification are provided on the following pages. Modify each field in the row as necessary making sure all fields for the event are valid and logical.
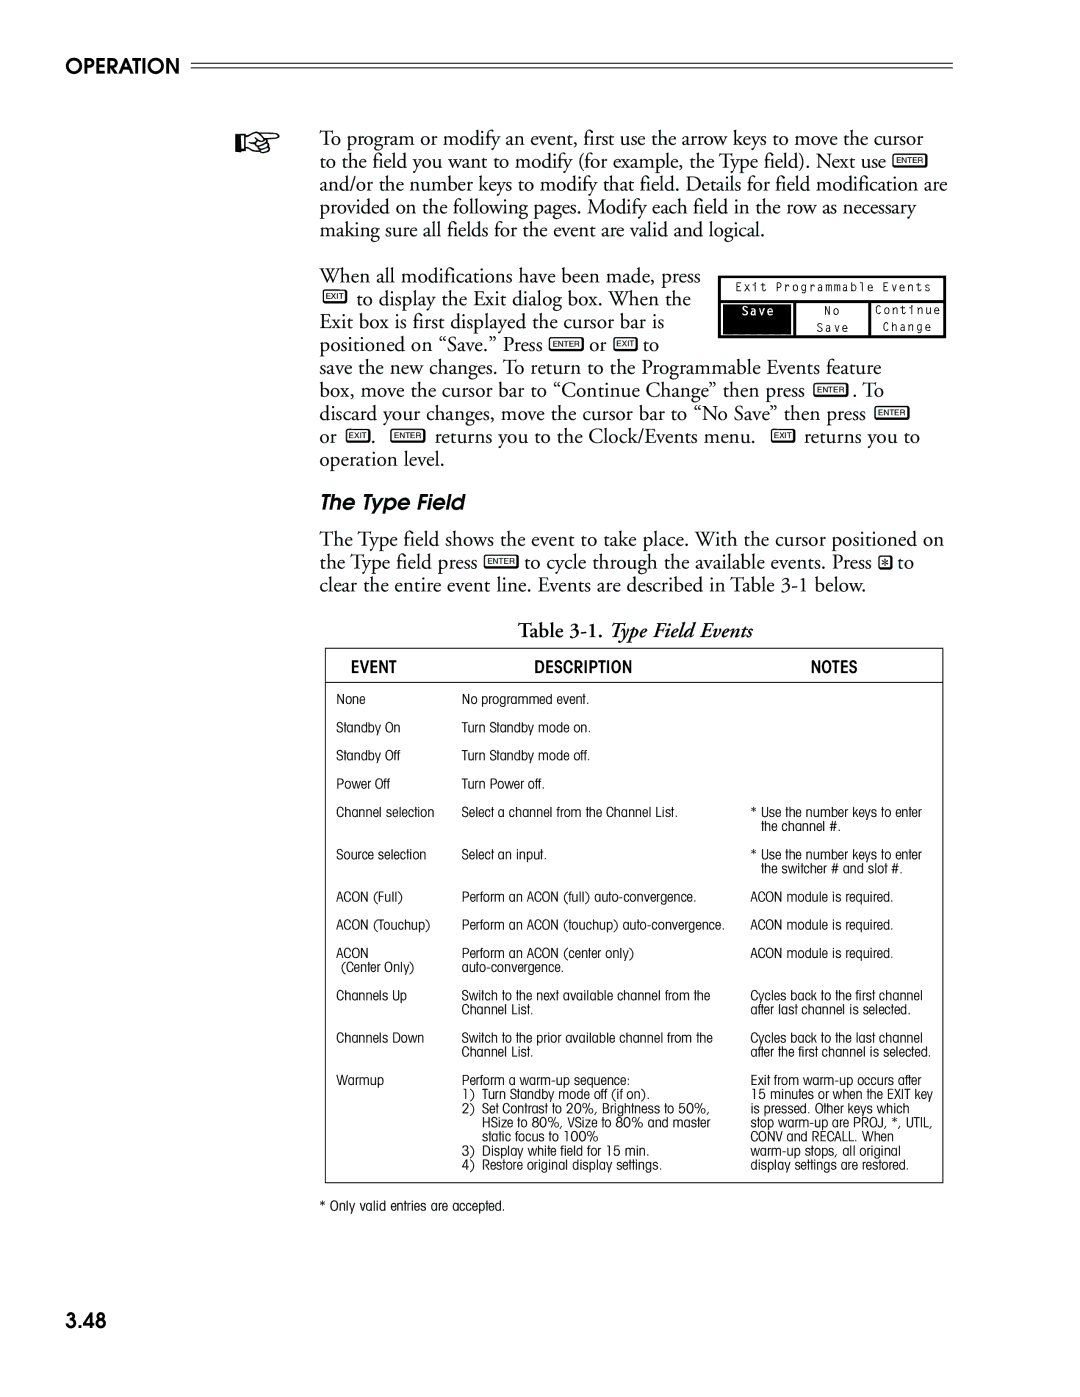
When all modifications have been made, press EXIT to display the Exit dialog box. When the Exit box is first displayed the cursor bar is positioned on “Save.” Press ENTER or EXIT to
save the new changes. To return to the Programmable Events feature box, move the cursor bar to “Continue Change” then press ENTER . To discard your changes, move the cursor bar to “No Save” then press ENTER or EXIT . ENTER returns you to the Clock/Events menu. EXIT returns you to operation level.
The Type Field
The Type field shows the event to take place. With the cursor positioned on the Type field press ENTER to cycle through the available events. Press ![]() to clear the entire event line. Events are described in Table
to clear the entire event line. Events are described in Table
Table 3-1. Type Field Events
EVENT |
| DESCRIPTION | NOTES |
|
|
| |
None | No programmed event. |
| |
Standby On | Turn Standby mode on. |
| |
Standby Off | Turn Standby mode off. |
| |
Power Off | Turn Power off. |
| |
Channel selection | Select a channel from the Channel List. | * Use the number keys to enter | |
|
|
| the channel #. |
Source selection | Select an input. | * Use the number keys to enter | |
|
|
| the switcher # and slot #. |
ACON (Full) | Perform an ACON (full) | ACON module is required. | |
ACON (Touchup) | Perform an ACON (touchup) | ACON module is required. | |
ACON | Perform an ACON (center only) | ACON module is required. | |
(Center Only) |
| ||
Channels Up | Switch to the next available channel from the | Cycles back to the first channel | |
| Channel List. | after last channel is selected. | |
Channels Down | Switch to the prior available channel from the | Cycles back to the last channel | |
| Channel List. | after the first channel is selected. | |
Warmup | Perform a | Exit from | |
| 1) | Turn Standby mode off (if on). | 15 minutes or when the EXIT key |
| 2) | Set Contrast to 20%, Brightness to 50%, | is pressed. Other keys which |
|
| HSize to 80%, VSize to 80% and master | stop |
|
| static focus to 100% | CONV and RECALL. When |
| 3) | Display white field for 15 min. | |
| 4) | Restore original display settings. | display settings are restored. |
|
|
|
|
* Only valid entries are accepted.
3.48