2)Set the IP address.
Input the IP address for the number of
3)After completing the setting, press the [OK] button.
After fully completing the IP address
*When the [Cancel] button is clicked, this setting is terminated to return to the initial screen.
Note:
•It is necessary to set the IP address for the
Monitor the optional functions being used. [Procedure]
1)Select the
Select the ![]() /
/![]() “ buttons.
“ buttons.
2)Select the [Update] button.
When the [Update] button located on the IP address screen of the
Note:
•It is possible to monitor the optional function of the
Web monitor | : Required when the monitor operation is executed, using this |
(Monitor/ Operation) |
Annual/weekly schedule: Required when the schedule setting is used. (Schedule)
Charge
(Charge calculation) Sending error mail (Mail)
8.6System Configuration Set-up
Set the information of the
8.6.1 Setting Procedure and Restrictions
Confirm the precautions and procedure before setting the system configuration.
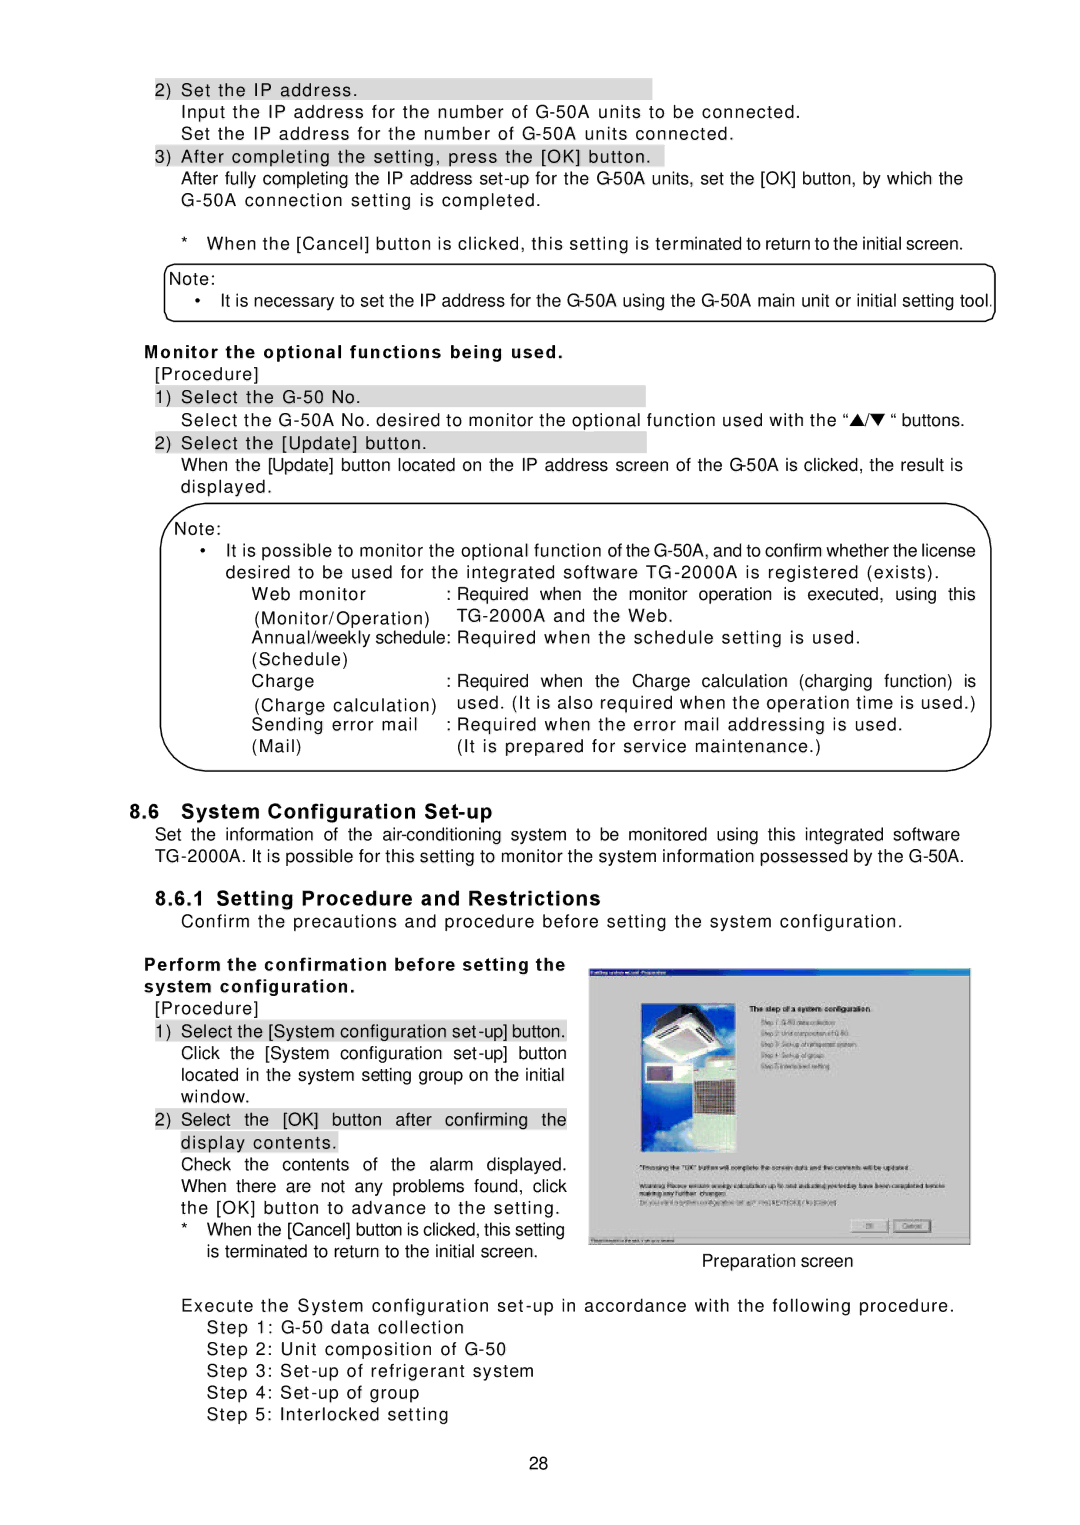
Perform the confirmation before setting the system configuration.
[Procedure]
1)Select the [System configuration set
2)Select the [OK] button after confirming the display contents.
Check the contents of the alarm displayed. When there are not any problems found, click the [OK] button to advance to the setting.
*When the [Cancel] button is clicked, this setting
is terminated to return to the initial screen. | Preparation screen |
|
Execute the System configuration set
Step 2: Unit composition of
Step 3: Set
Step 4: Set
Step 5: Interlocked set ting
28