Installing the Device Drivers (Windows Only) | En |
|
After installing the interface board, close the computer’s case and reconnect all cables.
Windows XP Home Edition/Windows XP Professional
The first time the computer is powered on with the board in place, Windows will automatically install the necessary drivers. To confirm that the drivers have been installed and are functioning normally:
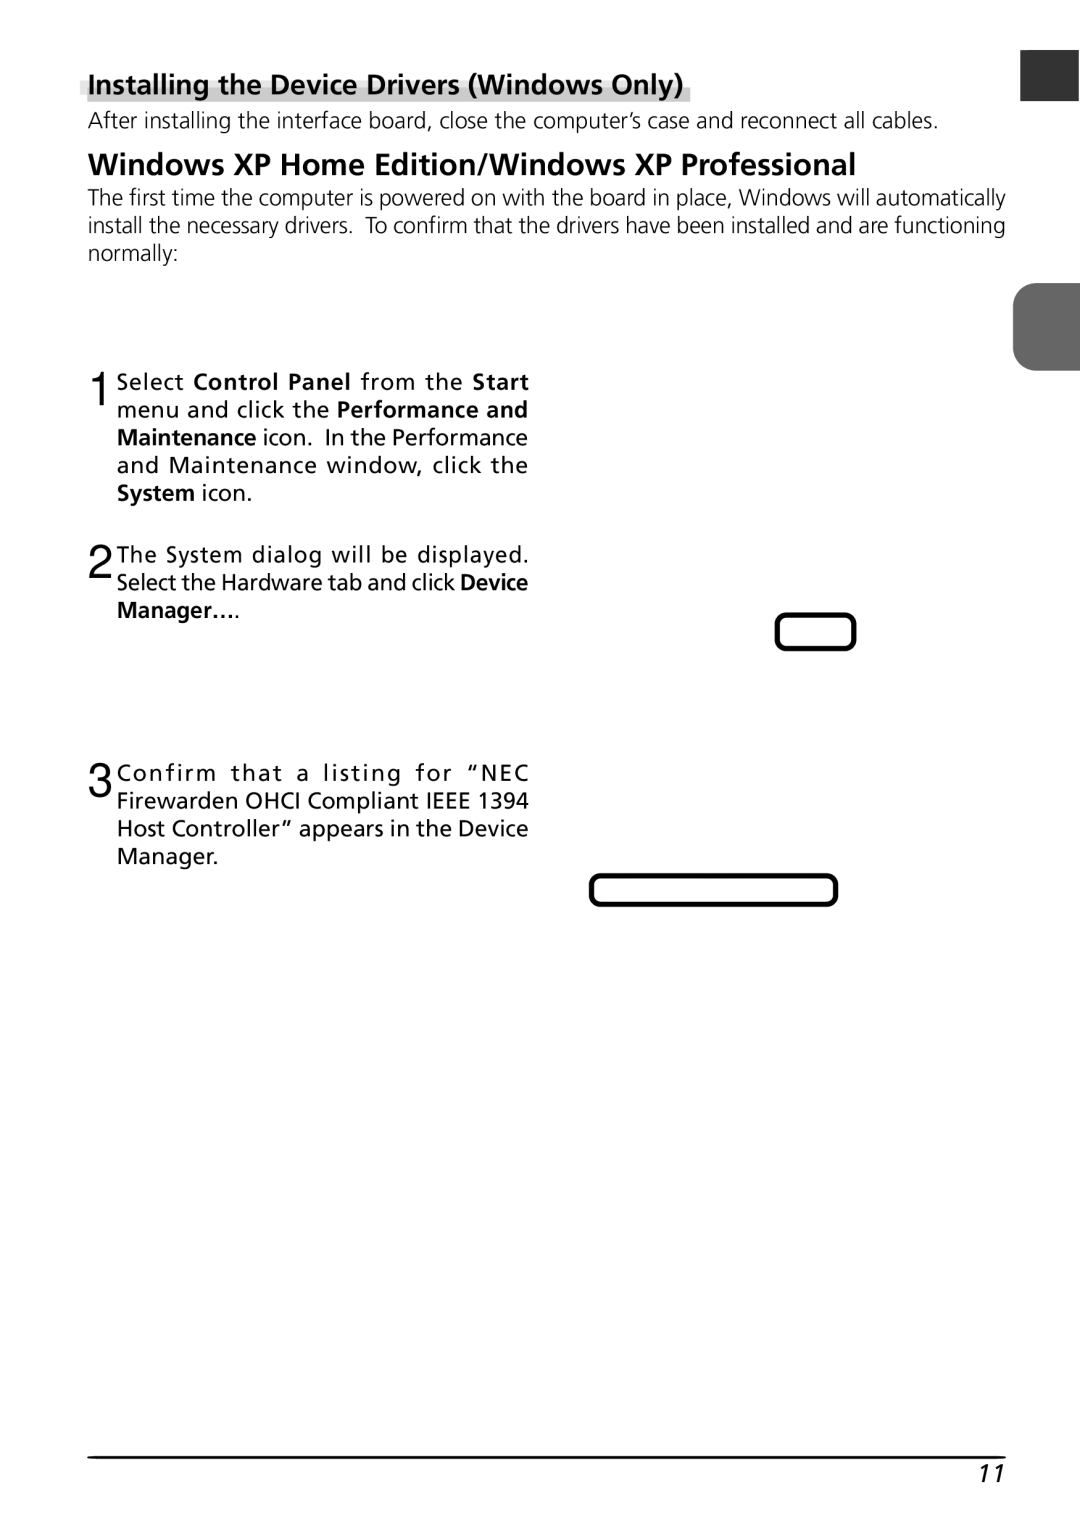
1 Select Control Panel from the Start menu and click the Performance and Maintenance icon. In the Performance and Maintenance window, click the System icon.
2 The System dialog will be displayed. Select the Hardware tab and click Device Manager….
3 Confirm that a listing for “NEC Firewarden OHCI Compliant IEEE 1394 Host Controller” appears in the Device Manager.
11