Updating the Device Driver (Windows Me)
If the scanner is not listed under “Imaging Device” in the Device Manager or the message “This device is working properly” does not appear in the Properties dialog, you will need to reinstall the device driver as detailed below.
1 | Open the scanner Properties dialog |
Display the Device Manager as described in steps | |
| (Windows Me)” ( 46). If the scanner is listed under “Other devices” or appears next to |
| a “!”, “?”, or “× ”, |
| dialog. |
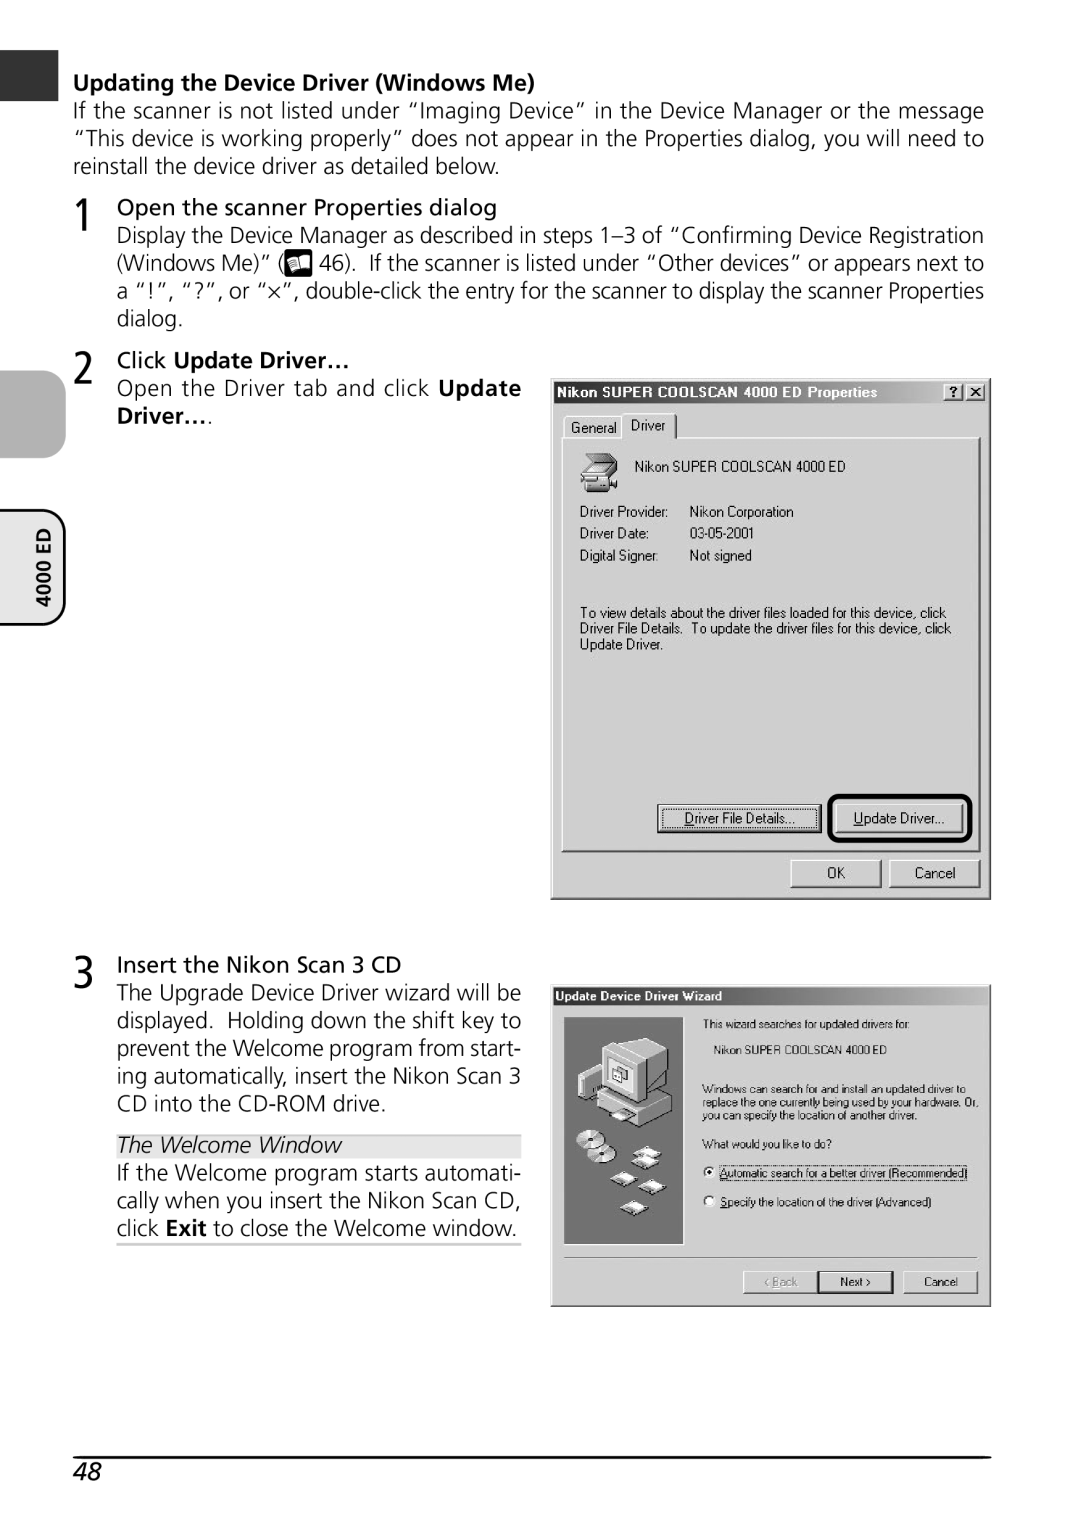
2 | Click Update Driver… |
Open the Driver tab and click Update |
Driver….
4000 ED
3 | Insert the Nikon Scan 3 CD |
The Upgrade Device Driver wizard will be |
displayed. Holding down the shift key to prevent the Welcome program from start- ing automatically, insert the Nikon Scan 3 CD into the
The Welcome Window
If the Welcome program starts automati- cally when you insert the Nikon Scan CD, click Exit to close the Welcome window.
48