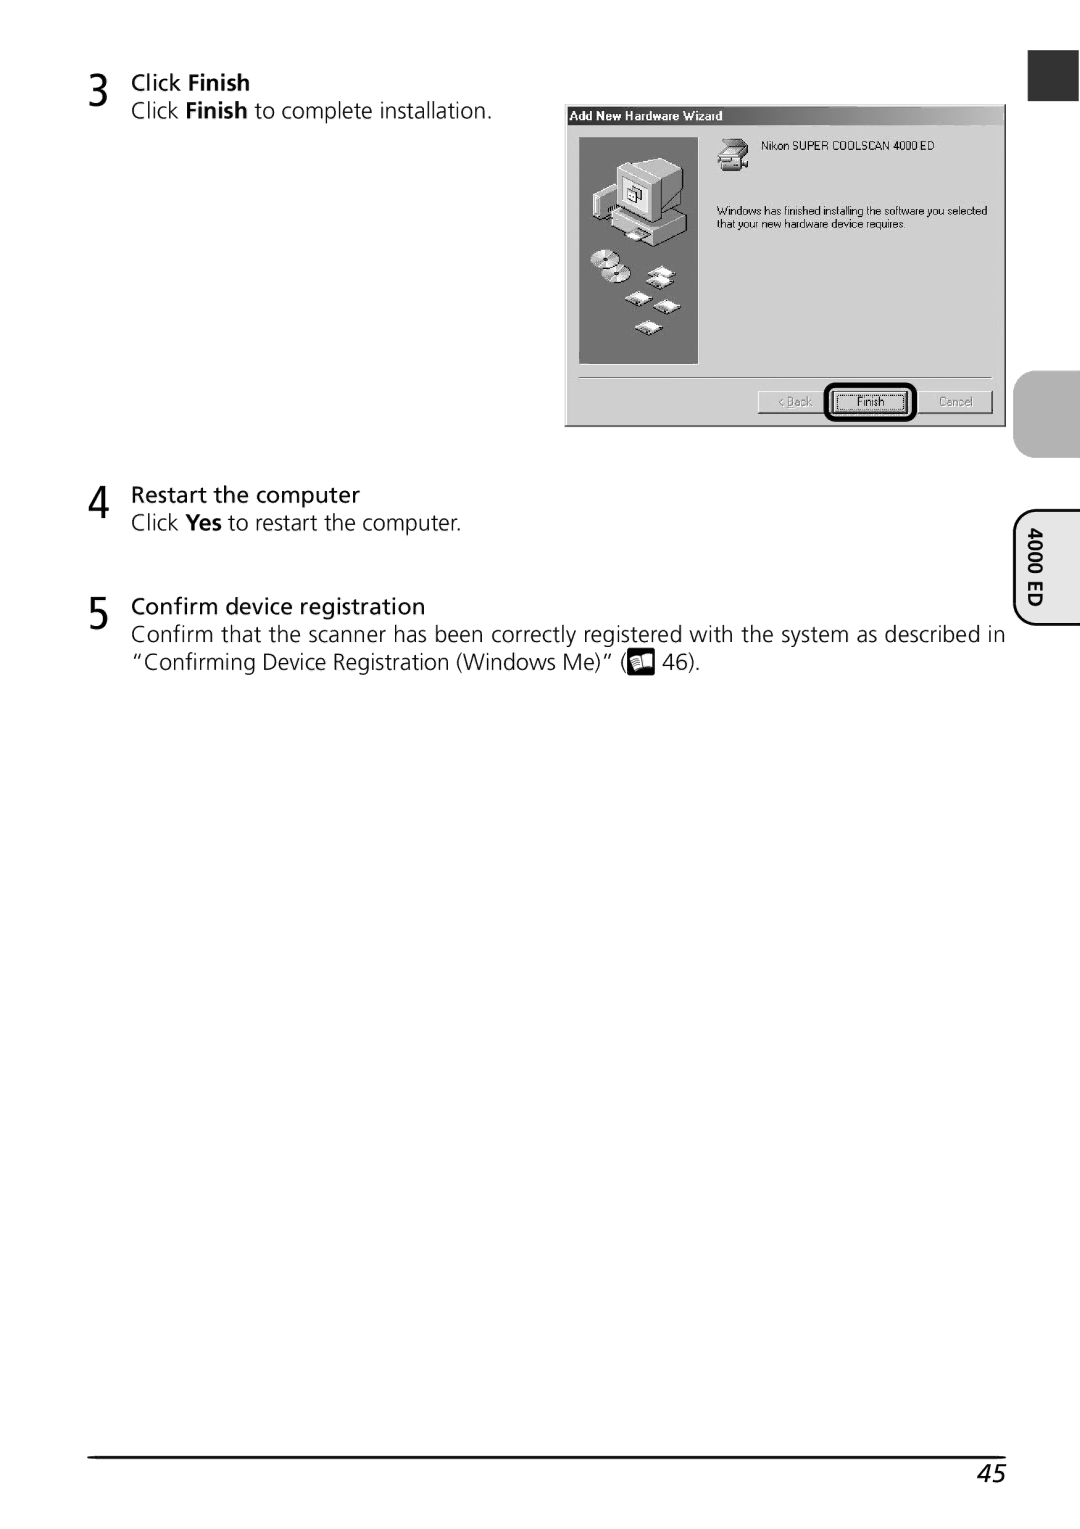
Device Registration
User’s Manual
Setup
Scanning 35 mm Slides Scanning 35 mm Film Nikon Scan Reference
Scanning Guide
Install Nikon Scan scanner driver software
Set up the scanner and connect it to your computer
Scan the film using Nikon Scan
User’s Manual this manual
Product Documentation
Nikon Scan Reference Manual on CD
WARNINGS
For Your Safety
CAUTIONS
Notice for customers in the U.S.A
Notices
CAUTIONS
Notice Concerning Prohibition of Copying or Reproduction
Notice for customers in Canada
Trademark Information
Setup
Table of Contents
Device Registration Windows Only
Reference
Scanning 35-mm Slides
Scanning 35-mm Film
Nikon Scan
Life-Long Learning
Introduction
viii
Illustrations
Connecting the Scanner
Setup
Before Using Your Scanner
Installing Nikon Scan
Connecting the Scanner
En Before Using Your Scanner
Using the Scanner with a Windows Computer
Your Scanner
Get to Know Your Scanner
Accessories
SUPERCOOLSCAN4000ED COOLSCANIVED
Choose a Location
En Keep the Adapter Slot Closed
Protect Your Film
Using the COOLSCAN IV ED with Other Devices
En Using the 4000 ED with Other Devices
Connecting the Scanner
Do I Need to Install the IEEE 1394/Firewire Interface Board?
Installing the IEEE 1394/Firewire Interface Board 4000 ED Only
Installing the Interface Board
Installing the IEEE 1394/Firewire Interface Board in a PCI Slot
En Installing the Interface Board 4000 ED Only
Windows XP Home Edition/Windows XP Professional
Installing the Device Drivers Windows Only
Device Manager button
En Windows 2000 Professional
Windows Millennium Edition Me
your device Recommended and click
En Windows 98 Second Edition SE
Select Search for the best driver for
Next
Page
Nikon Scan 3 Version
En Installing Nikon Scan
Installing Nikon Scan under Windows
Nikon Scan 3 Version
close the Welcome dialog
Updating the IEEE 1394 Drivers Windows 98 SE Only
will need to complete the IEEE 1394 driver update as described below
Follow the on-screen instructions to complete the update
Windows XP/Windows 2000 Professional
En Installation
displayed, click Nikon Scan
If the Welcome Dialog Is Not Displayed
workflow. More information about the
Click Next to install Nikon Scan 3 to the
folder for Nikon Scan 3 shown under “In
stall Location,” or click Browse… to choose another location
installation of Nikon Scan
InstallShield wizard
displayed. Click Finish to exit the
Installation
Installing Nikon Scan on a Macintosh
the Install Location menu and click In
stall
Once the Nikon Scan program files have
9 This completes installation of Nikon Scan
Connecting the Power Cable
Connecting the Scanner
Four-Pin Connectors
En Connecting the Interface Cable 4000 ED
COOLSCAN IV ED
Connecting the Interface Cable COOLSCAN IV ED
Connector A
Connector B
For more information on
En Turn the Scanner On
Registering the 4000 ED with Windows
Device Registration
Windows Only
Windows XP Home Edition/Windows XP Professional
Registering the 4000 ED with Windows
Registering the Scanner with Windows XP
4 Click Continue Anyway
3 Select ls4000xp.inf
If the Scanner Is Not Listed
Confirming Device Registration Windows XP
Double-click the listing for your scanner that
Confirm that the scanner is working properly
4000 ED
The Welcome Window
Click Reinstall Driver…
Updating the Device Driver Windows XP
Driver…
5 Click Continue
4 Select ls4000xp.inf
Registering the Scanner with Windows 2000 Professional
Windows 2000 Professional
Select the Win2000 folder
Select Specify a location
4 Click Browse…
When the dialog shown at right is dis- played, click Browse…
If the Correct Path Is Not Displayed
4000 ED
9 Click Finish Click Finish to complete installation
10Restart the computer Click Yes to restart the computer
11Confirm device registration
Confirming Device Registration Windows 2000 Professional
Double-click the listing for your scanner
Confirm that the scanner is working properly
4000 ED
Updating the Device Driver Windows 2000 Professional
Click Update Driver…
Driver…
4000 ED
Next
Windows Millennium Edition Me
Registering the Scanner with Windows Me
Select LS4000ME.INF
4000 ED
3 Click Finish Click Finish to complete installation
4 Restart the computer Click Yes to restart the computer
5 Confirm device registration
Confirming Device Registration Windows Me
Double-click the listing for your scanner
Confirm that the scanner is working properly
4000 ED
Click Update Driver…
Updating the Device Driver Windows Me
Driver…
5 Select LS4000ME.INF
Registering the Scanner with Windows 98 SE
Windows 98 Second Edition SE
The Welcome Window
Select Specify a location and click
Browse
Select Specify a location
Select the Win98SE folder
Confirming Device Registration Windows 98 SE
Double-click the listing for your scanner that
Confirm that the scanner is working properly
4000 ED
Click Reinstall Driver…
Updating the Device Driver Windows 98 SE
Driver…
Select the Win98SE folder
If the Dialog Is Not Displayed
Registering the COOLSCAN IV ED with Windows
Windows XP Home Edition/Windows XP Professional
Registering the Scanner with Windows XP
COOLSCAN
3 Click Finish Click Finish to complete installation
4 Confirm device registration
IV ED
Confirming Device Registration Windows XP
COOLSCAN
Confirm that the scanner is working properly
Double-click the listing for your scanner
IV ED
driver…
Click Reinstall driver…
Updating the Device Driver Windows XP
5 Click Continue Anyway
4 Select ls40xp.inf
“ls40xp.inf”
Registering the Scanner with Windows 2000 Professional
Windows 2000 Professional
IV COOLSCAN
Click Next
3 Select CD-ROM drives
Begin installation of the device drivers
Select CD-ROM drives and click Next
IV ED
6 Click Finish Click Finish to complete installation
7 Restart the computer Click Yes to restart the computer
8 Confirm device registration
Confirming Device Registration Windows 2000 Professional
COOLSCAN
Confirm that the scanner is working properly
Double-click the listing for your scanner
IV ED
Updating the Device Driver Windows 2000 Professional
Click Update Driver…
Driver…
Select the search option
Registering the Scanner with Windows Me
Windows Millennium Edition Me
IV ED
4 Click Finish Click Finish to complete installation
5 Restart the computer Click Yes to restart the computer
6 Confirm device registration
Confirming Device Registration Windows Me
COOLSCAN
Confirm that the scanner is working properly
Double-click the listing for your scanner
IV ED
Updating the Device Driver Windows Me
Click Update Driver…
Driver…
Select the search option
Registering the Scanner with Windows 98 SE
Windows 98 Second Edition SE
Select Specify a location
Select Specify a location and click
Browse
8 Confirm device registration
Begin installation of the device drivers
7 Click Finish Click Finish to complete installation
Click Next
Confirming Device Registration Windows 98 SE
COOLSCAN
Confirm that the scanner is working properly
Double-click the listing for your scanner that
IV ED
Updating the Device Driver Windows 98 SE
2 Click Reinstall driver
Specify a location and click Browse
Step 3-Insert the Slide
Scanning 35-mm Slides
Step 1-Ready the Slide
Step 2-Insert the Adapter
Step 1-Ready the Slide
35-mm slide
Compatible Slides
Step 3-Insert the Slide
Mac OS
Step 4-Scan the Slide
Making a Scan
Windows
Choose the film type
The Nikon Scan scan window will open on the desktop
type menu 3 Choose a color model
Preview area
Click the Preview button
The preview will be displayed in the preview area
Preview button
5 Adjust scan settings
Rotate or flip the image
7 Compensate for defects
8 Select a crop
Choose an output size and resolution
Keep this output size
Keep this crop
Keep this file size
10 Adjust color, contrast, and sharpness Curves
The Processed /Natural Tabs
11 Click the Scan button Click the Scan button to begin scanning
13 Exit Nikon Scan and turn the scanner off 13-1. Remove the slide
12 Scan additional images
13-4. Exit Nikon Scan
13-2. Remove the film adapter
Slide the film adapter from the adapter slot
13-3. Close the sliding cover Slide the cover closed
4000 ED
COOLSCAN IV ED
Film That Can Not Be Scanned in the SA-21
Scanning 35-mm Film
Using the FH-3
Using the SA-21
Solution
Film That Can Not Be Scanned in the SA-21
Film That Can Not Be Used
Problem
Problem
Film That Must Be Repaired Before Use
Solution
Problem
See page 105 for information on using the FH-3
Solution
For more information on
Using the FH-3
Hold the adapter with the Nikon logo
face up
tion of the holder, aligning each
Unlatch the holder snaps and flip the
upper holder open
Place a strip of film in the lower por
nal position, aligning the ends with
Return the upper holder to its origi
the ends of the lower holder
Align the frame you want to scan with
you want to scan into the MA-20 S
Using the Film Holder
86-98 of this manual
Scanning Frames in Order
Using the SA-21
selecting the frame to be scanned, see the following pages
The Thumbnail Drawer
Using the Thumbnail Drawer Continued
Ejecting Film
4000 ED
COOLSCAN IV ED
Viewing the Nikon Scan 3 Software Manual
Nikon Scan
Viewing the Nikon Scan 3 Reference Manual
5 Follow the on-screen instructions to complete installation
EI C D
The Scan Window
The Parts of the Scan Window
AFG B
D Scan button
A Control area
B Information panel
C Preview button
Autofocus Button
Settings Menu
The Control Area
Eject Button
Help click to open the Nikon Scan help file
Color Model Menu
Window Buttons
Prefs click to open the preferences dialog
Image Enhancement
Dimensions/File Size
The Information Panel
Orientation
The Scan Button
The Preview Button
The Thumbnail Drawer Tab
The Processed/Natural Tabs
Crop
The Tool Chest
Layout Tools
Information
Scanner Extras
Unsharp Mask
Digital ICE cubed
Analog Gain
The Scan Progress Window
Reference
Problem
Troubleshooting
Possible Cause
Possible Cause
Problem
The status LED flashes
to computer The quality of scanned images is poor
The scanner is off Turn the scanner on
Problem
Possible Cause
Your computer does not recognize the scanner
If the Film Jams During Loading
When Film Jams in the SA-21
SA-21 Locking Mechanism
If the Film Jams Inside the Adapter
Removing Film
2 Release the frame lock lever and open the roller frame
Caring for Your Scanner
Maintenance
Storing the Scanner
Transporting the Scanner
Cleaning the Scanner
Caring for Adapters
Cleaning the SA-21 Strip-Film Adapter
Storing the SA-21 Strip-Film Adapter
Release the frame lock lever as shown below and open the roller frame
Rollers Toothed wheel Roller frame
Caring for the MA-20 S Slide Mount Adapter
Caring for the FH-3 Film Holder
FH-G1 Medical Slide Holder
Optional Accessories
Options Available for the 4000 ED and COOLSCAN IV ED
IA-20 S Adapter for APS IX240 Film
SUPER COOLSCAN 4000 ED LS-4000 ED
Specifications
Scanner Specifications
Optical resolution
Dimensions
Power supply
Maximum power consumption while scanning
Power consumption at standby
Aperture
COOLSCAN IV ED LS-40 ED
Optical resolution
Film
Scanning time
Power supply
Maximum power consumption while scanning
Power consumption at standby
35 mm film of one to six frames color or monochrome, positive
Adapter Specifications
Mounted 35 mm slides, 1.0-3.2 mm in thickness
70 ⋅ 49 ⋅ 158 mm/2.77˝ ⋅ 1.93˝ ⋅ 6.22˝ W ⋅ H ⋅
142 ⋅ 85 ⋅ 325 mm/5.59˝ ⋅
Specifications for Optional Adapters
Index