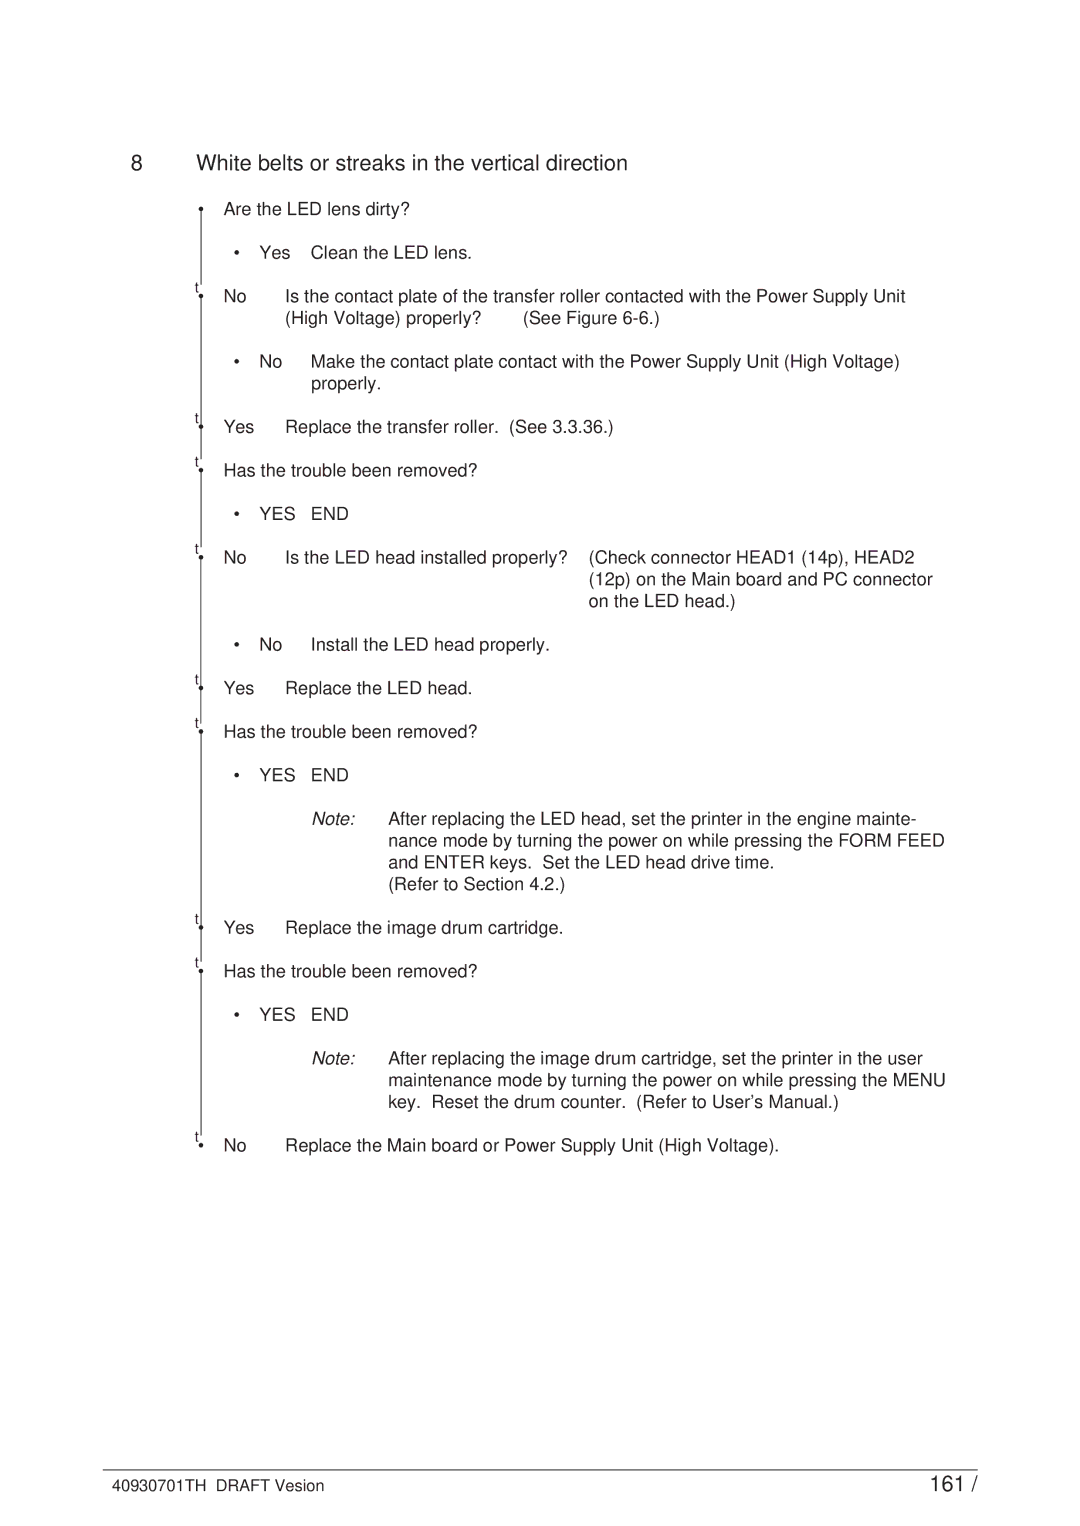
8White belts or streaks in the vertical direction
•Are the LED lens dirty?
| • | Yes | Clean the LED lens. |
|
▼ |
|
|
|
|
• | No | Is the contact plate of the transfer roller contacted with the Power Supply Unit | ||
|
| (High Voltage) properly? | (See Figure | |
| • | No | Make the contact plate contact with the Power Supply Unit (High Voltage) | |
|
|
| properly. |
|
▼ | Yes | Replace the transfer roller. (See 3.3.36.) | ||
• | ||||
▼ |
|
|
|
|
• Has the trouble been removed? |
| |||
| • | YES | END |
|
▼ |
|
|
|
|
• | No | Is the LED head installed properly? (Check connector HEAD1 (14p), HEAD2 | ||
|
|
|
| (12p) on the Main board and PC connector |
|
|
|
| on the LED head.) |
| • | No | Install the LED head properly. | |
▼ | Yes | Replace the LED head. |
| |
• |
| |||
▼ |
|
|
|
|
• Has the trouble been removed? |
| |||
| • | YES | END |
|
|
|
| Note: After replacing the LED head, set the printer in the engine mainte- | |
|
|
| nance mode by turning the power on while pressing the FORM FEED | |
|
|
| and ENTER keys. Set the LED head drive time. | |
|
|
| (Refer to Section 4.2.) | |
▼ | Yes | Replace the image drum cartridge. | ||
• | ||||
▼ |
|
|
|
|
• Has the trouble been removed? |
| |||
| • | YES | END |
|
Note: After replacing the image drum cartridge, set the printer in the user maintenance mode by turning the power on while pressing the MENU key. Reset the drum counter. (Refer to User’s Manual.)
▼ | Replace the Main board or Power Supply Unit (High Voltage). |
• No |
40930701TH DRAFT Vesion | 161 / |
