Command Line Interface (CLI) |
| |
Other Network Settings |
| |
|
| |
• Configure the AP as a DHCP Server |
| |
• Configure the DNS Client |
| |
• Configure DHCP Relay and Configure DHCP Relay Servers |
| |
• Maintain Client Connections using Link Integrity |
| |
• Change your Wireless Interface Settings |
| |
• Set Ethernet Speed and Transmission Mode |
| |
• Set Interface Management Services |
| |
• Configure Wireless Distribution System |
| |
• Configure MAC Access Control |
| |
• | Set RADIUS Parameters |
|
• Set Rogue Scan Parameters |
| |
• Set Hardware Configuration Reset Parameters |
| |
• | Set VLAN/SSID Parameters |
|
• Set Security Profile Parameters
NOTE: See Advanced Configuration for more information on these settings.
Configure the AP as a DHCP Server
NOTE: You must have at least one entry in the DHCP Server IP Address Pool Table before you can set the DHCP Server Status to Enable.
CAUTION: Before enabling this feature, confirm that the IP address pools you have configured are valid addresses on the network and do not overlap the addresses assigned by any other DHCP server on the network. Enabling this feature with incorrect address pools will cause problems on your network.
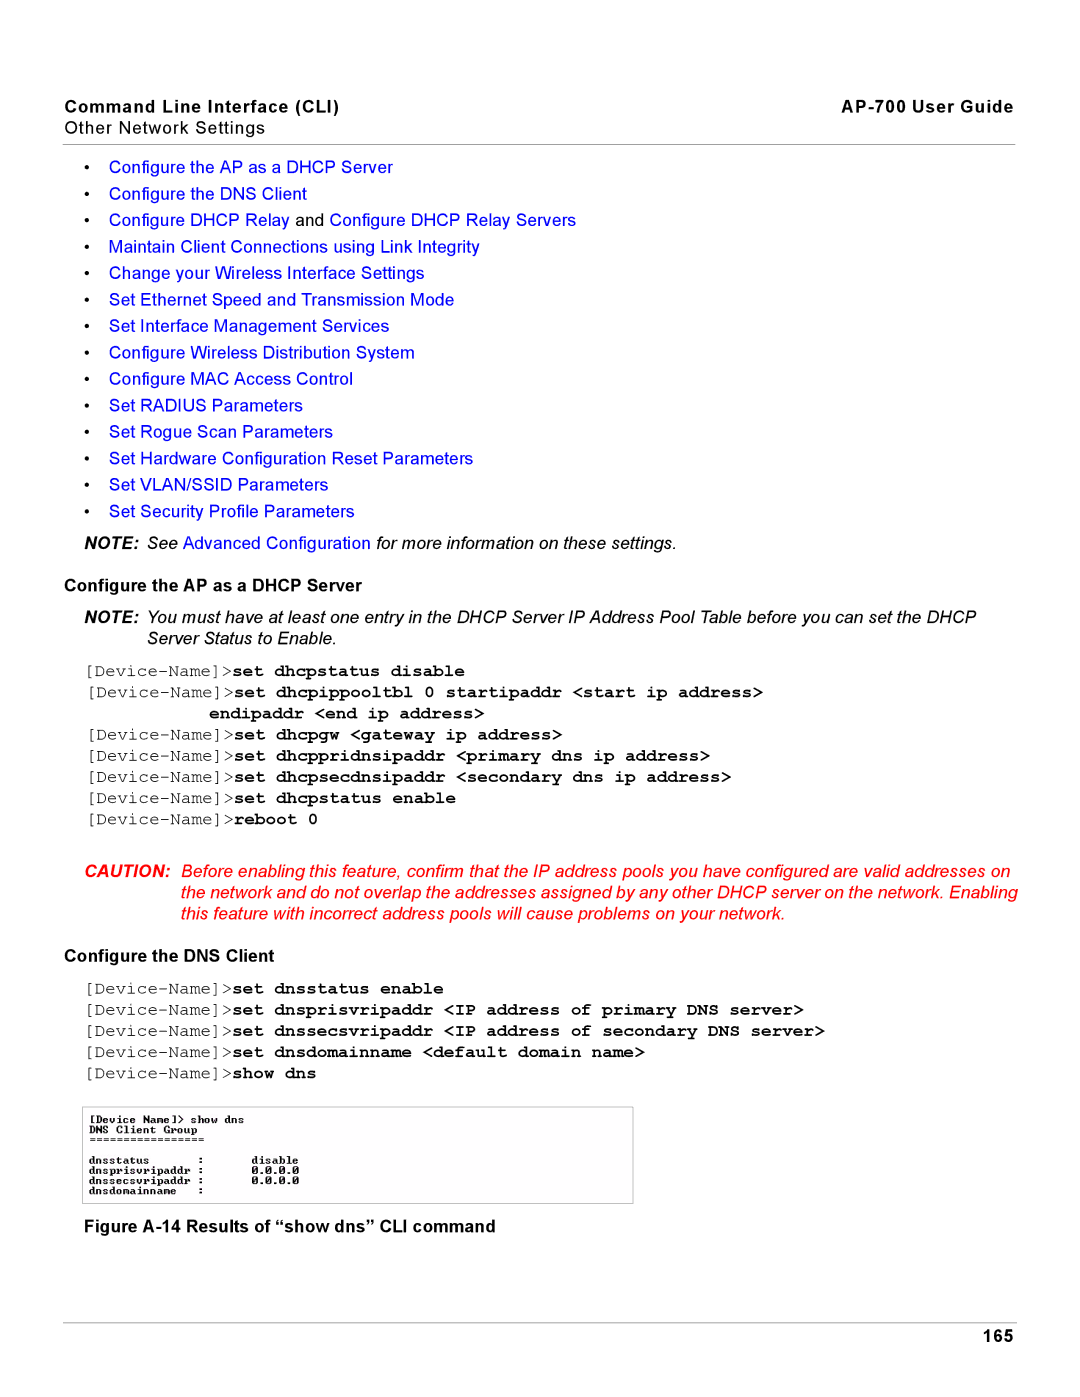
Configure the DNS Client
set dnsstatus enable
set dnsprisvripaddr <IP address of primary DNS server> set dnssecsvripaddr <IP address of secondary DNS server> set dnsdomainname <default domain name>
show dns