Chapter 3 Multi-Track Recording
Recording to Other Tracks (Overdubbing)
In
1.Select the tracks you want to play back. While holding down [STOP], press the STATUS buttons for the tracks you want to play back (i.e., that you want to hear while overdubbing).
The STATUS indicators light green.
2.Select the tracks to which you want to record. While holding down [REC], press the STATUS buttons for the tracks to which you want to record.
The STATUS indicators blink red.
3.Select the sources to record to the tracks. While holding down the STATUS buttons for the tracks you want to record to, press the SELECT buttons for the input channels whose sources you want assigned to the tracks.
The SELECT indicators blink.
Switching V-Tracks
1.Press [CH EDIT (SELECT)] for the track whose V- track you wish to switch.
2.Hold down [SHIFT] and press the channel 2 [V.Track (CH EDIT)].
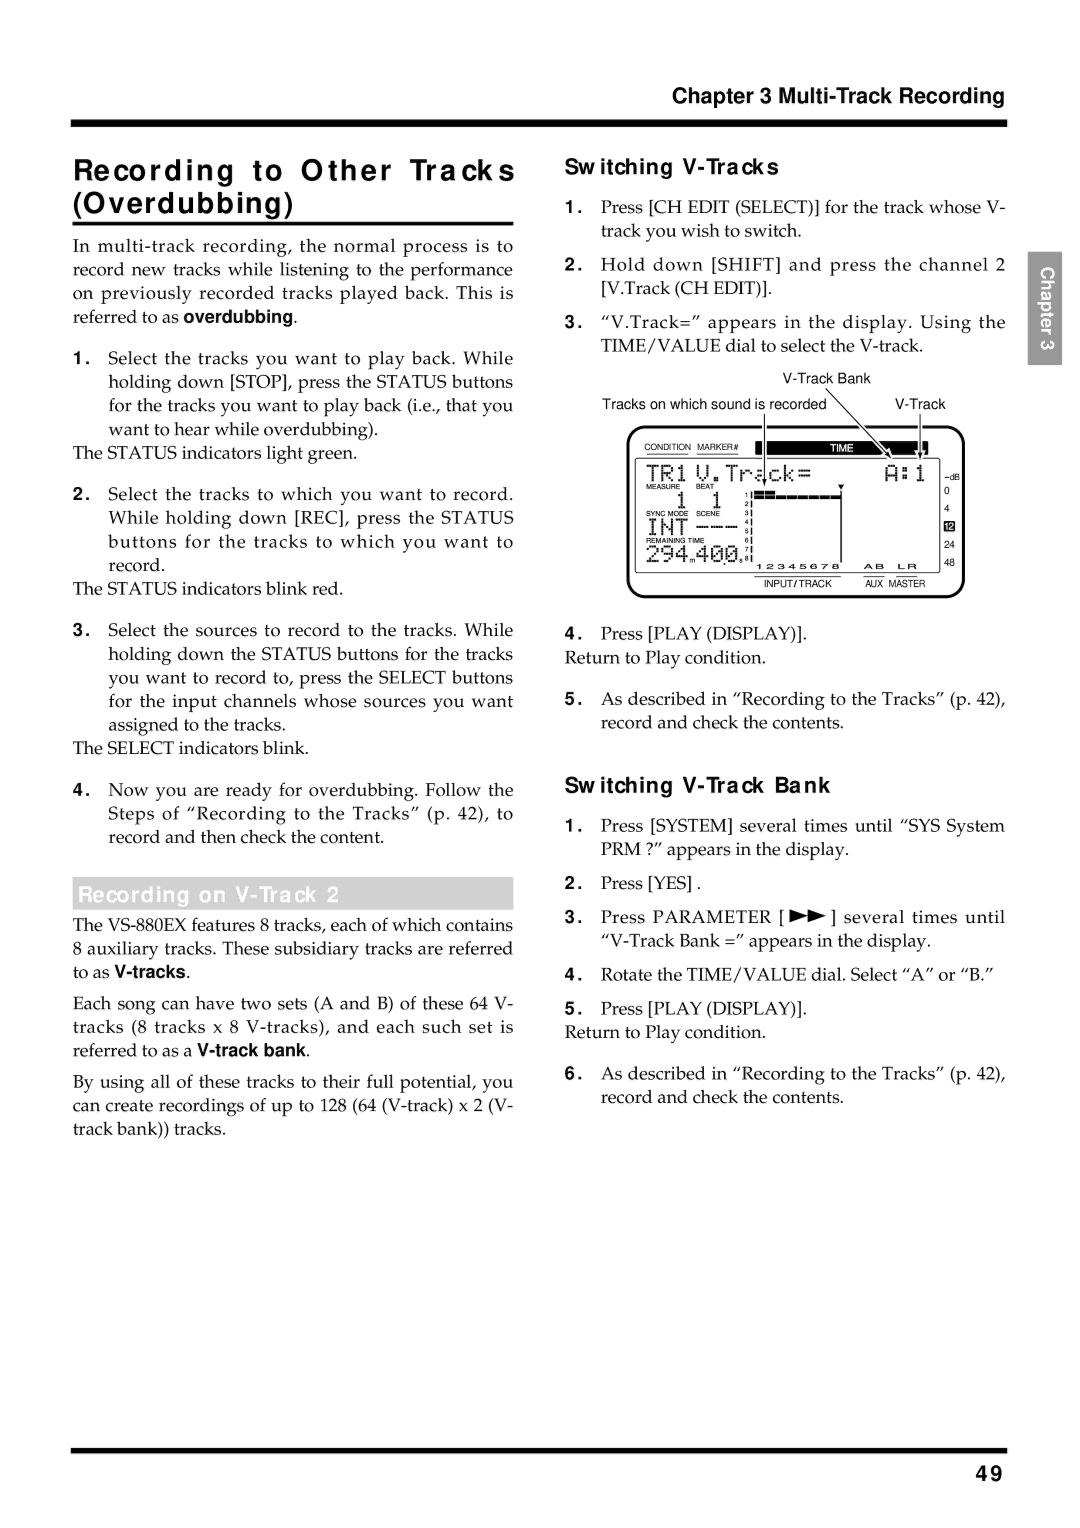
3.“V.Track=” appears in the display. Using the TIME/VALUE dial to select the
|
|
|
| |||
Tracks on which sound is recorded | ||||||
CONDITION MARKER# |
| |||||
TIME |
| |||||
|
|
|
|
|
|
|
dB
0
4
12
24
48
INPUT TRACK | AUX MASTER |
4.Press [PLAY (DISPLAY)]. Return to Play condition.
5.As described in “Recording to the Tracks” (p. 42), record and check the contents.
Chapter 3
4.Now you are ready for overdubbing. Follow the Steps of “Recording to the Tracks” (p. 42), to record and then check the content.
Recording on V-Track 2
The
Each song can have two sets (A and B) of these 64 V- tracks (8 tracks x 8
By using all of these tracks to their full potential, you can create recordings of up to 128 (64
Switching V-Track Bank
1.Press [SYSTEM] several times until “SYS System PRM ?” appears in the display.
2.Press [YES] .
3.Press PARAMETER [ ![]() ] several times until
] several times until
4.Rotate the TIME/VALUE dial. Select “A” or “B.”
5.Press [PLAY (DISPLAY)].
Return to Play condition.
6.As described in “Recording to the Tracks” (p. 42), record and check the contents.
49