Chapter 3 Multi-Track Recording
Combining the Contents of Tracks (Track Bouncing)
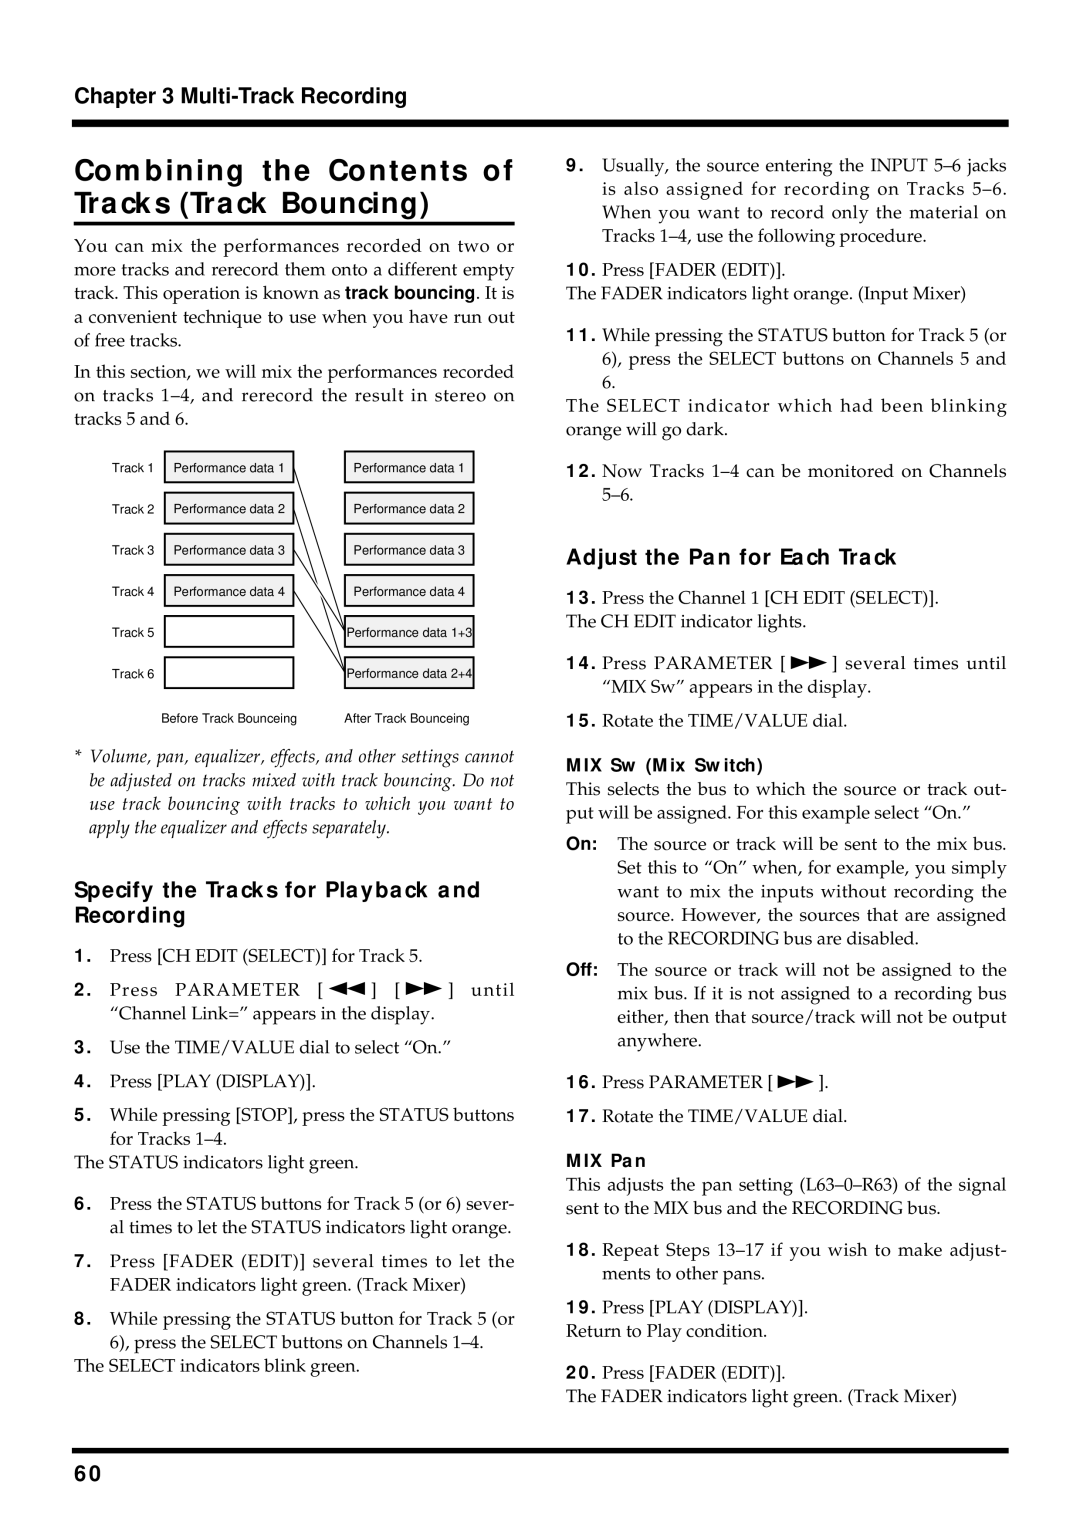
You can mix the performances recorded on two or more tracks and rerecord them onto a different empty track. This operation is known as track bouncing. It is a convenient technique to use when you have run out of free tracks.
In this section, we will mix the performances recorded on tracks
9.Usually, the source entering the INPUT
10.Press [FADER (EDIT)].
The FADER indicators light orange. (Input Mixer)
11.While pressing the STATUS button for Track 5 (or 6), press the SELECT buttons on Channels 5 and 6.
The SELECT indicator which had been blinking orange will go dark.
Track 1 Performance data 1
Track 2 Performance data 2
Track 3 Performance data 3
Track 4 Performance data 4
Track 5
Track 6
Before Track Bounceing
Performance data 1
Performance data 2
Performance data 3
Performance data 4
Performance data 1+3
Performance data 2+4
After Track Bounceing
12.Now Tracks
Adjust the Pan for Each Track
13.Press the Channel 1 [CH EDIT (SELECT)]. The CH EDIT indicator lights.
14.Press PARAMETER [ ![]() ] several times until “MIX Sw” appears in the display.
] several times until “MIX Sw” appears in the display.
15.Rotate the TIME/VALUE dial.
*Volume, pan, equalizer, effects, and other settings cannot be adjusted on tracks mixed with track bouncing. Do not use track bouncing with tracks to which you want to apply the equalizer and effects separately.
Specify the Tracks for Playback and Recording
1.Press [CH EDIT (SELECT)] for Track 5.
2.Press PARAMETER [ ![]() ] [
] [ ![]() ] until “Channel Link=” appears in the display.
] until “Channel Link=” appears in the display.
3.Use the TIME/VALUE dial to select “On.”
4.Press [PLAY (DISPLAY)].
5.While pressing [STOP], press the STATUS buttons for Tracks
The STATUS indicators light green.
6.Press the STATUS buttons for Track 5 (or 6) sever- al times to let the STATUS indicators light orange.
7.Press [FADER (EDIT)] several times to let the FADER indicators light green. (Track Mixer)
8.While pressing the STATUS button for Track 5 (or 6), press the SELECT buttons on Channels
The SELECT indicators blink green.
MIX Sw (Mix Switch)
This selects the bus to which the source or track out- put will be assigned. For this example select “On.”
On: The source or track will be sent to the mix bus. Set this to “On” when, for example, you simply want to mix the inputs without recording the source. However, the sources that are assigned to the RECORDING bus are disabled.
Off: The source or track will not be assigned to the mix bus. If it is not assigned to a recording bus either, then that source/track will not be output anywhere.
16.Press PARAMETER [ ![]() ].
].
17.Rotate the TIME/VALUE dial.
MIX Pan
This adjusts the pan setting
18.Repeat Steps
19.Press [PLAY (DISPLAY)].
Return to Play condition.
20.Press [FADER (EDIT)].
The FADER indicators light green. (Track Mixer)
60