Chapter 3 Multi-Track Recording
21. Press [PLAY] to begin playback of the song. | Applying Reverb While Track Bouncing |
|
22.Adjust the volume balance with the faders for Channels
23.Press [STOP] to stop playback of the song.
Sometimes you may want to record
Chapter 3
Record and Check the Content
24.Press [ZERO] to return to the beginning of the song.
25.While pressing [REC], press the STATUS button for Track 5 (or 6).
The STATUS indicator blinks red.
26.Press [REC].
The REC indicator blinks red.
27.Press [PLAY].
The PLAY indicator lights green, and starts recording.
28.When recording is finished, press [STOP]. This stops the song.
29.Check the content of the recording. Press [ZERO] to return to the beginning of the song.
30.Mute (sound is prevented from playing) Tracks
The STATUS indicators go off.
31.Press [PLAY] to begin playback of the song.
Use the channel faders 5 and the master fader to adjust the volume to a comfortable level.
Select an Effect
1.Press [EFFECT] several times until
2.Press [YES].
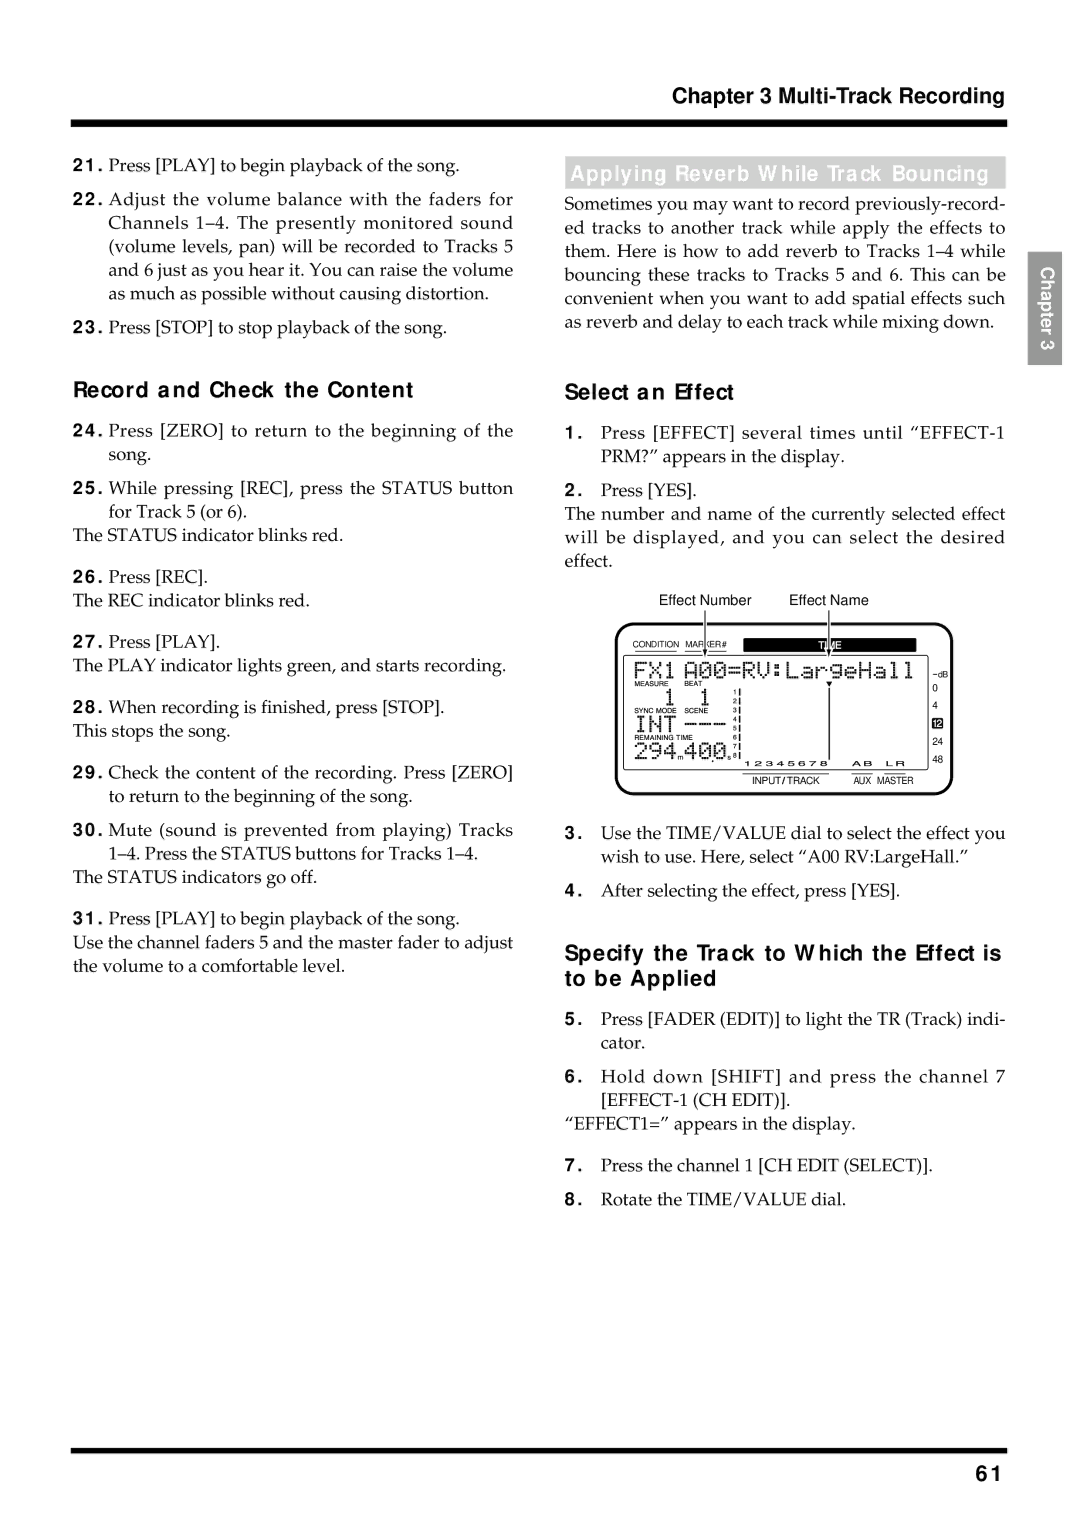
The number and name of the currently selected effect will be displayed, and you can select the desired effect.
| Effect Number | Effect Name | |||
CONDITION MARKER# | TIME | ||||
|
|
|
|
|
|
dB
0
4
12
24
48
INPUT TRACK | AUX MASTER |
3.Use the TIME/VALUE dial to select the effect you wish to use. Here, select “A00 RV:LargeHall.”
4.After selecting the effect, press [YES].
Specify the Track to Which the Effect is to be Applied
5.Press [FADER (EDIT)] to light the TR (Track) indi- cator.
6.Hold down [SHIFT] and press the channel 7
“EFFECT1=” appears in the display.
7.Press the channel 1 [CH EDIT (SELECT)].
8.Rotate the TIME/VALUE dial.
61