Chapter 2 Basic Operation
Using the Locator
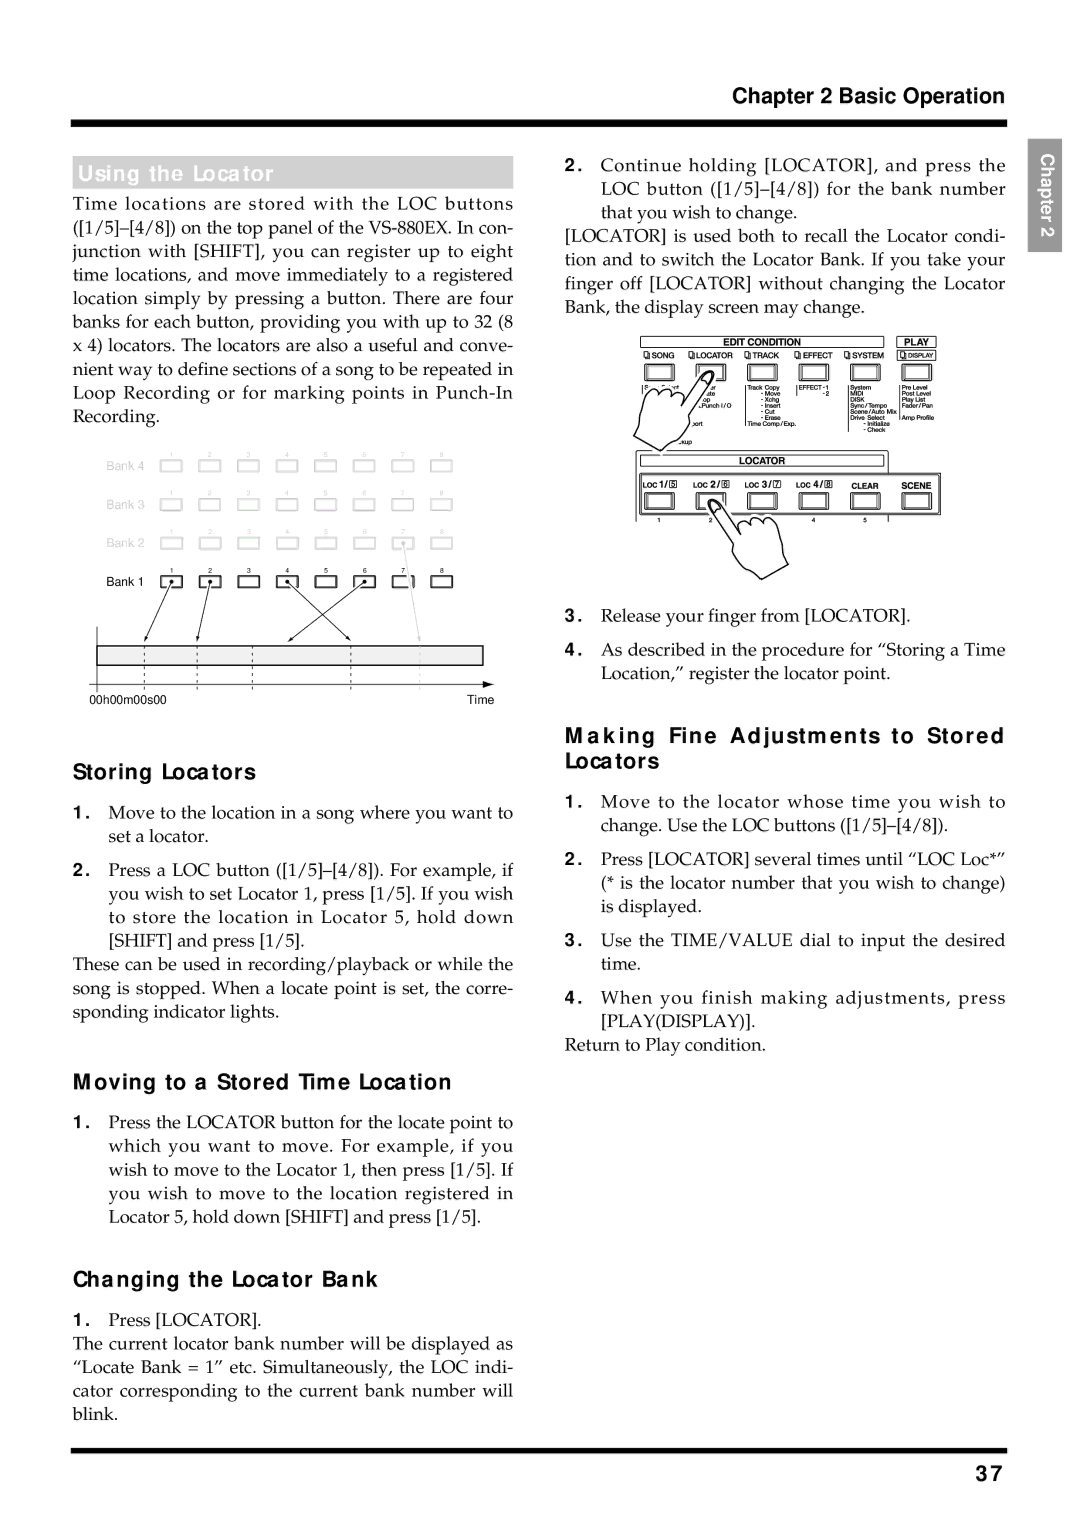
Time locations are stored with the LOC buttons
1 | 2 | 3 | 4 | 5 | 6 | 7 | 8 |
Bank 4 |
|
|
|
|
|
|
|
1 | 2 | 3 | 4 | 5 | 6 | 7 | 8 |
Bank 3 |
|
|
|
|
|
|
|
1 | 2 | 3 | 4 | 5 | 6 | 7 | 8 |
Bank 2 |
|
|
|
|
|
|
|
1 | 2 | 3 | 4 | 5 | 6 | 7 | 8 |
Bank 1
2.Continue holding [LOCATOR], and press the LOC button
[LOCATOR] is used both to recall the Locator condi- tion and to switch the Locator Bank. If you take your finger off [LOCATOR] without changing the Locator Bank, the display screen may change.
3.Release your finger from [LOCATOR].
4.As described in the procedure for “Storing a Time Location,” register the locator point.
Chapter 2
00h00m00s00 | Time |
Storing Locators
1.Move to the location in a song where you want to set a locator.
2.Press a LOC button
These can be used in recording/playback or while the song is stopped. When a locate point is set, the corre- sponding indicator lights.
Moving to a Stored Time Location
1.Press the LOCATOR button for the locate point to which you want to move. For example, if you wish to move to the Locator 1, then press [1/5]. If you wish to move to the location registered in Locator 5, hold down [SHIFT] and press [1/5].
Changing the Locator Bank
1.Press [LOCATOR].
The current locator bank number will be displayed as “Locate Bank = 1” etc. Simultaneously, the LOC indi- cator corresponding to the current bank number will blink.
Making Fine Adjustments to Stored Locators
1.Move to the locator whose time you wish to change. Use the LOC buttons
2.Press [LOCATOR] several times until “LOC Loc*” (* is the locator number that you wish to change) is displayed.
3.Use the TIME/VALUE dial to input the desired time.
4.When you finish making adjustments, press [PLAY(DISPLAY)].
Return to Play condition.
37
