4In the Edit Overlay window, click Create Overlay.
5In the Create Overlay window, type a name in the File
name box. Select the destination path, if necessary. (The default is C:\Formover).
6Click Save. The name appears on the Overlay List box.
7Click OK or Yes to finish creating.
The file is not printed. Instead it is stored on your computer hard disk drive.
NOTE: The overlay document size must be the same as the documents you print with the overlay. Do not create an overlay with a watermark.
Using a Page Overlay
After an overlay has been created, it is ready to be printed with your document. To print an overlay with a document:
1Create or open the document you want to print.
2To change the print settings from your software
application, access printer properties. See “Printing a Document” on page 12.
3Click the Extras tab.
4Select the desired overlay from the Overlay
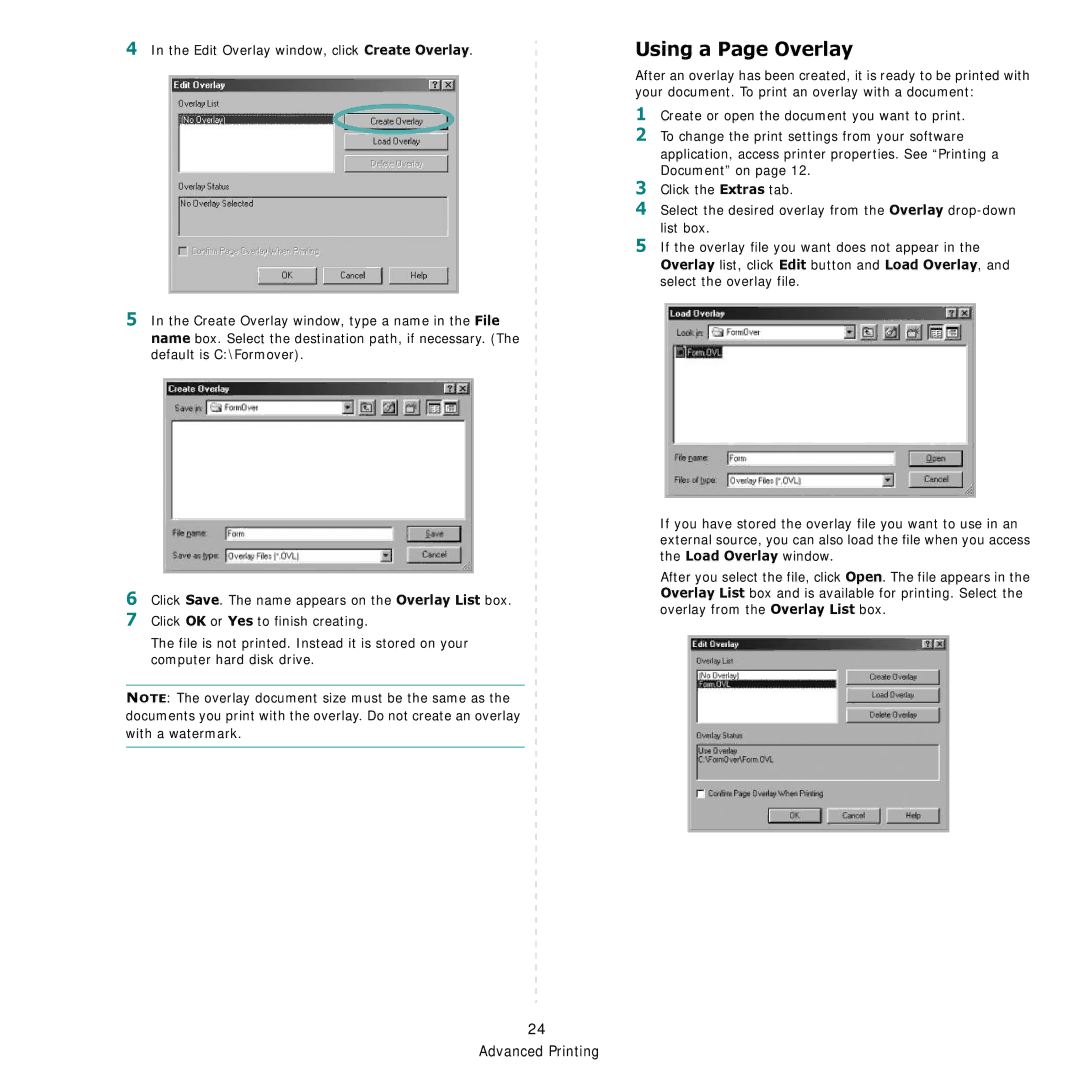
5If the overlay file you want does not appear in the Overlay list, click Edit button and Load Overlay, and select the overlay file.
If you have stored the overlay file you want to use in an external source, you can also load the file when you access the Load Overlay window.
After you select the file, click Open. The file appears in the Overlay List box and is available for printing. Select the overlay from the Overlay List box.
24 Advanced Printing