in which n is the number of dots defining the thickness of the rule or the depth of the pattern.
Alternatively, to show the vertical dimension in decipoints, you send this command:
<ESC> *c n V
in which n is the number of decipoints in the rule’s thickness or the pattern’s vertical length.
4 C | a p | a r o p |
You need the next five commands to choose and print the particular pattern you want to fill your defined area. These commands work together.
With the Print Pattern command (which actually comes second) you specify whether you want to fill your rectangular area with a solid black rule, a finely dotted
To indicate the particular pattern you want, send the following command. The general meaning of then value you enter actually depends on the com- mand you put after this:
<ESC> *C n G
If you want a solid black rule it doesn’t matter what you put in for n, as the printer ignores it.
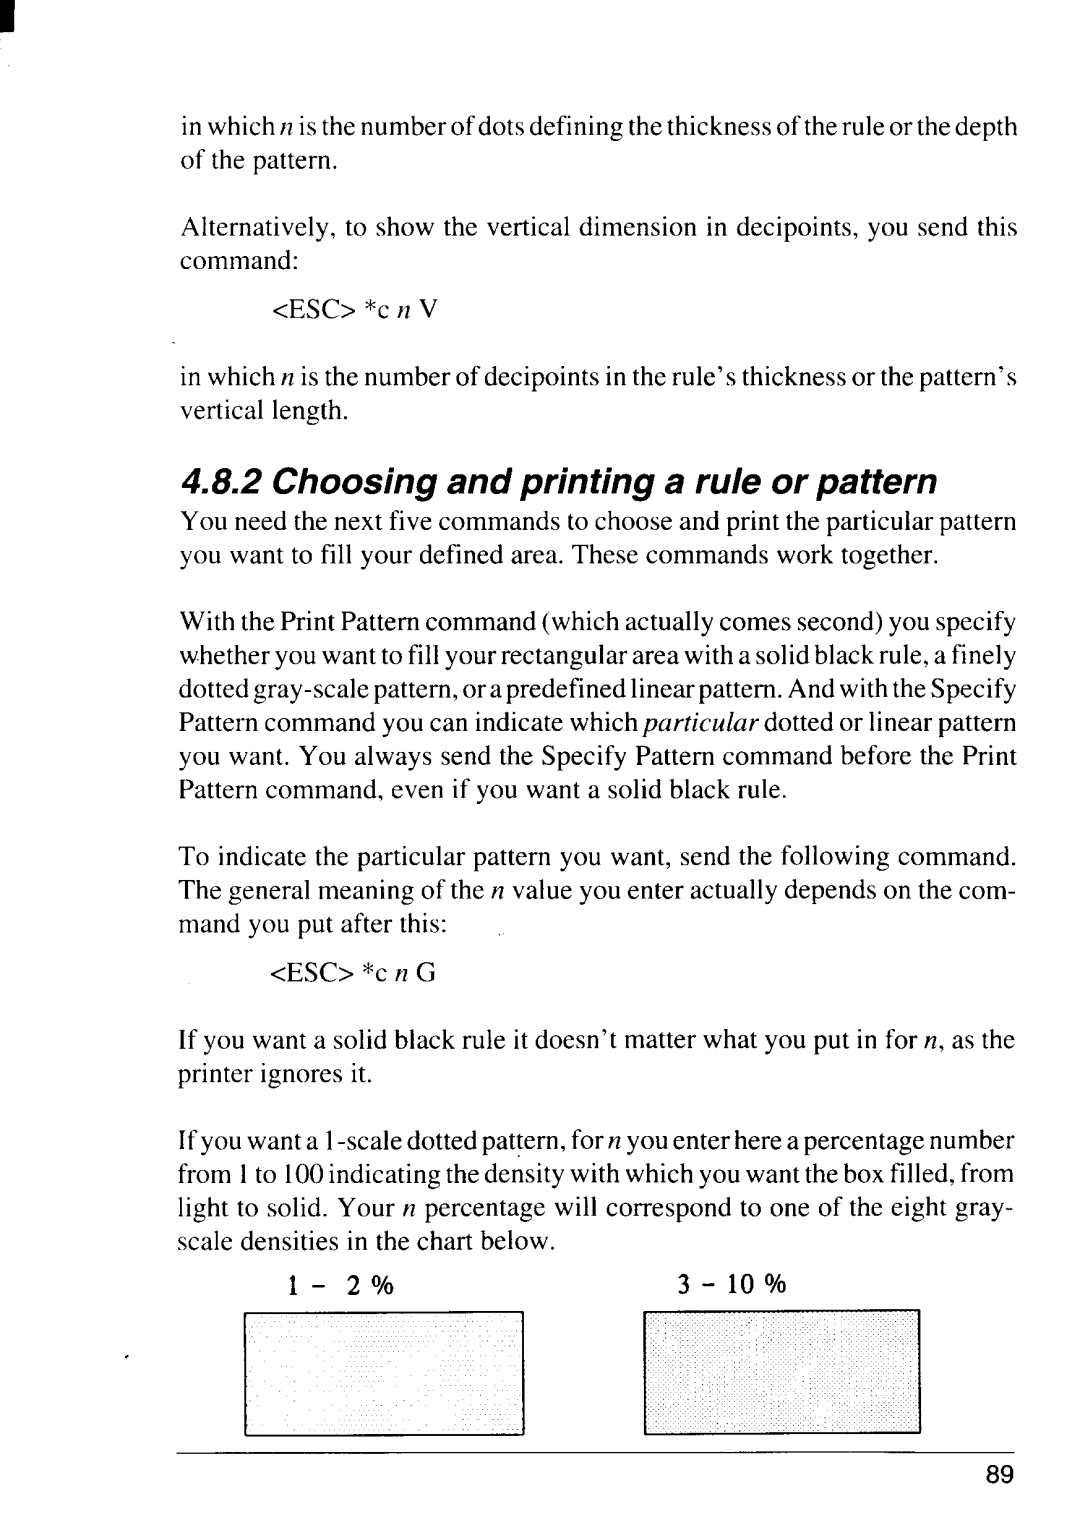
If you want a
1- 2%0 |
89
