3 USEFUL FUNCTIONS
Scanning With Dual Functions (Dual Agents)
When performing a scan operation, you can select 2 of the scan functions at one time.
yThis function is available only when the hard disk is installed in the equipment.
yThe WS Scan function cannot be selected together with other scan functions.
Scanning with dual functions (Dual Agents)
1 Place the original(s).
For help, refer to the Quick Start Guide.
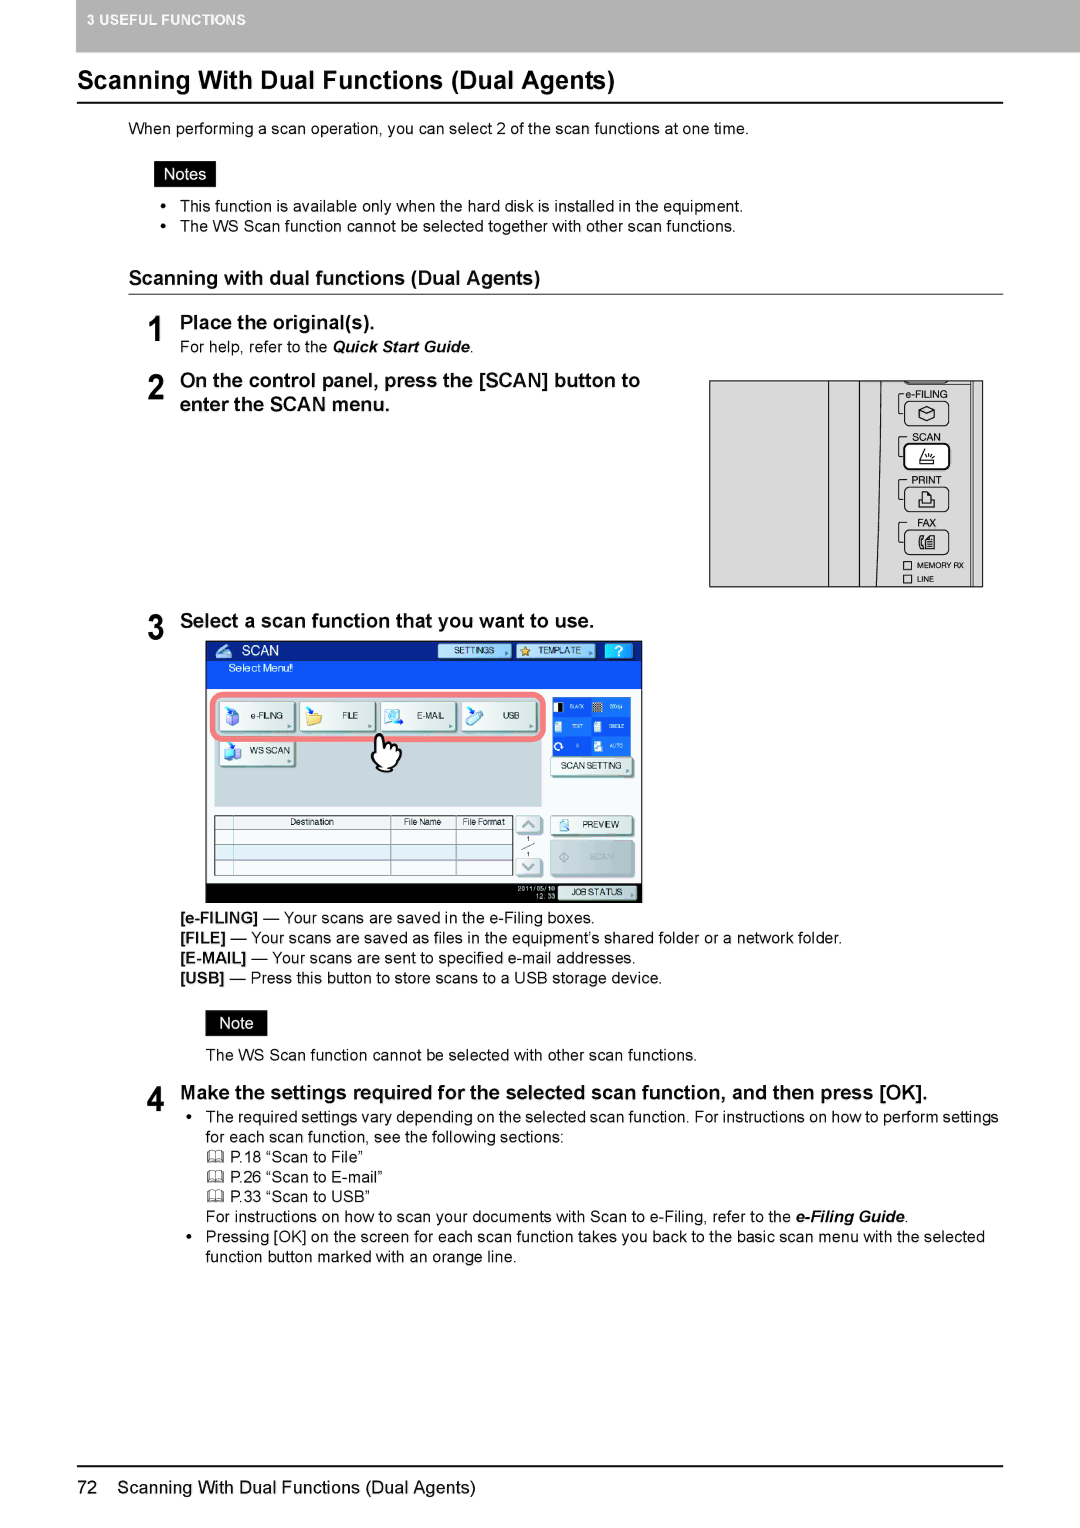
2 On the control panel, press the [SCAN] button to enter the SCAN menu.
3 Select a scan function that you want to use.
[FILE] — Your scans are saved as files in the equipment’s shared folder or a network folder.
[USB] — Press this button to store scans to a USB storage device.
The WS Scan function cannot be selected with other scan functions.
4 Make the settings required for the selected scan function, and then press [OK].
y The required settings vary depending on the selected scan function. For instructions on how to perform settings for each scan function, see the following sections:
P.18 “Scan to File”
P.26 “Scan to
P.33 “Scan to USB”
For instructions on how to scan your documents with Scan to
y Pressing [OK] on the screen for each scan function takes you back to the basic scan menu with the selected function button marked with an orange line.
72 Scanning With Dual Functions (Dual Agents)