1 OVERVIEW
Scan Features
With the equipment, originals placed in the Reversing Automatic Document Feeder or on the original glass can easily be scanned as image data. The image data can then be stored in the
Scan functions
This equipment supports 5 scan functions; “Scan to
yThe
yThese functions below are available only when the hard disk is installed in the equipment.
-Scan to
-Scan to File (MFP LOCAL)
-Specifying more than one network folder (REMOTE 1 / REMOTE 2)
-Saving scans as XPS files
-Previewing scans
-Scanning With Dual Functions (Dual Agents)
-Saving sent data as a file in the shared folder of the equipment by Internet fax (Internet Fax and File)
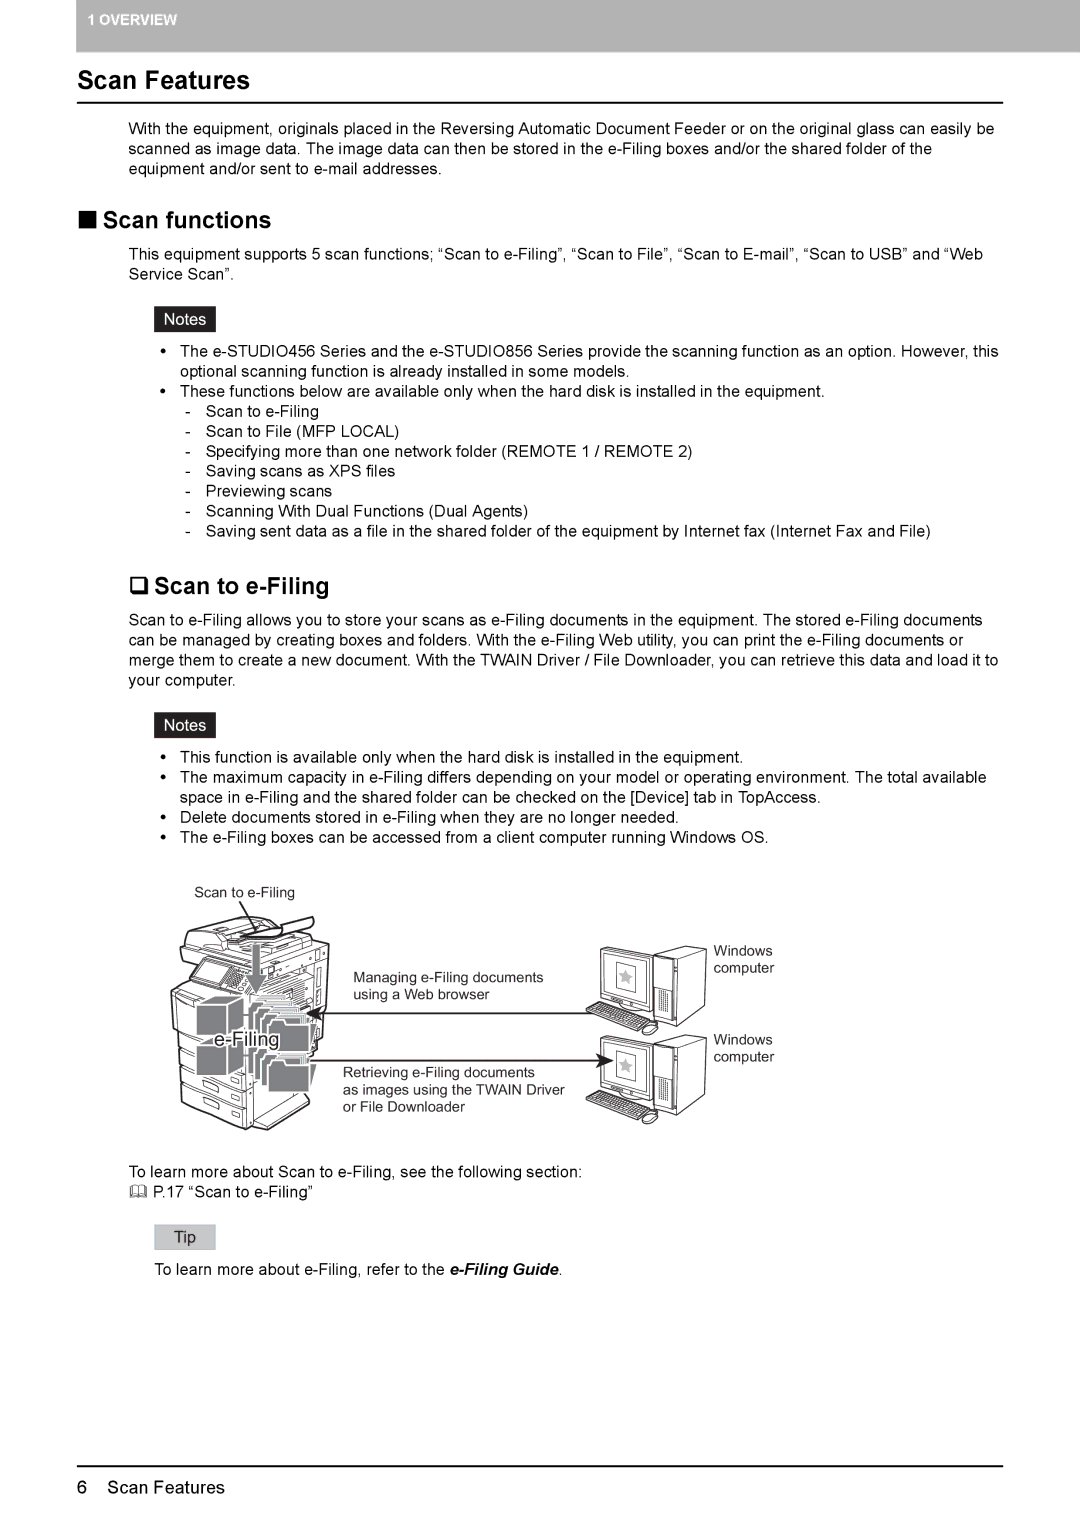
Scan to e-Filing
Scan to
yThis function is available only when the hard disk is installed in the equipment.
yThe maximum capacity in
yDelete documents stored in
yThe
Scan to
Managing
Windows computer
|
Windows computer
Retrieving
as images using the TWAIN Driver or File Downloader
To learn more about Scan to
To learn more about
6 Scan Features