2 BASIC OPERATION
Scan to USB
The Scan to USB function stores scans to a USB storage device.
yTo store data in a USB storage device, the Save to USB Media setting must be enabled by the administrator. For details, refer to the TopAccess Guide.
yUSB storage devices must meet requirements below. However, some USB storage devices may not be used with this equipment even though the requirements below are met.
-FAT16 or FAT32 format
-
yThese functions below are available only when the hard disk is installed in the equipment.
-Saving scans as XPS files
-Previewing scans
-Scanning With Dual Functions (Dual Agents)
yWhen a USB storage device is used for the model below, attach the front USB cable to the equipment and connect the USB storage device to the USB port.
-
Scanning to USB
1 Place the original(s).
For help, refer to the Quick Start Guide.
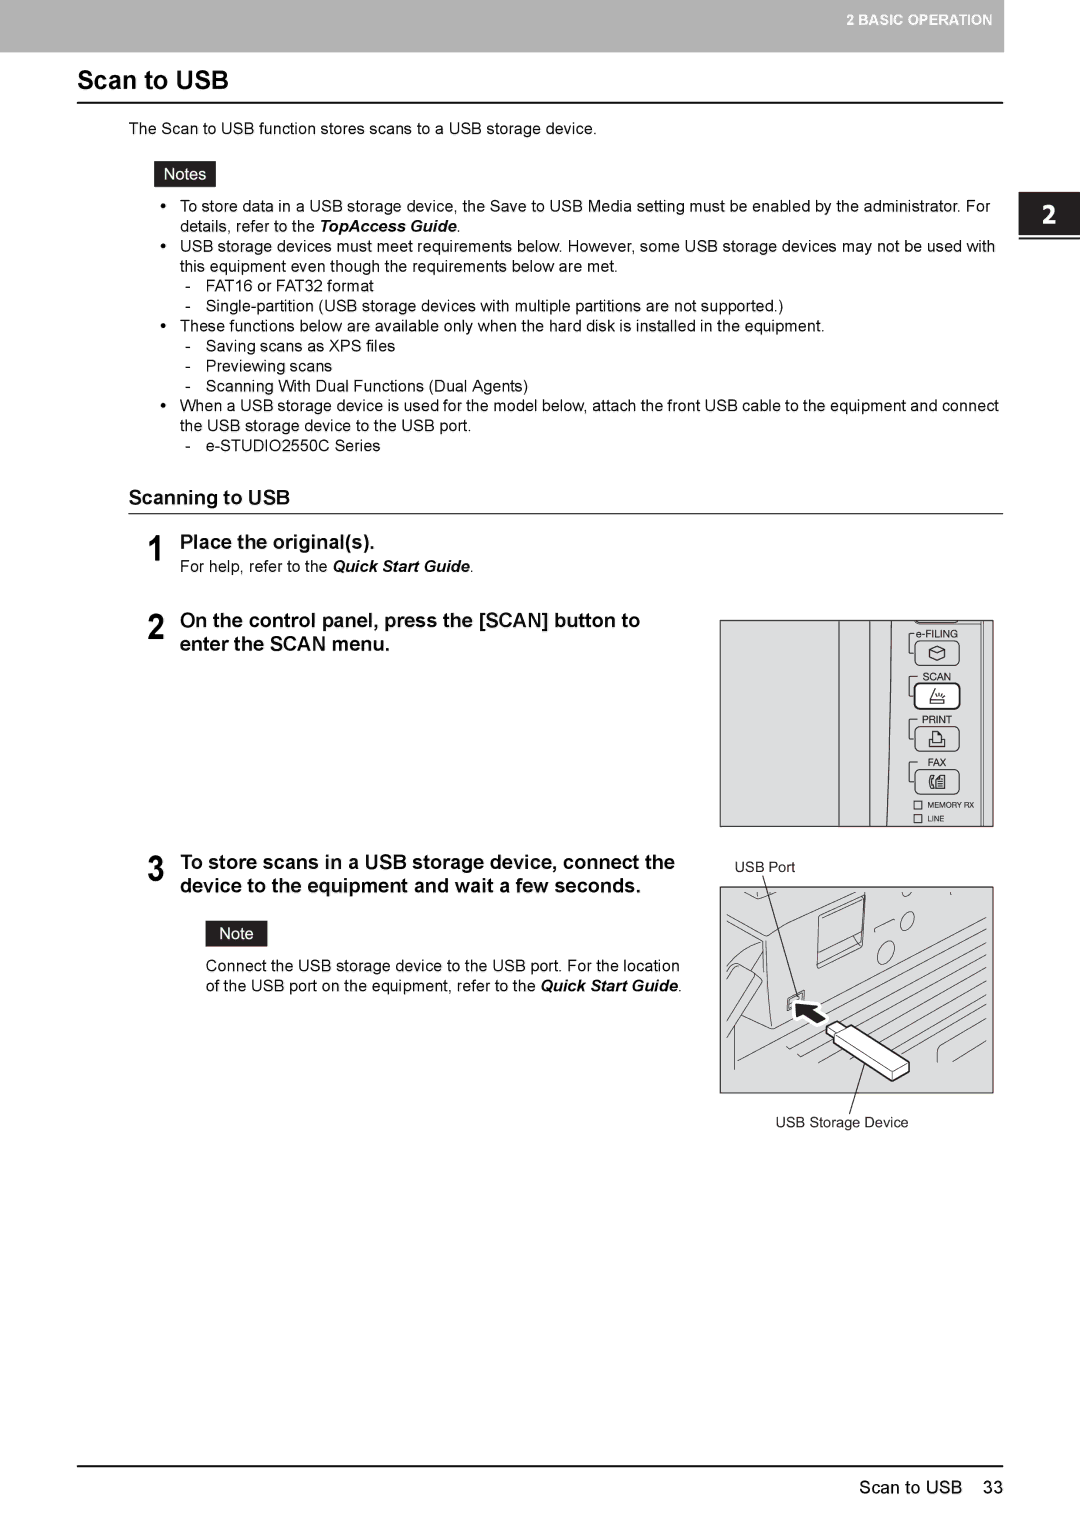
2 On the control panel, press the [SCAN] button to enter the SCAN menu.
3 | To store scans in a USB storage device, connect the | USB Port | ||
device to the equipment and wait a few seconds. |
| |||
| ||||
|
|
|
|
|
|
|
|
|
|
Connect the USB storage device to the USB port. For the location of the USB port on the equipment, refer to the Quick Start Guide.
USB Storage Device
Scan to USB 33