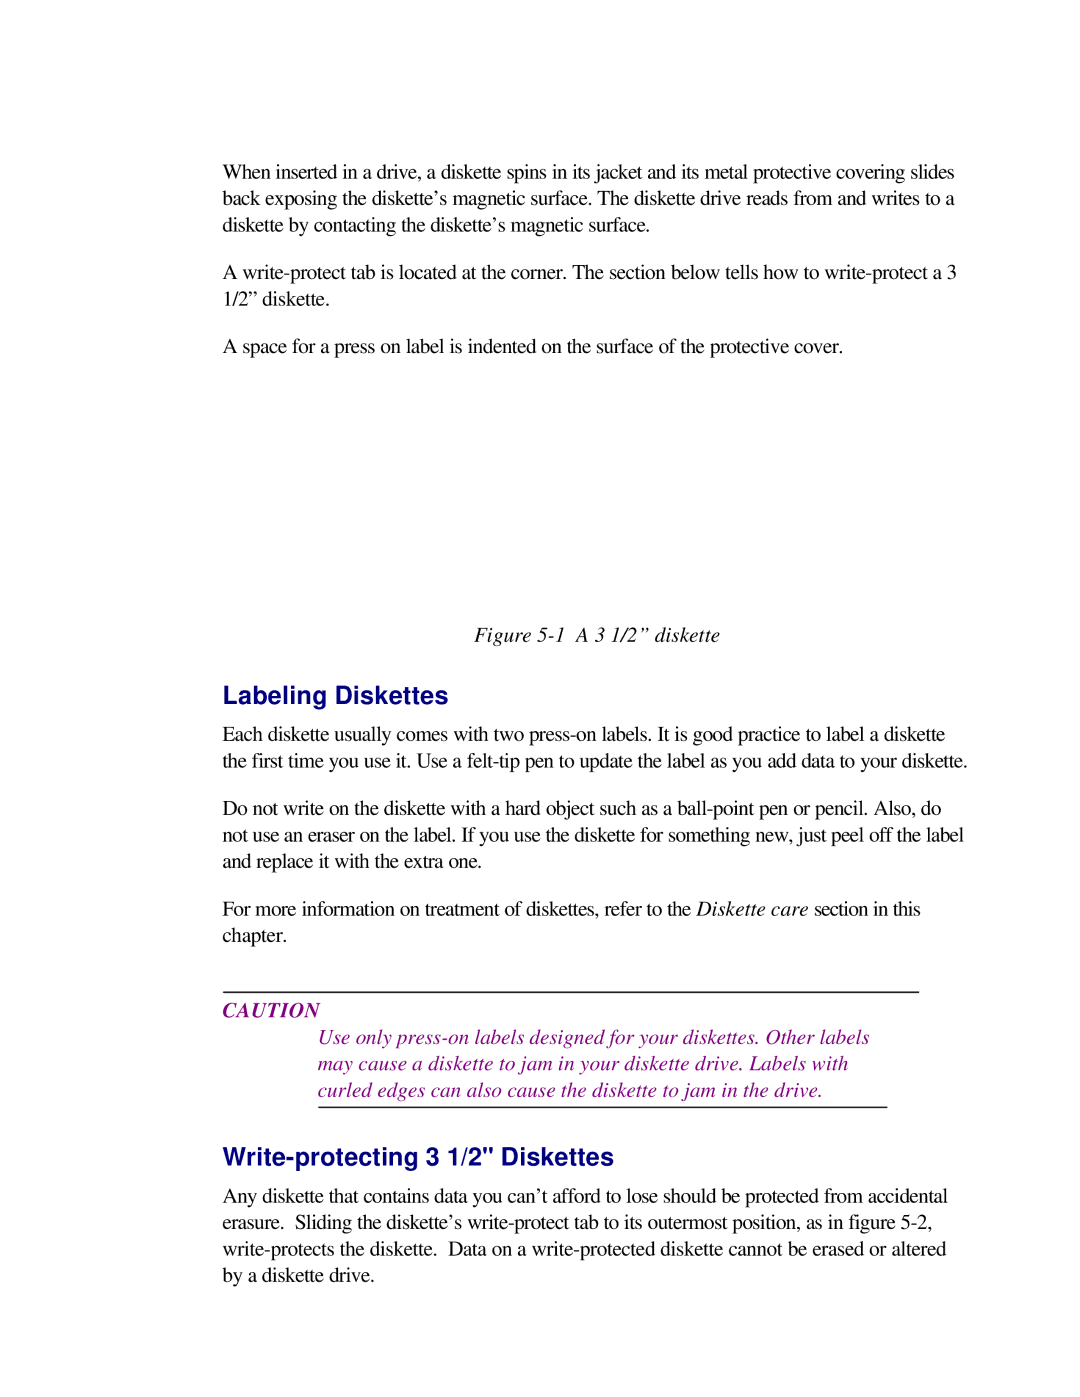
When inserted in a drive, a diskette spins in its jacket and its metal protective covering slides back exposing the diskette’s magnetic surface. The diskette drive reads from and writes to a diskette by contacting the diskette’s magnetic surface.

A write-protect tab is located at the corner. The section below tells how to write-protect a 3 1/2” diskette.

A space for a press on label is indented on the surface of the protective cover.

Figure 5-1 A 3 1/2” diskette

Labeling Diskettes

Each diskette usually comes with two press-on labels. It is good practice to label a diskette the first time you use it. Use a felt-tip pen to update the label as you add data to your diskette.

Do not write on the diskette with a hard object such as a ball-point pen or pencil. Also, do not use an eraser on the label. If you use the diskette for something new, just peel off the label and replace it with the extra one.

For more information on treatment of diskettes, refer to the Diskette care section in this chapter.

CAUTION

Use only press-on labels designed for your diskettes. Other labels may cause a diskette to jam in your diskette drive. Labels with curled edges can also cause the diskette to jam in the drive.

Write-protecting 3 1/2" Diskettes

Any diskette that contains data you can’t afford to lose should be protected from accidental erasure. Sliding the diskette’s write-protect tab to its outermost position, as in figure 5-2, write-protects the diskette. Data on a write-protected diskette cannot be erased or altered by a diskette drive.

Page 49
Image 49
Toshiba T2150CD user manual Labeling Diskettes, Write-protecting 3 1/2 Diskettes