![]() CAUTION
CAUTION
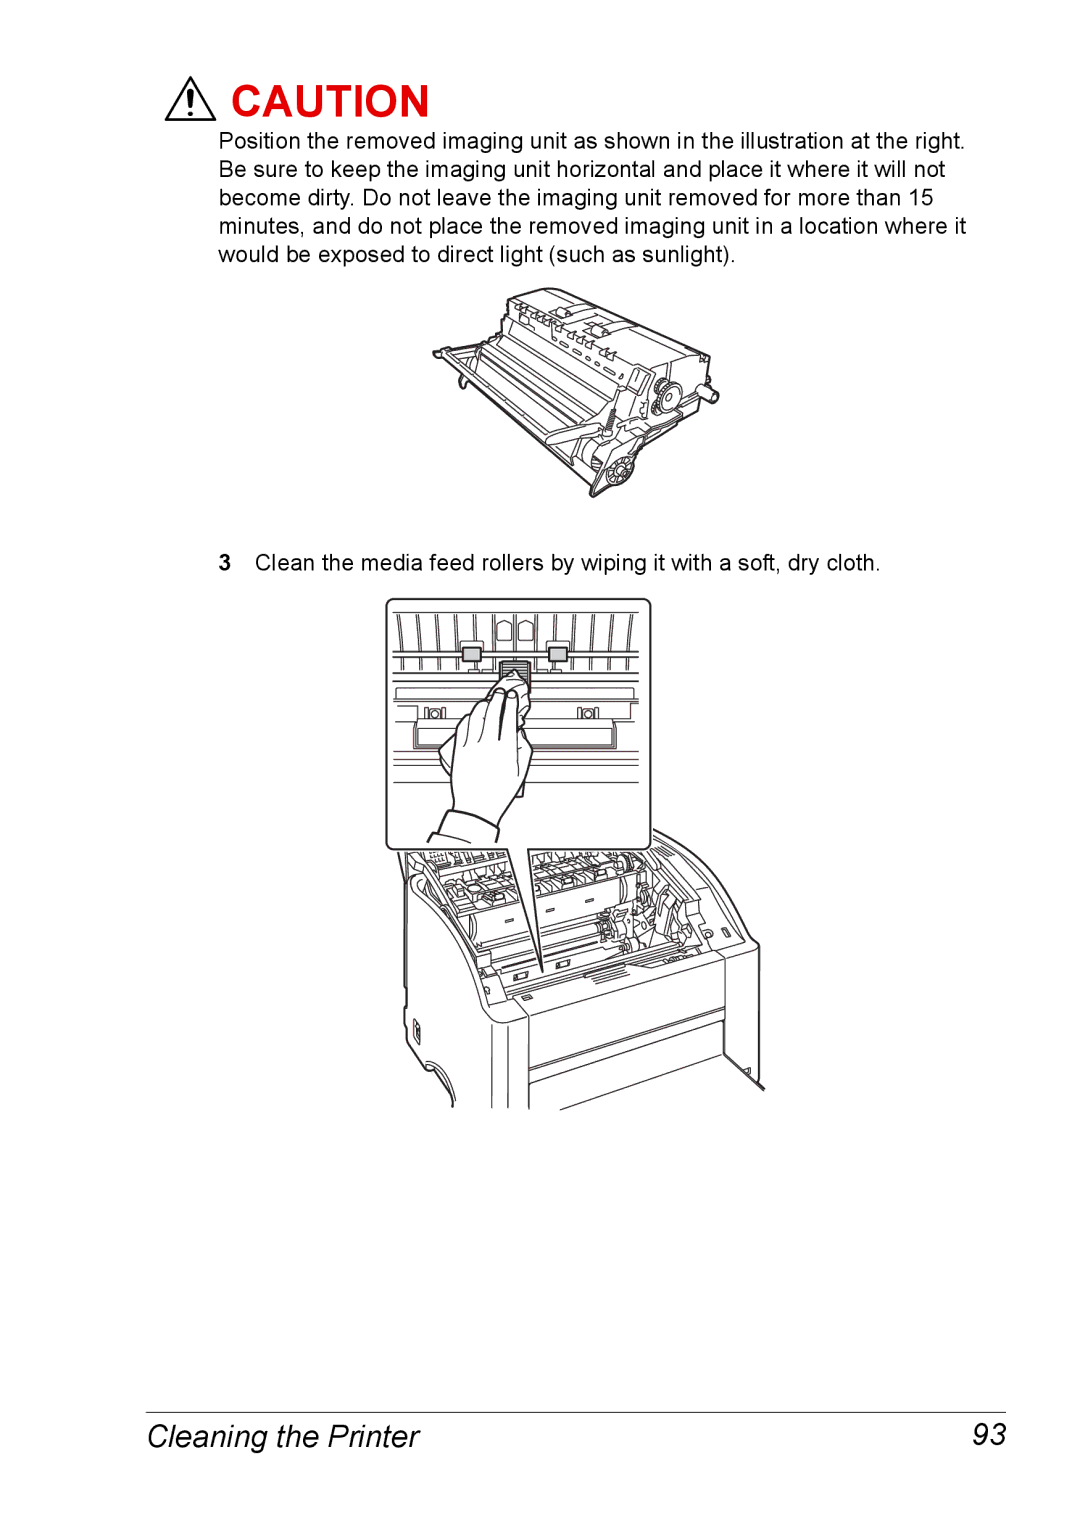
Position the removed imaging unit as shown in the illustration at the right. Be sure to keep the imaging unit horizontal and place it where it will not become dirty. Do not leave the imaging unit removed for more than 15 minutes, and do not place the removed imaging unit in a location where it would be exposed to direct light (such as sunlight).
3Clean the media feed rollers by wiping it with a soft, dry cloth.
Cleaning the Printer | 93 |