4: Printer Settings and Adjustments
Printing Preferences
Inhibit Option
Note • The quality of magnetic stripes on cards varies from manufacturer to manufacturer which can result in remnants of the transfer film remaining on the magnetic stripe and may affect the readability of the magnetic stripe on some cards. The remnants will eventually rub off the stripe with a few swipes through a reader, but the transfer film can be virtually eliminated with the use of the YMCKI ribbon.
The Inhibit
To access the Inhibit
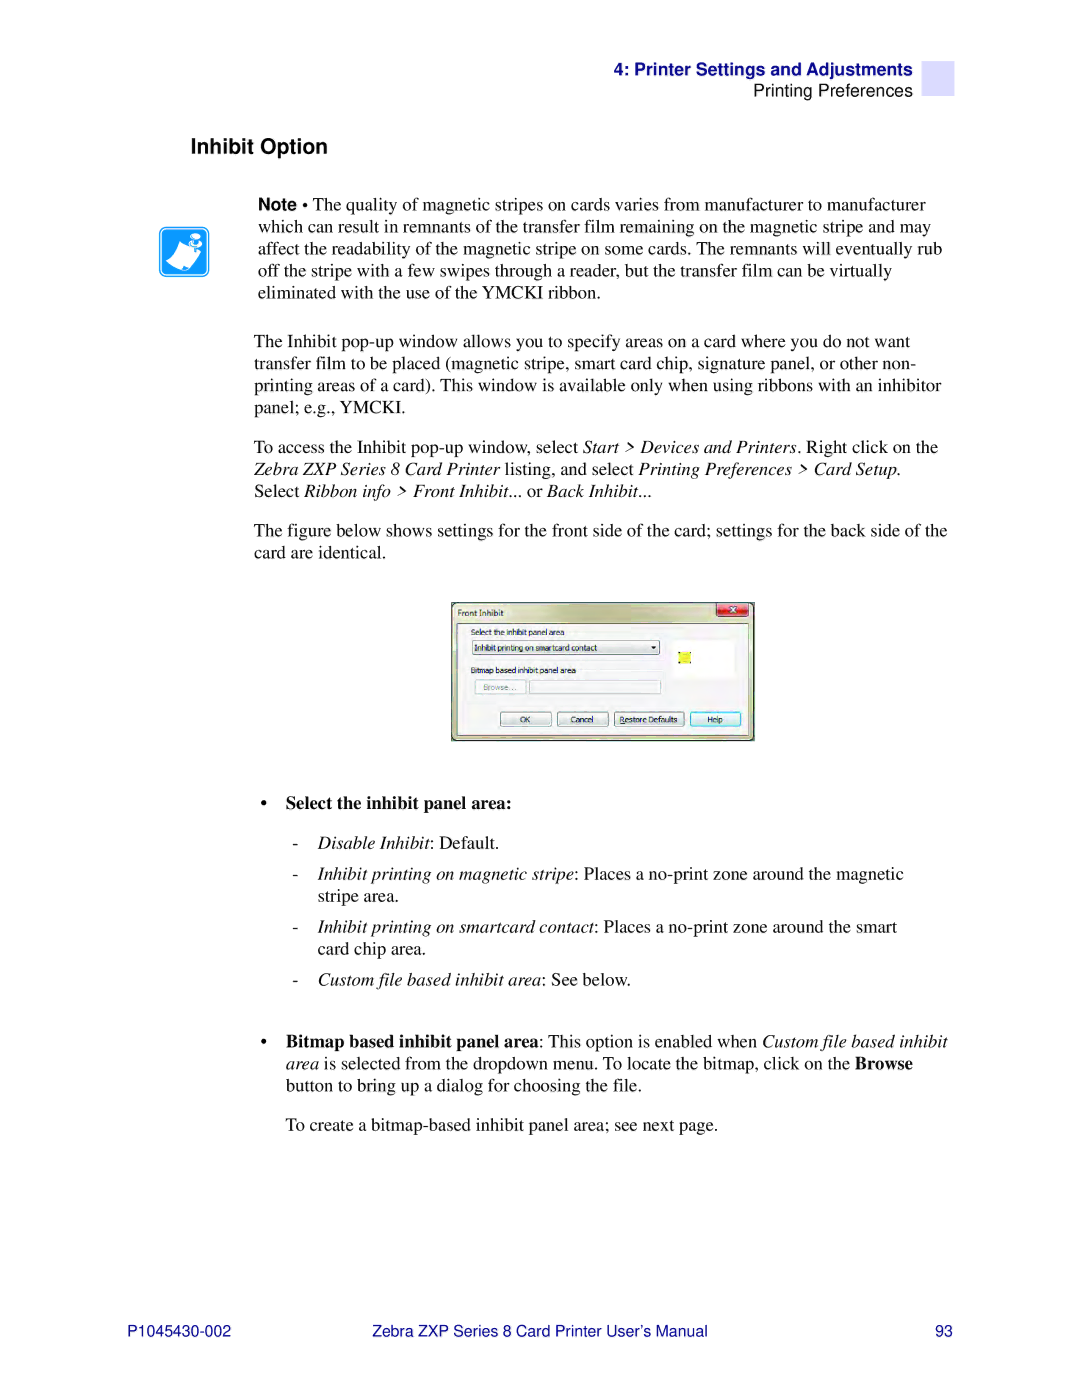
The figure below shows settings for the front side of the card; settings for the back side of the card are identical.
•Select the inhibit panel area:
-Disable Inhibit: Default.
-Inhibit printing on magnetic stripe: Places a
-Inhibit printing on smartcard contact: Places a
-Custom file based inhibit area: See below.
•Bitmap based inhibit panel area: This option is enabled when Custom file based inhibit area is selected from the dropdown menu. To locate the bitmap, click on the Browse button to bring up a dialog for choosing the file.
To create a
Zebra ZXP Series 8 Card Printer User’s Manual | 93 |
