Maintenance
CAUTION:
Check that backup tapes are not
Replacing the Disk/Tape Drive
To remove either the disk drive or the tape drive from the Alarm Board, refer back to Figure
WARNING:
Static electricity can be destructive to system parts. Use an
1.Ensure that the users know you will be powering down the system and disrupting service.
2.If it is not already shut down, bring the system to the MSHUT state. (From the Main Menu, select Maintenance, Reset System, and then Shutdown.)
3.Carefully slide the system from the switch carrier. Handle with care; the system weighs 6.2 pounds.
4.Cut loose and remove the tie wrap that holds the power cable and the tape drive SCSI bus cable against the Alarm Board.
5.Disconnect the SCSI bus cable from the Alarm Board that is connected to the drive being replaced, using the pull tabs. (This sentence is unclear; please clarify.)
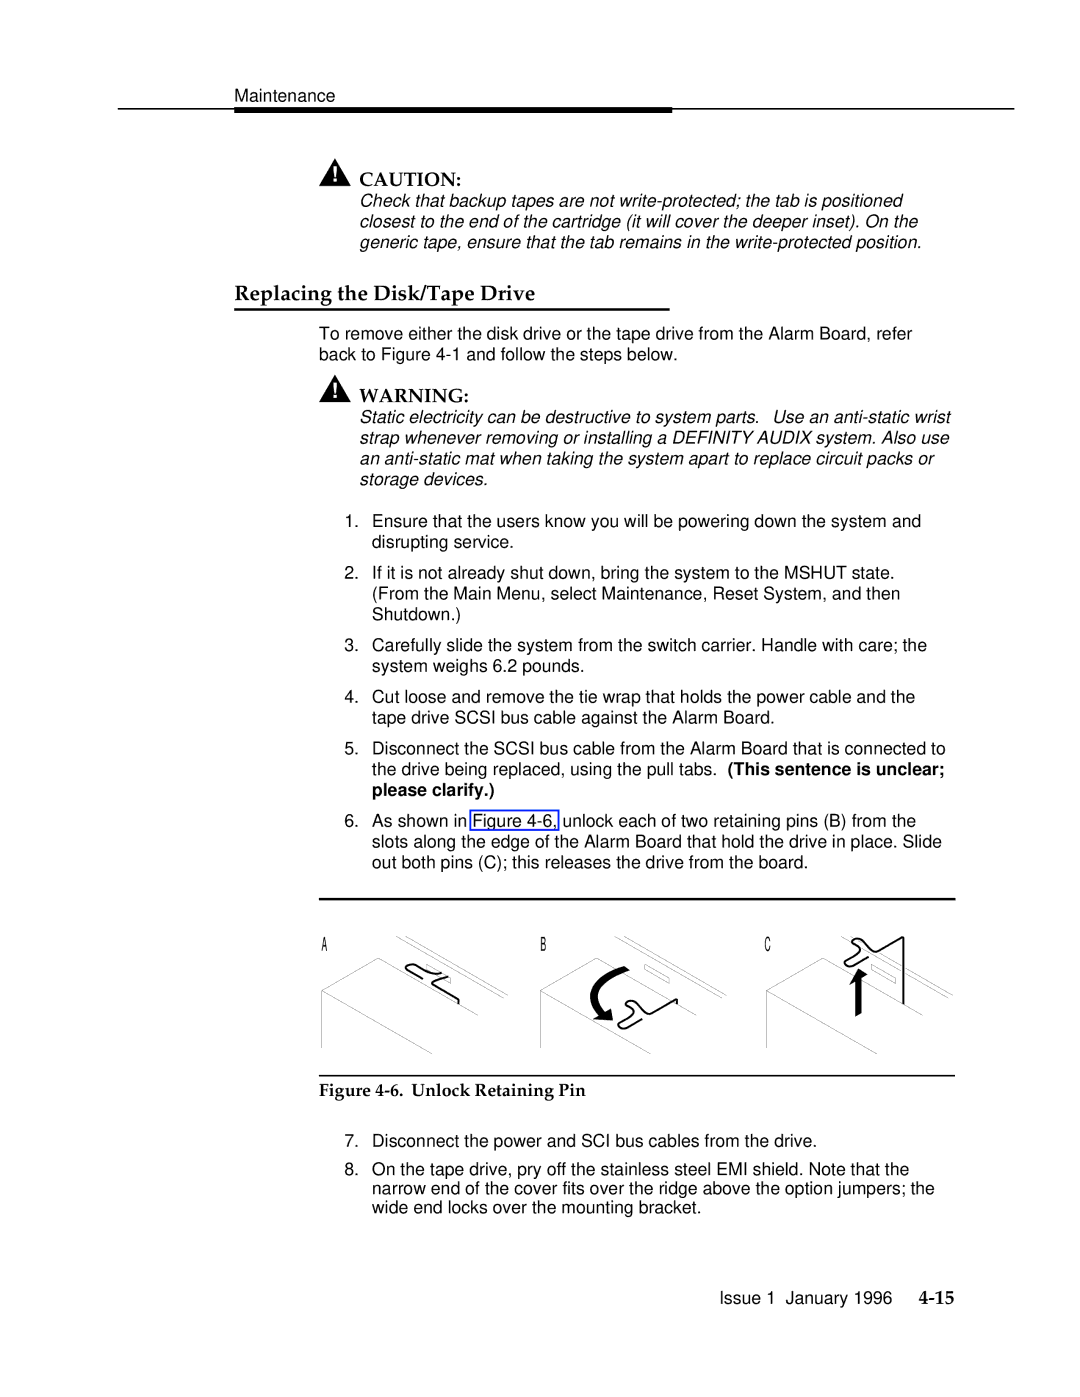
6.As shown in Figure
ABC
Figure 4-6. Unlock Retaining Pin
7.Disconnect the power and SCI bus cables from the drive.
8.On the tape drive, pry off the stainless steel EMI shield. Note that the narrow end of the cover fits over the ridge above the option jumpers; the wide end locks over the mounting bracket.
Issue 1 January 1996