5
CAUTION
The pull tabs are not designed to be bent. Doing so may result in damage to the pull tab.
Removing an mSFP transceiver
For this procedure, refer to Figure 30.
Complete the following steps to remove an mSFP transceiver.
1.Grasp the pull tab firmly and pull the unit out of the port.
2.Remove the cable from the transceiver.
1 | 2 |
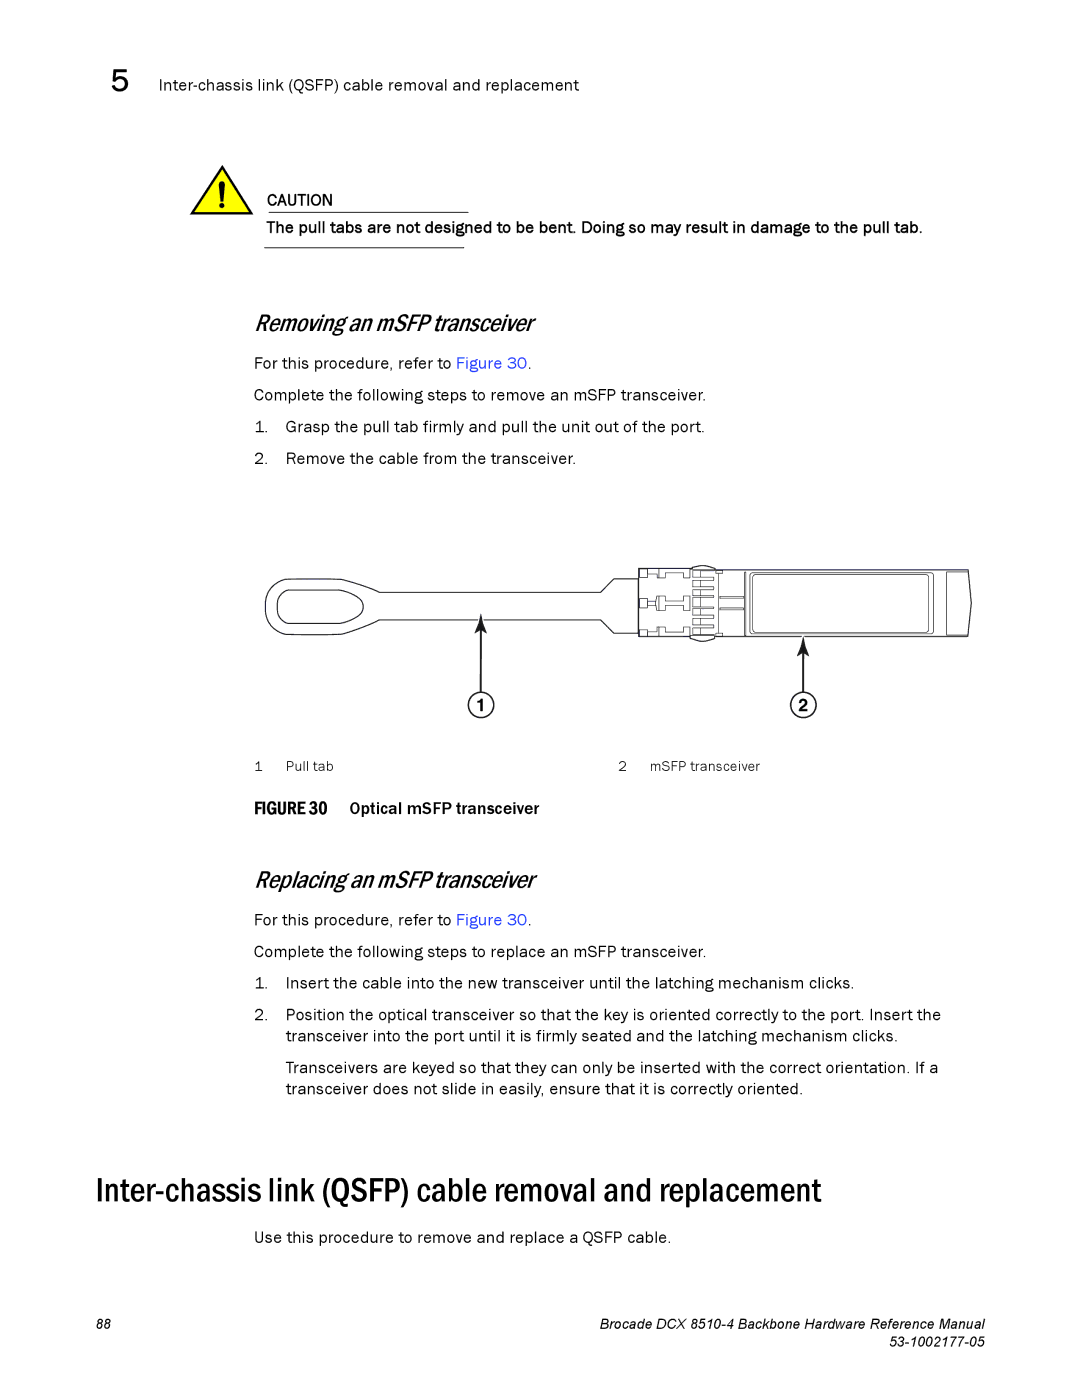
1 Pull tab | 2 mSFP transceiver |
FIGURE 30 Optical mSFP transceiver
Replacing an mSFP transceiver
For this procedure, refer to Figure 30.
Complete the following steps to replace an mSFP transceiver.
1.Insert the cable into the new transceiver until the latching mechanism clicks.
2.Position the optical transceiver so that the key is oriented correctly to the port. Insert the transceiver into the port until it is firmly seated and the latching mechanism clicks.
Transceivers are keyed so that they can only be inserted with the correct orientation. If a transceiver does not slide in easily, ensure that it is correctly oriented.
Inter-chassis link (QSFP) cable removal and replacement
Use this procedure to remove and replace a QSFP cable.
88 | Brocade DCX |
|