Installing the
Rack Mounting the 8H02-16
Proceed as follows to install the
1.Remove and discard the four cover screws (two from each side) located along the front edges of each side of the
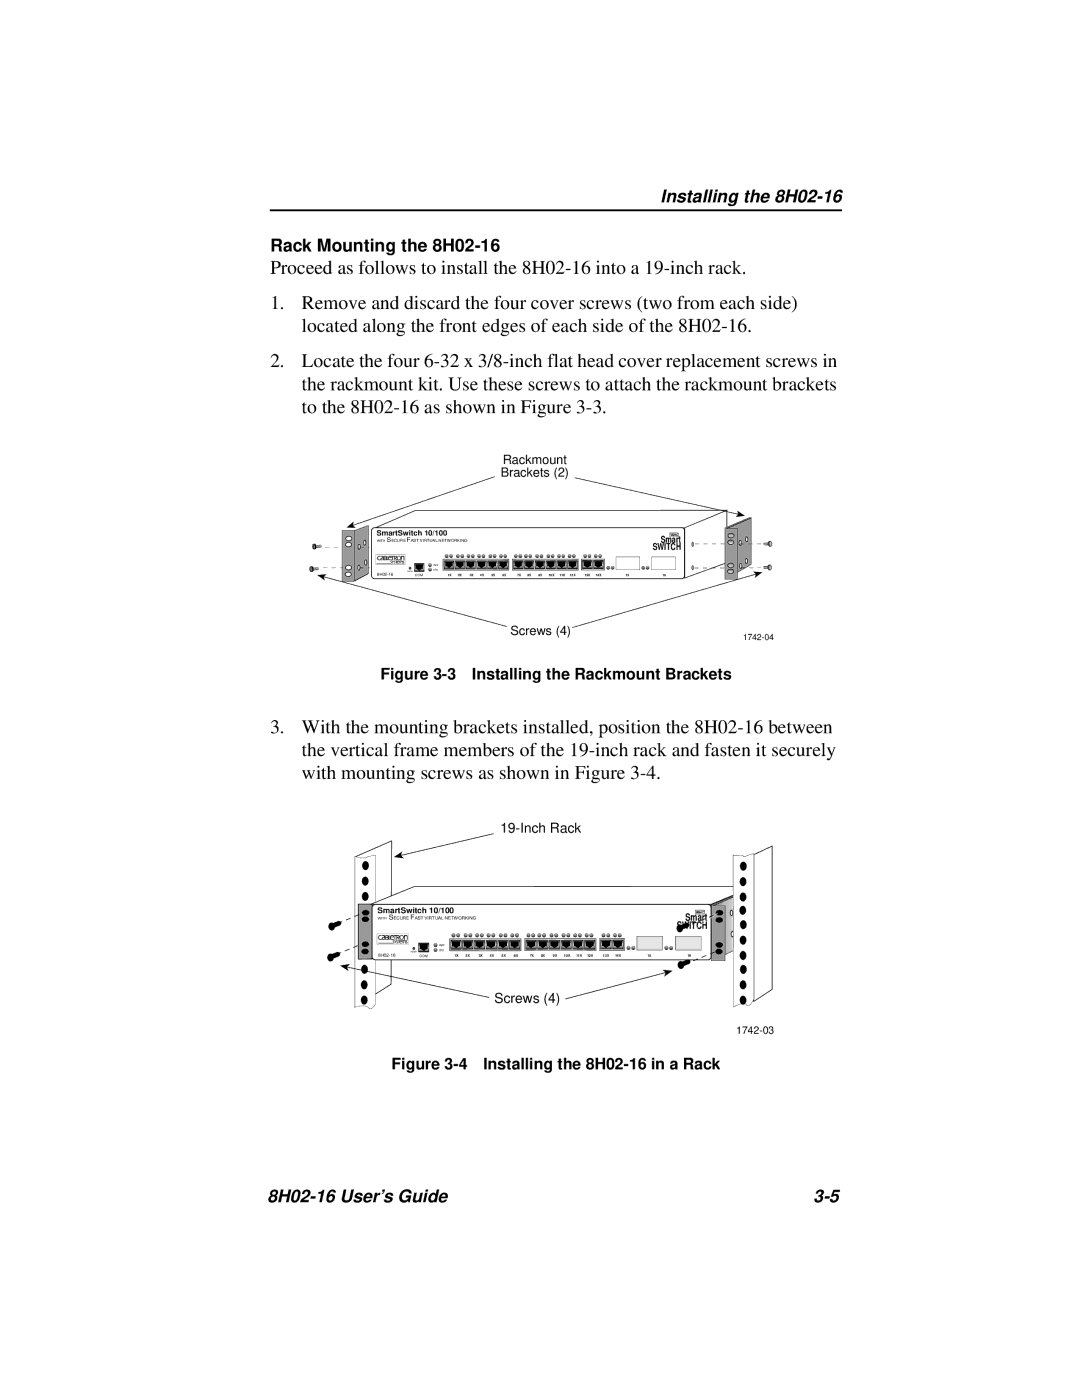
2.Locate the four
Rackmount
Brackets (2)
SmartSwitch 10/100 | MMAC |
WITH SECURE FAST VIRTUAL NETWORKING | Smart |
| SWITCH |
RESET
PWR
CPU
COM | 1X 2X | 3X 4X 5X 6X | 7X 8X 9X 10X 11X 12X | 13X 14X | 15 | 16 |
Screws (4)
Figure 3-3 Installing the Rackmount Brackets
3.With the mounting brackets installed, position the
19-Inch Rack
SmartSwitch 10/100 | MMAC |
WITH SECURE FAST VIRTUAL NETWORKING | Smart |
| SWITCH |
RESET
PWR
CPU
1X | 2X | 3X | 4X | 5X | 6X | 7X | 8X | 9X | 10X | 11X | 12X | 13X | 14X | 15 | 16 |
Screws (4) ![]()
Figure 3-4 Installing the 8H02-16 in a Rack
|