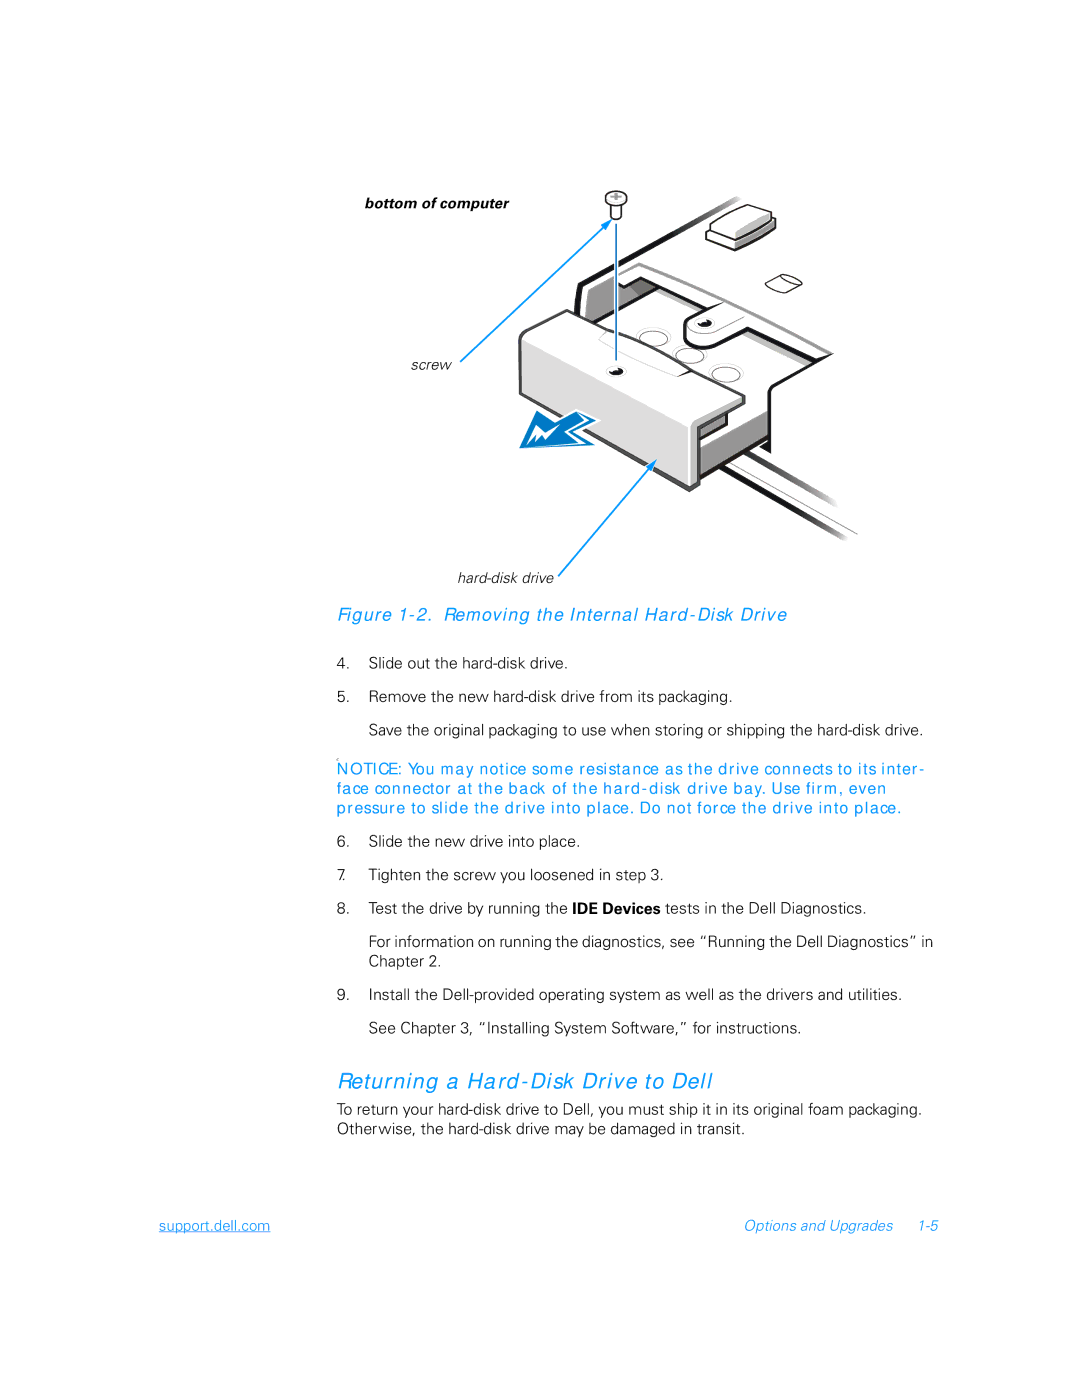
bottom of computer
screw
Figure 1-2. Removing the Internal Hard-Disk Drive
4.Slide out the
5.Remove the new
Save the original packaging to use when storing or shipping the
C
NOTICE: You may notice some resistance as the drive connects to its inter- face connector at the back of the
6.Slide the new drive into place.
7.Tighten the screw you loosened in step 3.
8.Test the drive by running the IDE Devices tests in the Dell Diagnostics.
For information on running the diagnostics, see “Running the Dell Diagnostics” in Chapter 2.
9.Install the
Returning a Hard-Disk Drive to Dell
To return your
support.dell.com | Options and Upgrades |
