7.Press <F10> to save your changes and exit the system setup program.
8.When the Setup Confirmation screen appears, press <Enter> to confirm that you want to save the configuration changes and exit the system setup program.
The computer restarts automatically.
9.Insert the System Software CD into the
10.Ensure that the diskette drive does not contain a diskette.
11.Shut down the computer.
12.Turn on the computer.
The Dell Diagnostics begins automatically.
NOTES: You must turn off the computer and turn on the computer with the System Software CD in the
Do not run the Dell Diagnostics while Windows is running.
Before you read the rest of this section, you may want to start the Dell Diagnostics so that you can see it on your display.
When you start the diagnostics, the Dell™ logo screen appears, followed by a mes- sage telling you that the diagnostics is loading.
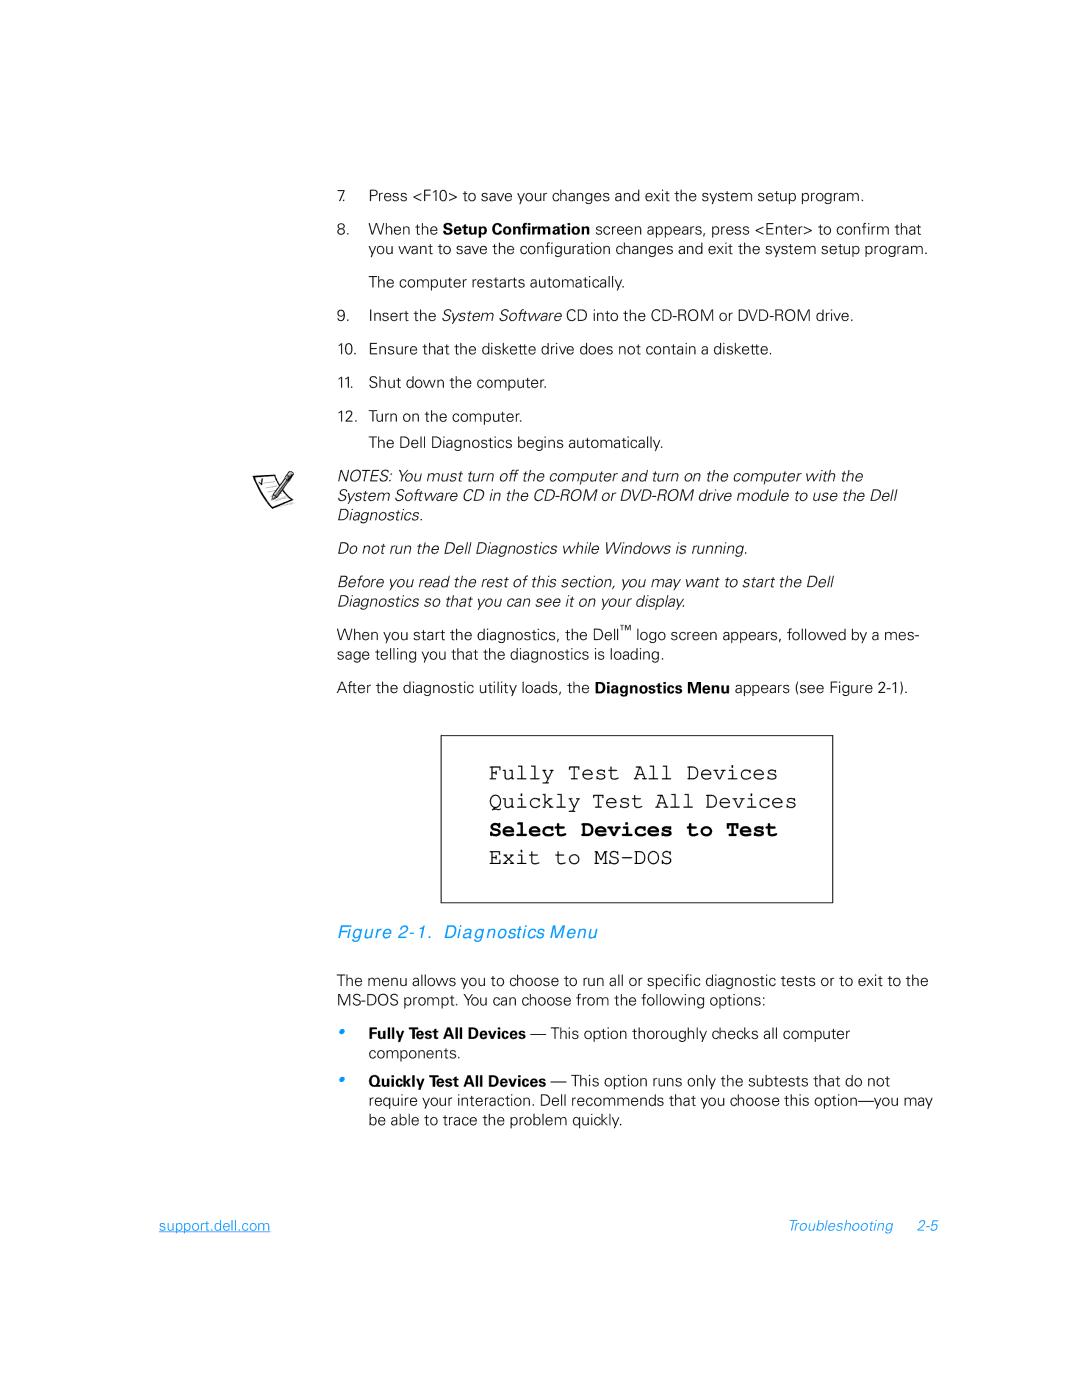
After the diagnostic utility loads, the Diagnostics Menu appears (see Figure
Fully Test All Devices
Quickly Test All Devices
Select Devices to Test
Exit to MS-DOS
Figure 2-1. Diagnostics Menu
The menu allows you to choose to run all or specific diagnostic tests or to exit to the
•Fully Test All Devices — This option thoroughly checks all computer components.
•Quickly Test All Devices — This option runs only the subtests that do not require your interaction. Dell recommends that you choose this
support.dell.com | Troubleshooting |