9.When the Setup Confirmation screen appears, press <Enter> to confirm that you want to save the configuration changes and exit the system setup program.
The computer restarts automatically.
The Dell Diagnostics begins automatically.
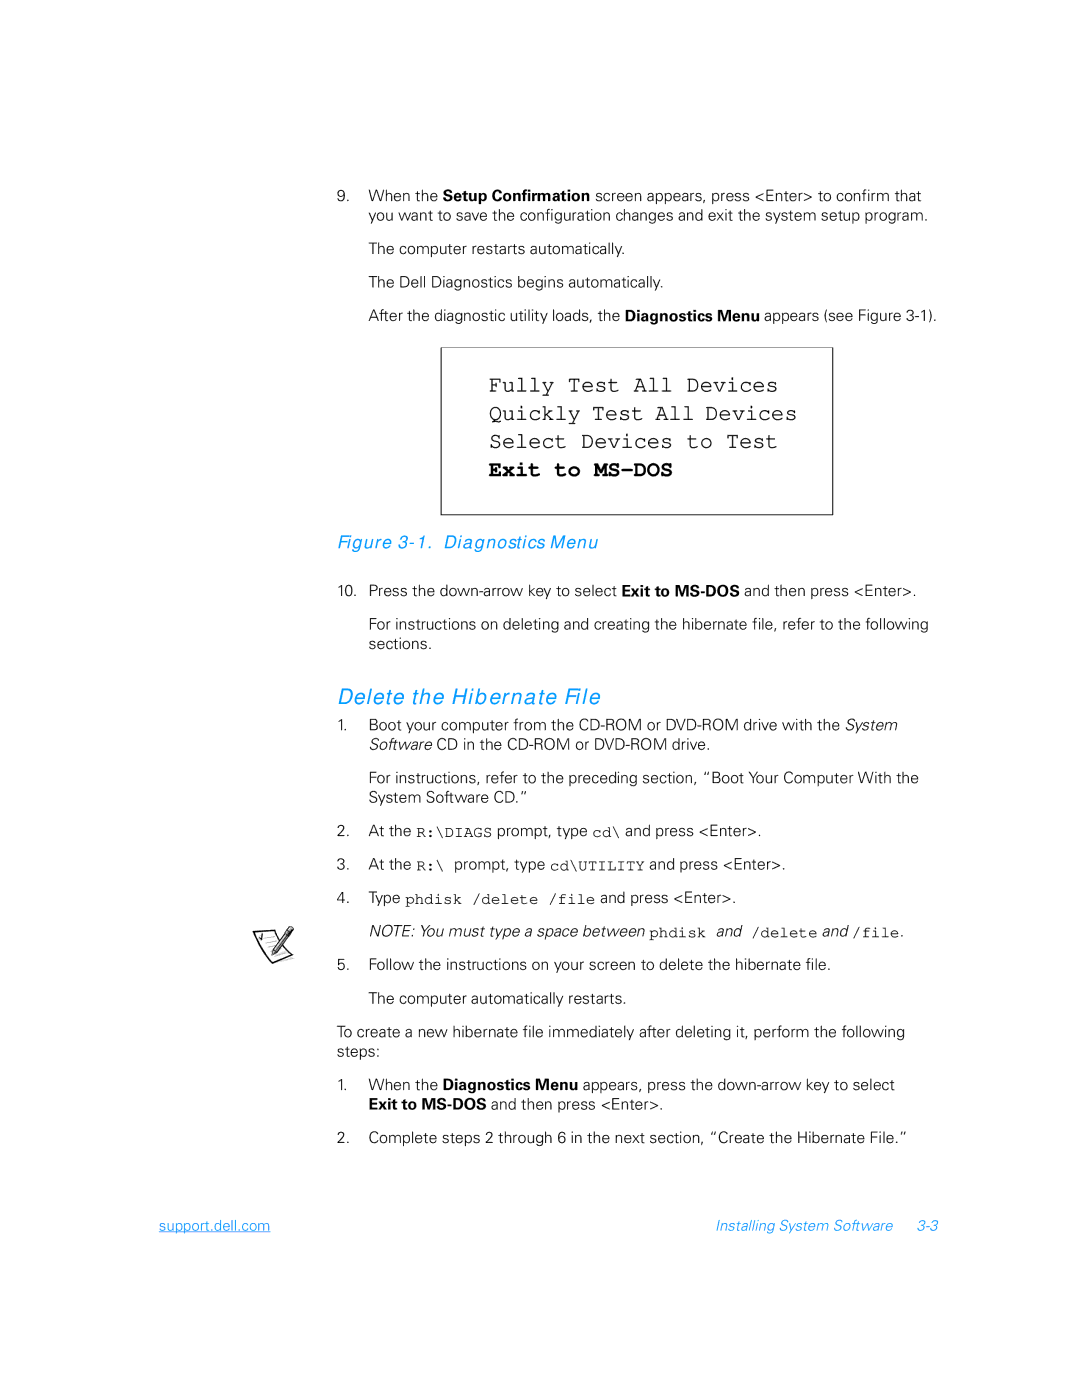
After the diagnostic utility loads, the Diagnostics Menu appears (see Figure
Fully Test All Devices
Quickly Test All Devices
Select Devices to Test
Exit to MS-DOS
Figure 3-1. Diagnostics Menu
10.Press the
For instructions on deleting and creating the hibernate file, refer to the following sections.
Delete the Hibernate File
1.Boot your computer from the
For instructions, refer to the preceding section, “Boot Your Computer With the System Software CD.”
2.At the R:\DIAGS prompt, type cd\ and press <Enter>.
3.At the R:\ prompt, type cd\UTILITY and press <Enter>.
4.Type phdisk /delete /file and press <Enter>.
NOTE: You must type a space between phdisk and /delete and /file.
5.Follow the instructions on your screen to delete the hibernate file.
The computer automatically restarts.
To create a new hibernate file immediately after deleting it, perform the following steps:
1.When the Diagnostics Menu appears, press the
2.Complete steps 2 through 6 in the next section, “Create the Hibernate File.”
support.dell.com | Installing System Software |