USING THE MAIN MENU
To open the Main Menu:
• Press the MENU button on the front panel or the remote control
NOTE: Quick Setup must be disabled in order to view the full system Main Menu. For more details see “Setting the Time” on page 13.
![]() 1
1 ![]()
![]() 2
2 ![]()
![]() 3
3 ![]()
![]() 4
4 ![]()
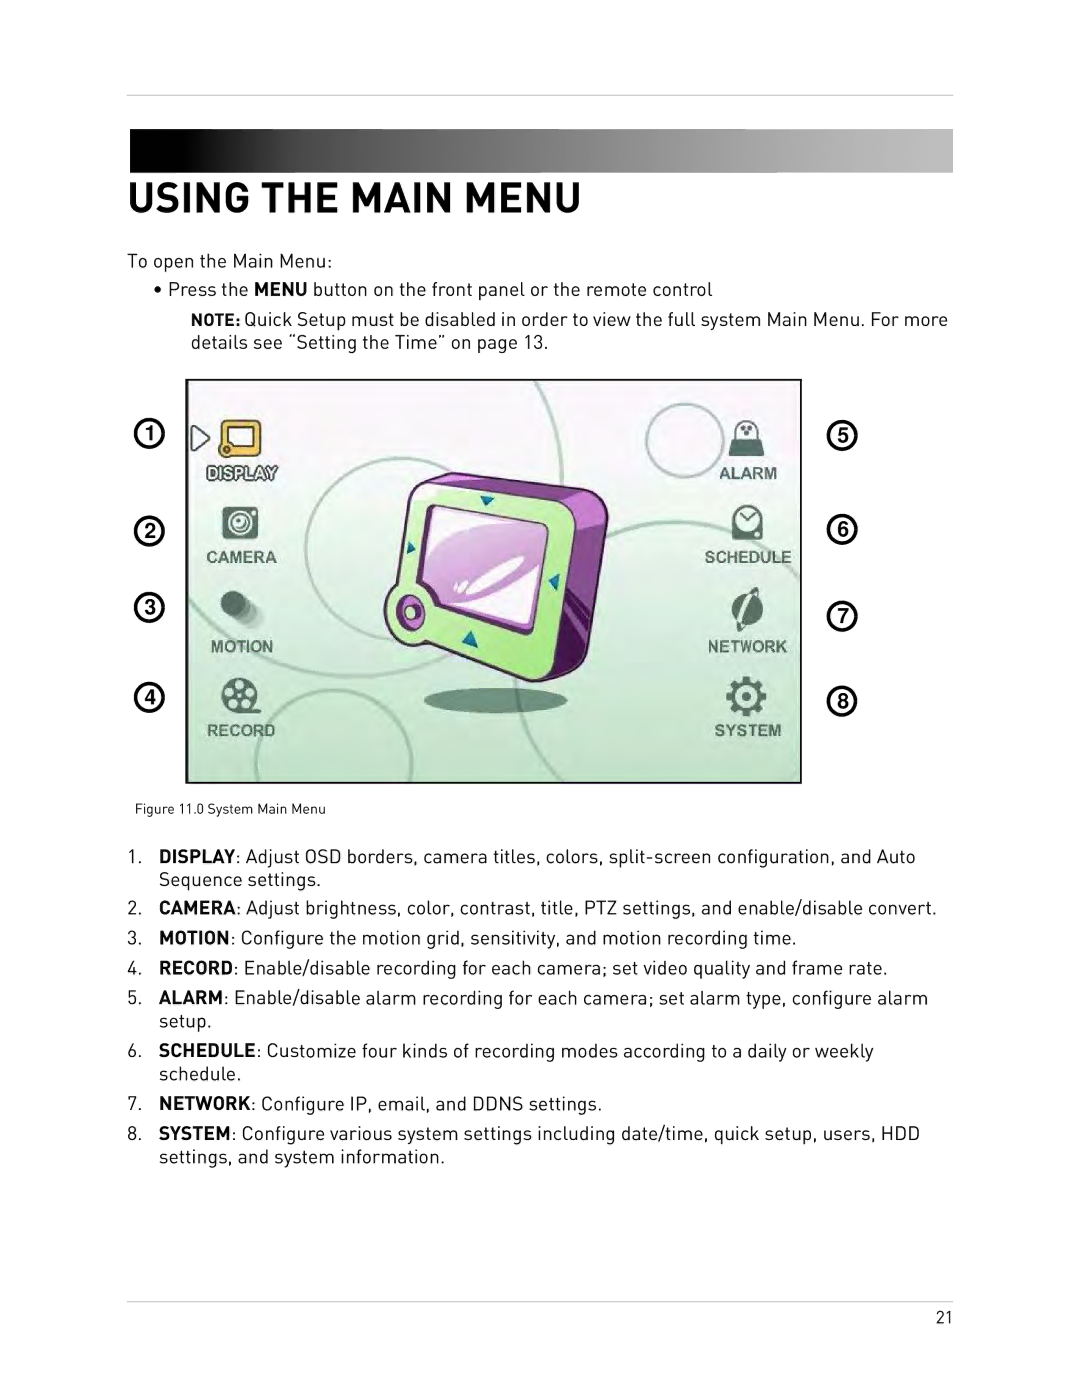
Figure 11.0 System Main Menu
![]() 5
5 ![]()
![]() 6
6
![]() 7
7
![]() 8
8
1.DISPLAY: Adjust OSD borders, camera titles, colors,
2.CAMERA: Adjust brightness, color, contrast, title, PTZ settings, and enable/disable convert.
3.MOTION: Configure the motion grid, sensitivity, and motion recording time.
4.RECORD: Enable/disable recording for each camera; set video quality and frame rate.
5.ALARM: Enable/disable alarm recording for each camera; set alarm type, configure alarm setup.
6.SCHEDULE: Customize four kinds of recording modes according to a daily or weekly schedule.
7.NETWORK: Configure IP, email, and DDNS settings.
8.SYSTEM: Configure various system settings including date/time, quick setup, users, HDD settings, and system information.
21
