Copyright 2009 Digimerge Technology Inc
Digimerge Touch
Expose this Unit to Rain or Moisture
Important Safeguards
Installation
General Precautions
Service
FCC Class a Notice
Features
Table of Contents
Backup
Appendix a System Specifications
Appendix C Setting Up Ddns Service
System comes with the following components
Getting Started
Basic Setup
Front Panel
Front Panel cont’d
Rear Panel
Navigation/Menu
Remote Control
Mouse Tips
Mouse Control
Touch Panel Tips and Tricks
Quick Setup
Using the System
Using Quick Setup
Using Quick Setup cont’d
Password
Enabling/Disabling Quick Setup
System shows the following for all display views
On-Screen Display
Right-click anywhere on the screen to open the Virtual
Using the Virtual Remote
Remote. The Virtual Remote gives you quick access to
Many of the system’s features using only a USB mouse
Playback
Using the Virtual Keyboard
Time menu
Setting the Time
Repositioning Channels
Multi-Screen Display
Zoom
Sequential Setup Auto Sequence
Continuous Recording
Recording
Event Recording
Motion assigned to channel 4 4CH model shown
Motion
Schedule Recording
Alarm
Recording Audio
Video Loss
Playback
View recorded video on the system through playback mode
Time Search menu
Search
System Main Menu
Using the Main Menu
Configure Sequential Setup Auto Sequence settings
Sequential Setup
Display
Press Enter to save your changes and exit
Motion
Camera
Record
Alarm
With a mode selected, configure the following
Under Alarm SETUP, configure the following
Schedule
Set four recording modes in a daily or weekly schedule
Overnight Recording
Stopping Scheduled Recording
Network
Network menu IP setup
Configure additional network settings
Configure Digimerge Ddns settings
To configure bandwidth settings
Password is set to OFF
Configure System settings
Only the Admin can configure user authorities on the system
System
Disk
Press CANCEL/ESC to close windows USB flash drive only
Updateinfo
USB Flash Drive
Backup
USB CD/DVD-RW
External USB HDD
System will prompt, Status no File
Backup menu
Time Search and Backup
Backup video player file
Viewing Backup Video
McdPlayer main window image simulated
Using MCD Player
System Requirements
DVR Netview
To install DVR NetView
Installing DVR Netview
DVR NetView main screen
Using DVR Netview
Editing a DVR
Adding a DVR
Deleting a DVR
To delete a DVR Select a DVR from the list frame
DVR NetView main screen
DVR NetView Main Screen
Under the Sound tab, configure the following
DVR NetView Setup
Click Apply and then click OK to close the Setup menu
DVR Indicators
Live Mode
Display Views
Camera Indicators
Changing Channels
Onscreen Display
Sub-Menu
Click anywhere on DVR NetView to close the sub-menu
Right-click the DVR to view the sub-menu
Clearing Health Status
Health
Health Report
Health Report Color Codes
PTZ control
PTZ
Remote Recording
Recording
Playback
Playback mode default
Playback Controls
Remote Playback
Control playback with the following buttons
Download window
Remote Download
File Naming Conventions
Local Playback
Open Playback Mode and click Search
Playing Backup Files
Creating a Virtual DVR
Virtual DVR
Deleting a Virtual DVR
Editing a Virtual DVR
Virtual DVR Properties
To delete a Virtual DVR Select a DVR from the list frame
Virtual DVR Indicator
Configuring a Virtual DVR
Deleting Cameras from a Virtual DVR
Drag the camera back to the DVR icon in the DVR Indicator
Remote Setup menu
Remote Setup
Display options
Sequential Setup Auto Sequence
To configure Motion options
To configure Camera options
Cameramotion
Record options
To configure continuous recording options
Motion Select ON/OFF
Dhcp
Networkemail
Ddns options
Ddnssystem
Timecontrol
DVR
Appendix a System Specifications
16 x 1.0Vp-p, CVBS, 75ohms, BNC
DVR cont’d
Dimensions
Network Setup / Remote Access Overview
Appendix B Setting UP Remote Viewing
What Do I Need?
Not Included
Finding Your External IP Address
How Do I Find My IP and MAC addresses?
7000
How Do I Enable Port Forwarding?
Create a Ddns account
Appendix C Setting UP Ddns Service
Username Domain name Password
How Do I Enable Ddns On My System?
Connecting a PTZ camera not included
Appendix D Connecting PTZ Cameras
Using a PTZ Camera
Button
Compatible PTZ Cameras
Appendix E Connecting Additional External Monitors
Appendix F Connecting Motion / Alarm Devices
Appendix G Full Connectivity Diagram
Appendix H Replacing the Hard Drive
Remove the hard drive from the housing
Removing the Hard Drive
Place the HDD on the rubber mounting feet
Replacing the Hard Drive
HDD format
Formatting the Hard Drive
Line OUT / Amplified Speakers
Appendix I Using LISTEN-IN Audio
AVI Converter
Appendix J Converting Video Files to AVI
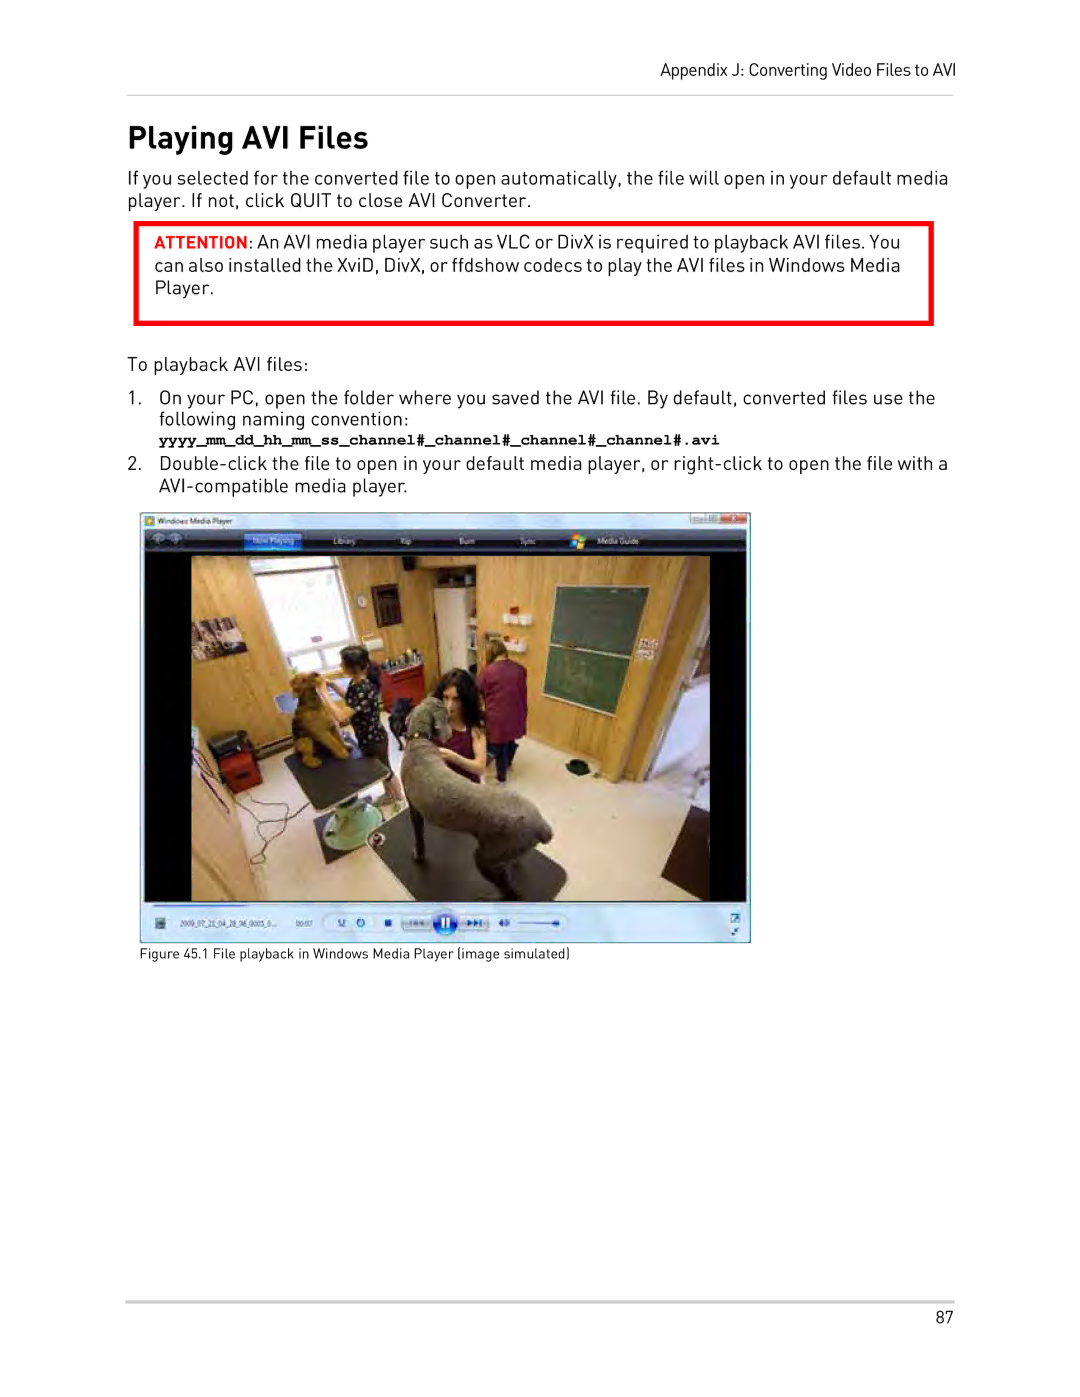
File playback in Windows Media Player image simulated
Playing AVI Files
Appendix M Remote Viewing Using Internet Explorer
Using Live Viewer
DVR Properties
Appendix N DVR Properties and LOG Files
CMS Log List