Using the Main Menu
SYSTEM
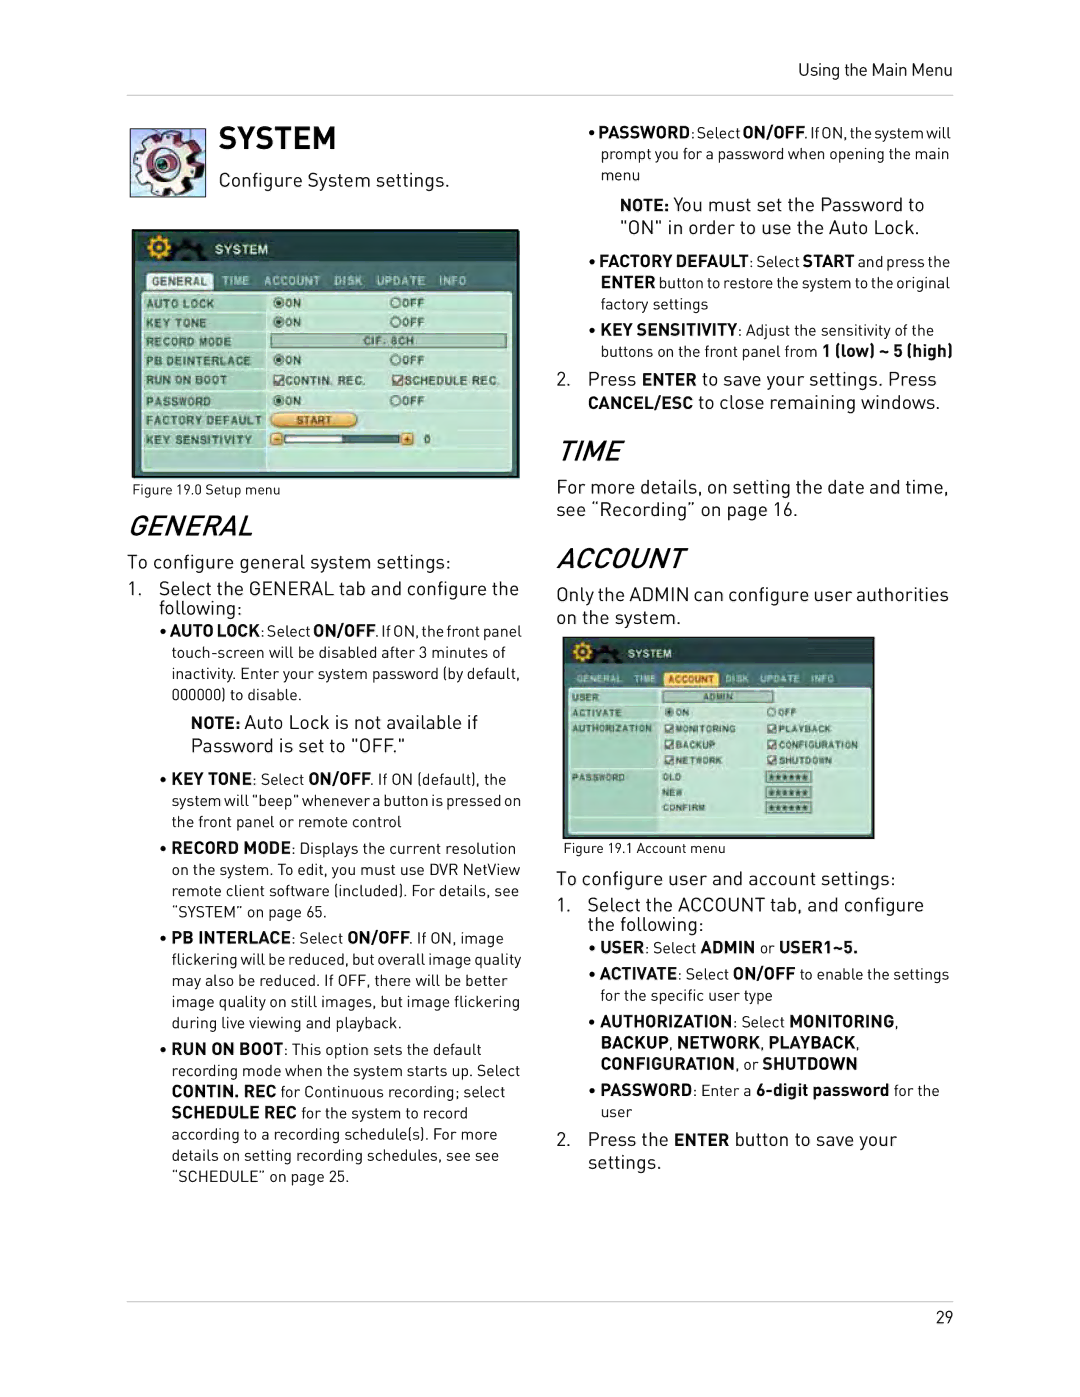
Configure System settings.
Figure 19.0 Setup menu
GENERAL
To configure general system settings:
1.Select the GENERAL tab and configure the following:
•AUTO LOCK: Select ON/OFF. If ON, the front panel
NOTE: Auto Lock is not available if
Password is set to "OFF."
•KEY TONE: Select ON/OFF. If ON (default), the system will "beep" whenever a button is pressed on the front panel or remote control
•RECORD MODE: Displays the current resolution on the system. To edit, you must use DVR NetView remote client software (included). For details, see “SYSTEM” on page 65.
•PB INTERLACE: Select ON/OFF. If ON, image flickering will be reduced, but overall image quality may also be reduced. If OFF, there will be better image quality on still images, but image flickering during live viewing and playback.
•RUN ON BOOT: This option sets the default recording mode when the system starts up. Select CONTIN. REC for Continuous recording; select SCHEDULE REC for the system to record according to a recording schedule(s). For more details on setting recording schedules, see see “SCHEDULE” on page 25.
•PASSWORD:SelectON/OFF.IfON,thesystemwill prompt you for a password when opening the main menu
NOTE: You must set the Password to "ON" in order to use the Auto Lock.
•FACTORY DEFAULT: Select START and press the
ENTER button to restore the system to the original factory settings
•KEY SENSITIVITY: Adjust the sensitivity of the buttons on the front panel from 1 (low) ~ 5 (high)
2.Press ENTER to save your settings. Press CANCEL/ESC to close remaining windows.
TIME
For more details, on setting the date and time, see “Recording” on page 16.
ACCOUNT
Only the ADMIN can configure user authorities on the system.
Figure 19.1 Account menu
To configure user and account settings:
1.Select the ACCOUNT tab, and configure the following:
•USER: Select ADMIN or USER1~5.
•ACTIVATE: Select ON/OFF to enable the settings for the specific user type
•AUTHORIZATION: Select MONITORING,
BACKUP, NETWORK, PLAYBACK, CONFIGURATION, or SHUTDOWN
•PASSWORD: Enter a
2.Press the ENTER button to save your settings.
29