Remote Setup
NETWORKEMAIL
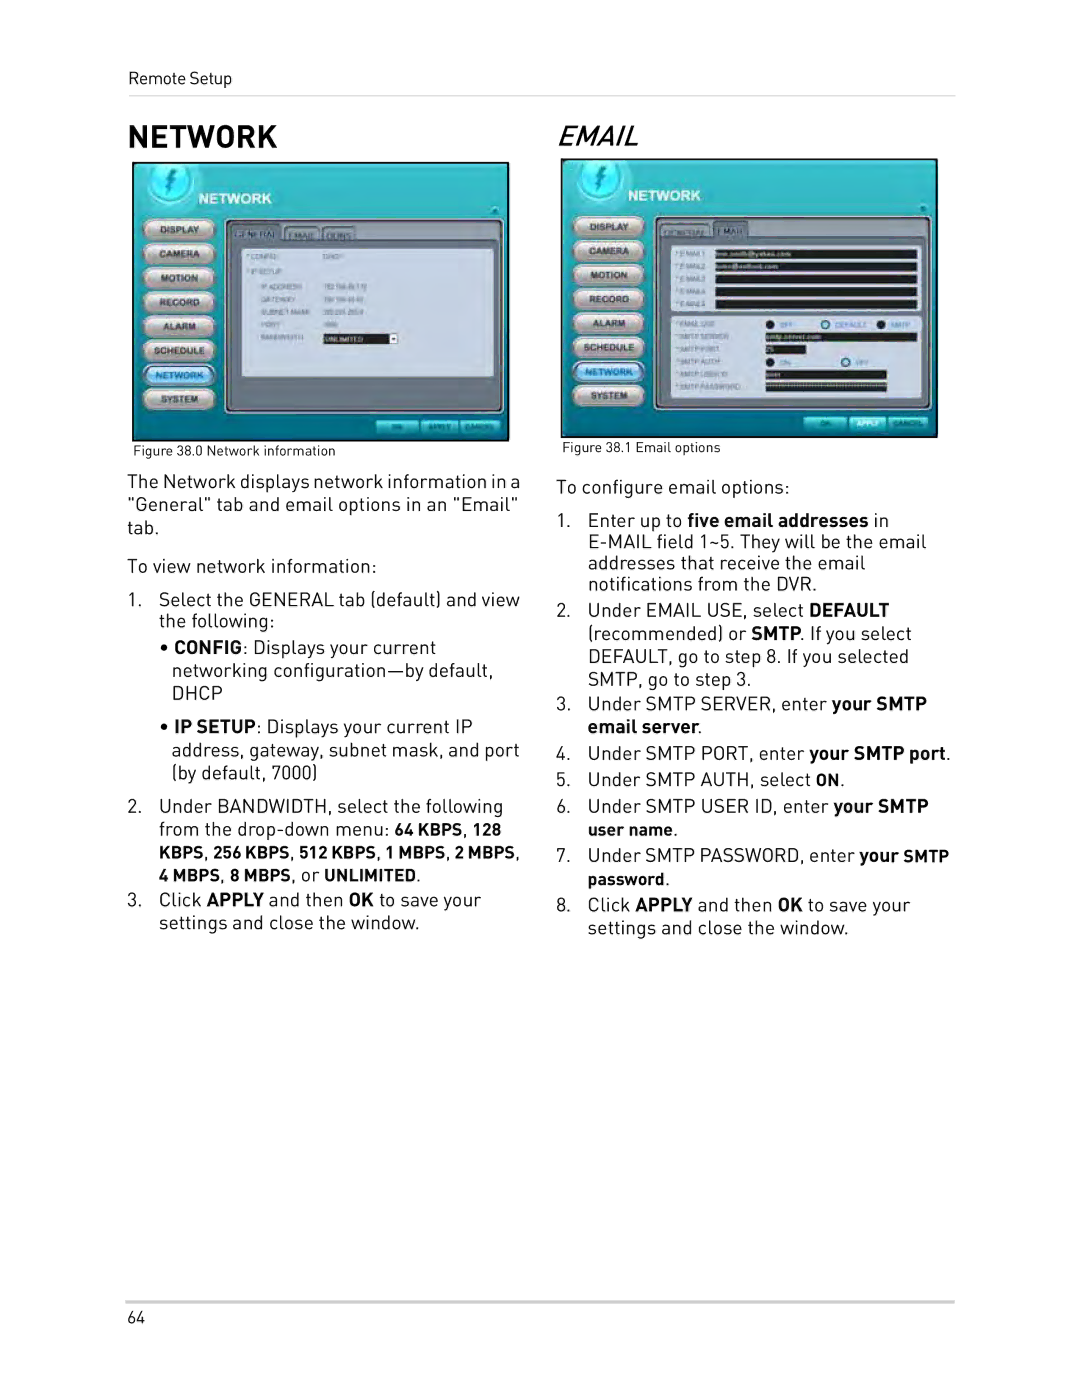
Figure 38.0 Network information
The Network displays network information in a "General" tab and email options in an "Email" tab.
To view network information:
1.Select the GENERAL tab (default) and view the following:
•CONFIG: Displays your current networking
DHCP
•IP SETUP: Displays your current IP address, gateway, subnet mask, and port (by default, 7000)
2.Under BANDWIDTH, select the following from the
3.Click APPLY and then OK to save your settings and close the window.
Figure 38.1 Email options
To configure email options:
1.Enter up to five email addresses in
2.Under EMAIL USE, select DEFAULT (recommended) or SMTP. If you select DEFAULT, go to step 8. If you selected SMTP, go to step 3.
3.Under SMTP SERVER, enter your SMTP email server.
4.Under SMTP PORT, enter your SMTP port.
5.Under SMTP AUTH, select ON.
6.Under SMTP USER ID, enter your SMTP user name.
7.Under SMTP PASSWORD, enter your SMTP password.
8.Click APPLY and then OK to save your settings and close the window.
64