Using DVR NetView
DVR NetView Setup
You should configure DVR NetView prior to initial use.
To use setup:
1.From the DVR NetView main screen, click SETUP. The Setup menu opens.
2.Under the GENRAL 1 tab, configure the following:
•OSD SETUP: Choose the elements to appear on the onscreen display. Select/deselect TIME, CAMERA NUMBER, FRAME RATE, SET NAME, and CAMERA
NAME
•OVERLAY (default): It is highly recommended to keep overlay enabled for a faster video transmission.Onlydisabletheoverlayofanyinvalid driver is distorting the screen image. If the problem persists, reduce hardware acceleration
NOTE: If you change the Overlay option, you will be prompted to restart DVR NetView.
•VIDEO MODE: Select NTSC or PAL depending on your region (NTSC for USA, Canada; PAL for Europe)
•DOWNLOAD: Choose a save location for recorded video and screen captures
•VERSION: Displays the current software version of DVR NetView
3.Under the GENERAL 2 tab, configure the following:
•ETC: Select AUTO FULL SCREEN... to display the triggered alarm channel in
4.Under the PASSWORD tab, enter a new password FOR DVR NETVIEW ONLY (no password by default). Click APPLY, not OK, to save the password.
NOTE: If changing your password at a later date, make sure to enter your old password along with your new password.
5.Under the SOUND tab, configure the following:
•PLAY SOUND: Select CONNECT, DISCONNECT, for DVR NetView to make a sound when it connects/ disconnects to a DVR; select ALARM, MOTION, and VIDEOLOSSforDVRNetViewtomakeasoundwhen any of these events are triggered on the system.
6.Click APPLY and then click OK to close the Setup menu.
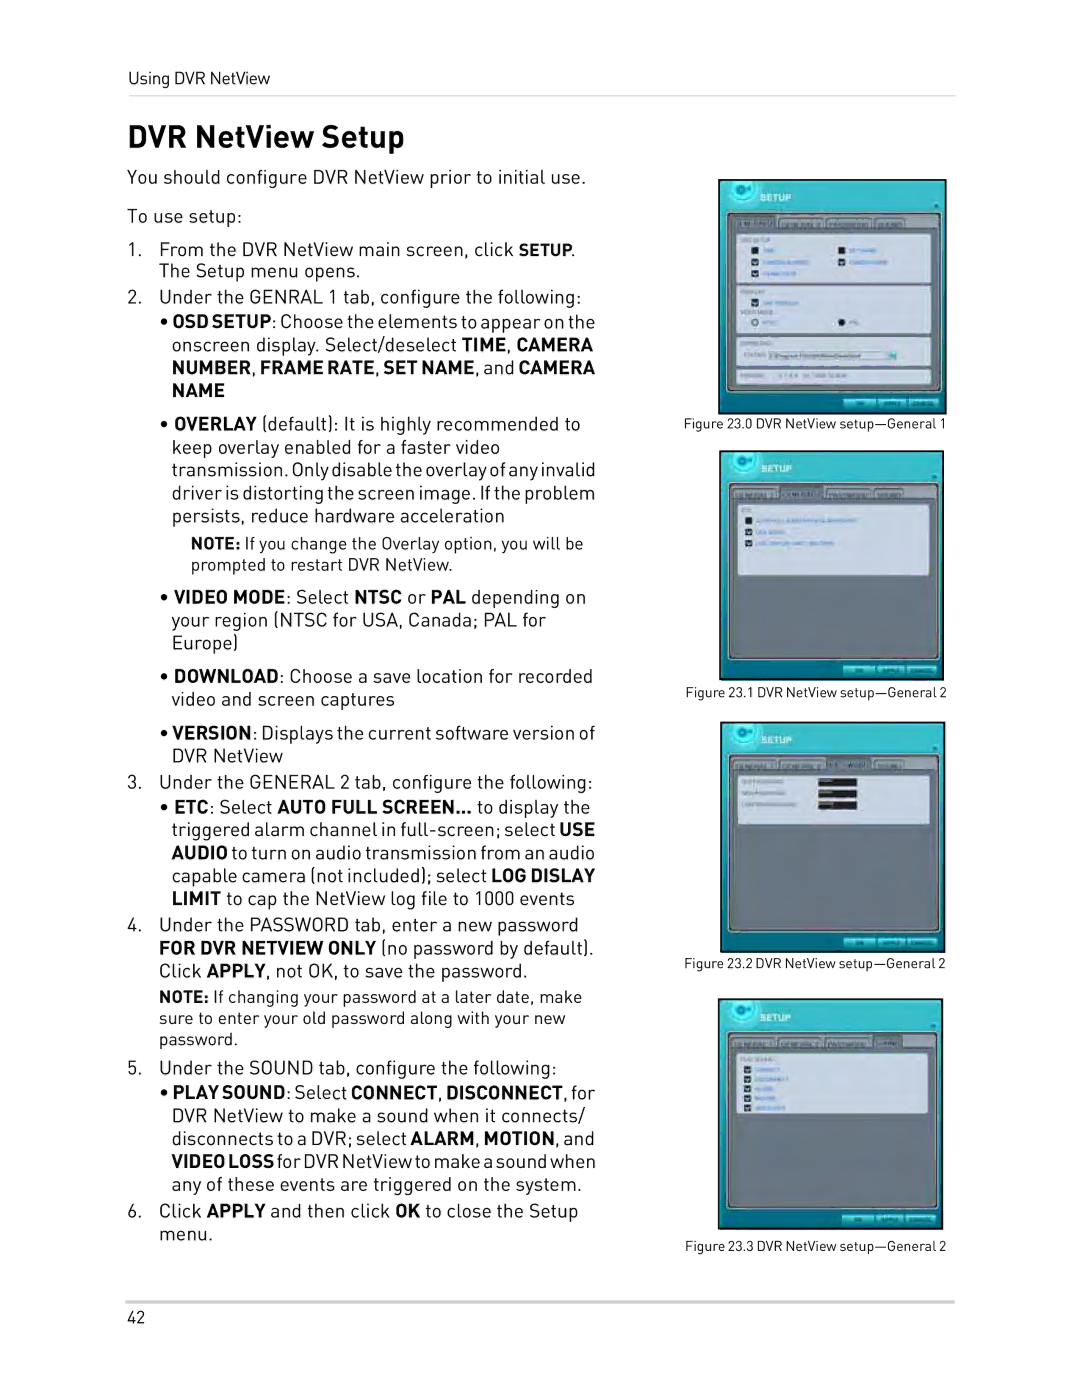
Figure 23.0 DVR NetView setup—General 1
Figure 23.1 DVR NetView setup—General 2
Figure 23.2 DVR NetView setup—General 2
Figure 23.3 DVR NetView setup—General 2
42