Remote Setup
CAMERAMOTION
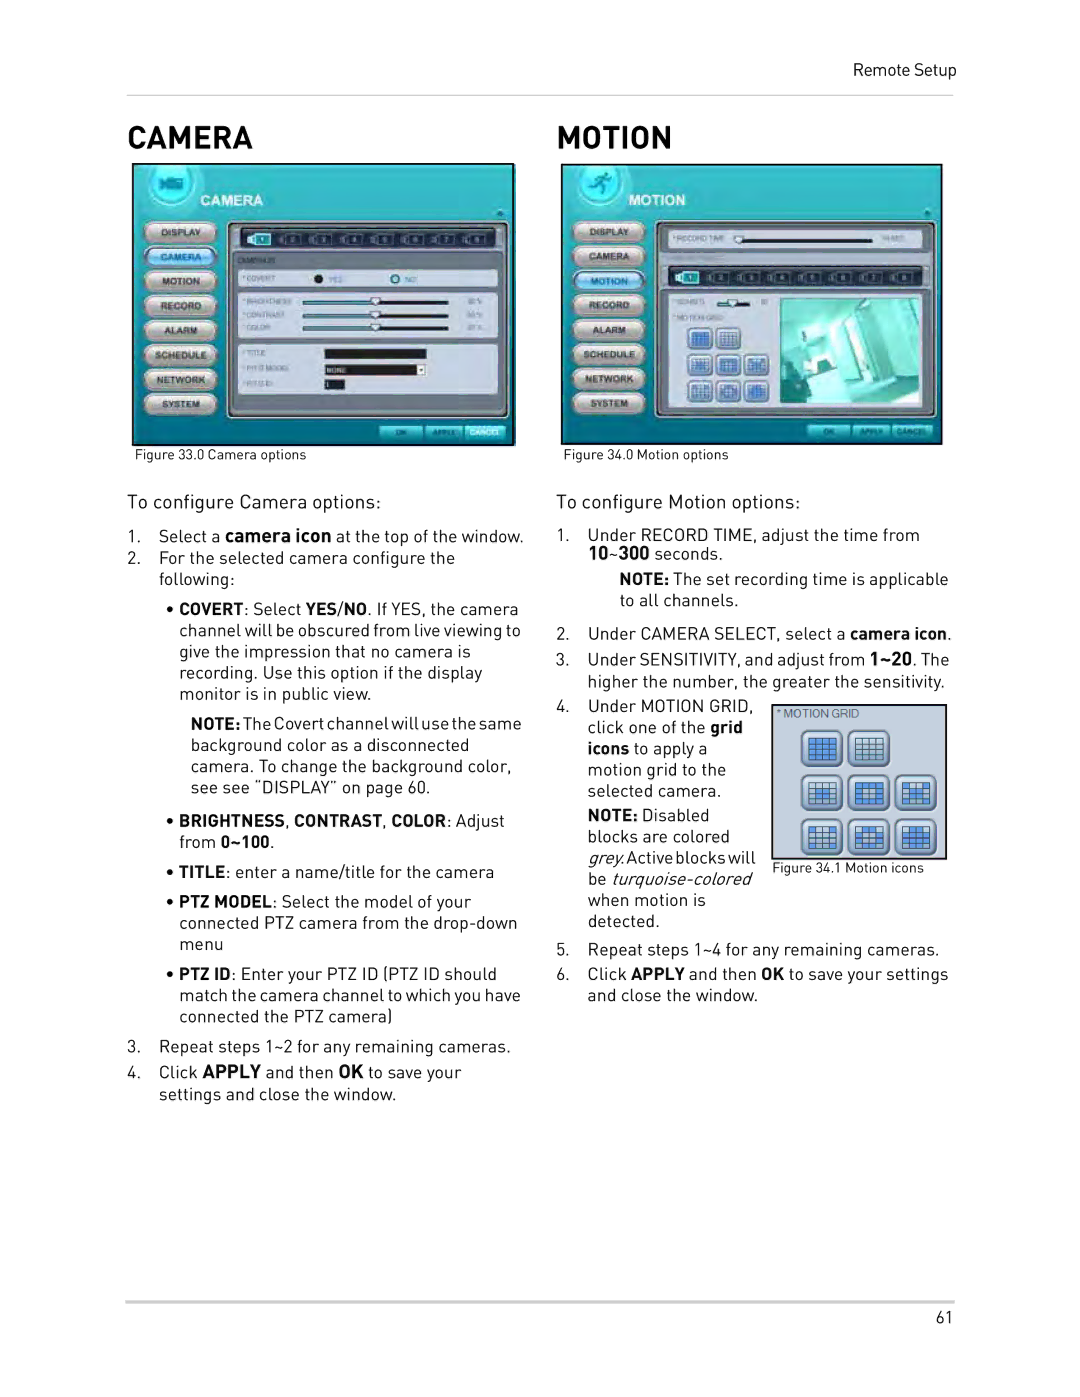
Figure 33.0 Camera options | Figure 34.0 Motion options |
To configure Camera options:
1.Select a camera icon at the top of the window.
2.For the selected camera configure the following:
•COVERT: Select YES/NO. If YES, the camera channel will be obscured from live viewing to give the impression that no camera is recording. Use this option if the display monitor is in public view.
NOTE:TheCovertchannelwillusethesame background color as a disconnected camera. To change the background color, see see “DISPLAY” on page 60.
•BRIGHTNESS, CONTRAST, COLOR: Adjust from 0~100.
•TITLE: enter a name/title for the camera
•PTZ MODEL: Select the model of your connected PTZ camera from the
•PTZ ID: Enter your PTZ ID (PTZ ID should match the camera channel to which you have connected the PTZ camera)
3.Repeat steps 1~2 for any remaining cameras.
4.Click APPLY and then OK to save your settings and close the window.
To configure Motion options:
1.Under RECORD TIME, adjust the time from 10~300 seconds.
NOTE: The set recording time is applicable to all channels.
2.Under CAMERA SELECT, select a camera icon.
3.Under SENSITIVITY, and adjust from 1~20. The higher the number, the greater the sensitivity.
4.Under MOTION GRID, click one of the grid icons to apply a motion grid to the selected camera. NOTE: Disabled blocks are colored
grey.Activeblockswill |
|
Figure 34.1 Motion icons | |
be |
|
when motion is |
|
detected. |
|
5.Repeat steps 1~4 for any remaining cameras.
6.Click APPLY and then OK to save your settings and close the window.
61