Backup
External USB HDD
ATTENTION: You must STOP ALL RECORDING on the system prior to backing up any video data to an external USB HDD or external USB
To backup recorded video:
1.Connect an external USB HDD to the USB port on the front panel.
2.Format the external USB HDD if you have not already done so. For details on formatting the external USB HDD, see “DISK” on page 30.
3.Press the BACKUP button on the front panel.
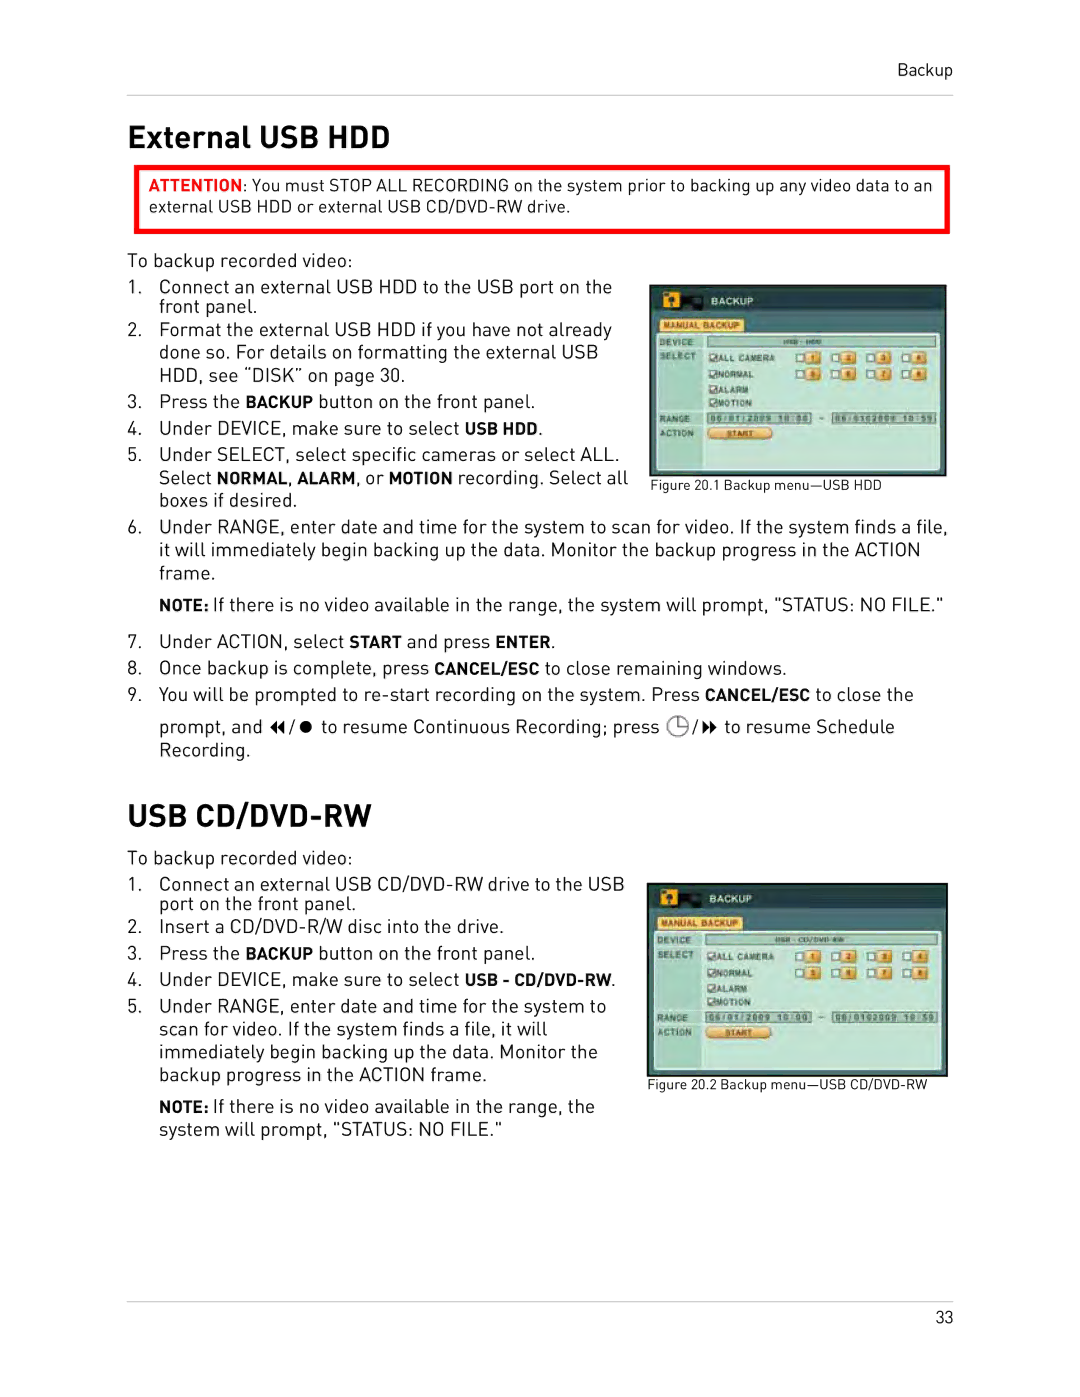
4.Under DEVICE, make sure to select USB HDD.
5.Under SELECT, select specific cameras or select ALL.
Select NORMAL, ALARM, or MOTION recording. Select all Figure 20.1 Backup
6.Under RANGE, enter date and time for the system to scan for video. If the system finds a file, it will immediately begin backing up the data. Monitor the backup progress in the ACTION frame.
NOTE: If there is no video available in the range, the system will prompt, "STATUS: NO FILE."
7.Under ACTION, select START and press ENTER.
8.Once backup is complete, press CANCEL/ESC to close remaining windows.
9.You will be prompted to
| prompt, and / to resume Continuous Recording; press / to resume Schedule | |
| Recording. |
|
USB |
| |
To backup recorded video: |
| |
1. | Connect an external USB |
|
| ||
| port on the front panel. |
|
2. | Insert a |
|
3. | Press the BACKUP button on the front panel. |
|
4. | Under DEVICE, make sure to select USB - |
|
5. | Under RANGE, enter date and time for the system to |
|
| scan for video. If the system finds a file, it will |
|
| immediately begin backing up the data. Monitor the |
|
| backup progress in the ACTION frame. |
|
| Figure 20.2 Backup | |
|
| |
| NOTE: If there is no video available in the range, the |
|
| system will prompt, "STATUS: NO FILE." |
|
33