Remote Setup
TIMECONTROL
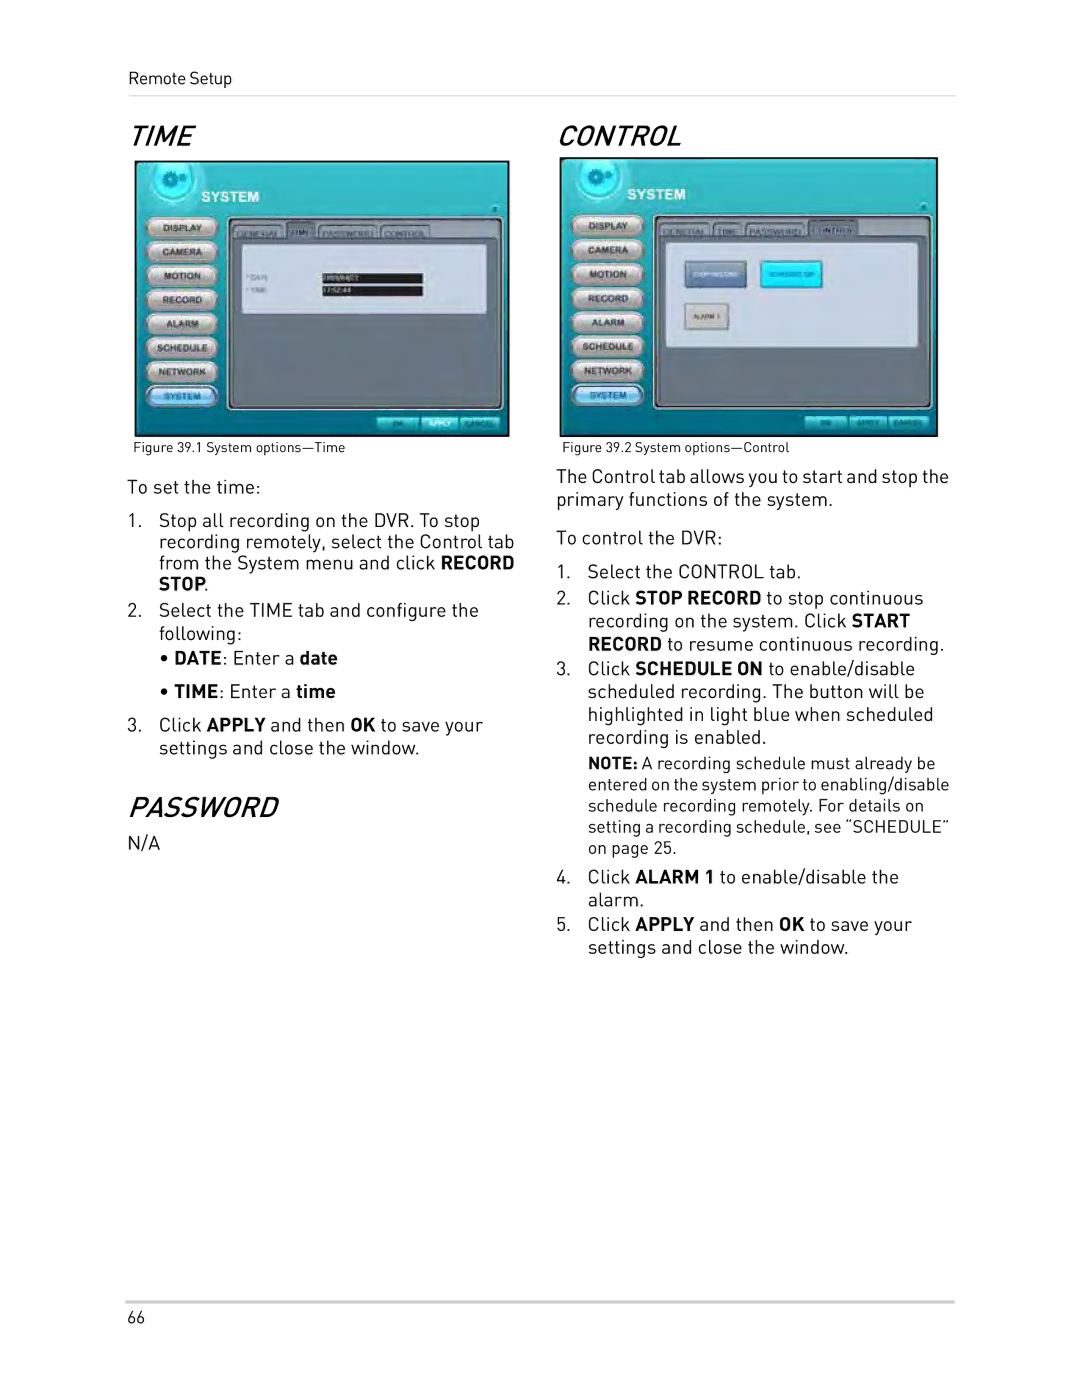
Figure 39.1 System options—Time
To set the time:
1.Stop all recording on the DVR. To stop recording remotely, select the Control tab from the System menu and click RECORD STOP.
2.Select the TIME tab and configure the following:
•DATE: Enter a date
•TIME: Enter a time
3.Click APPLY and then OK to save your settings and close the window.
PASSWORD
N/A
Figure 39.2 System options—Control
The Control tab allows you to start and stop the primary functions of the system.
To control the DVR:
1.Select the CONTROL tab.
2.Click STOP RECORD to stop continuous recording on the system. Click START RECORD to resume continuous recording.
3.Click SCHEDULE ON to enable/disable scheduled recording. The button will be highlighted in light blue when scheduled recording is enabled.
NOTE: A recording schedule must already be entered on the system prior to enabling/disable schedule recording remotely. For details on setting a recording schedule, see “SCHEDULE” on page 25.
4.Click ALARM 1 to enable/disable the alarm.
5.Click APPLY and then OK to save your settings and close the window.
66