Using the Main Menu
DDNS
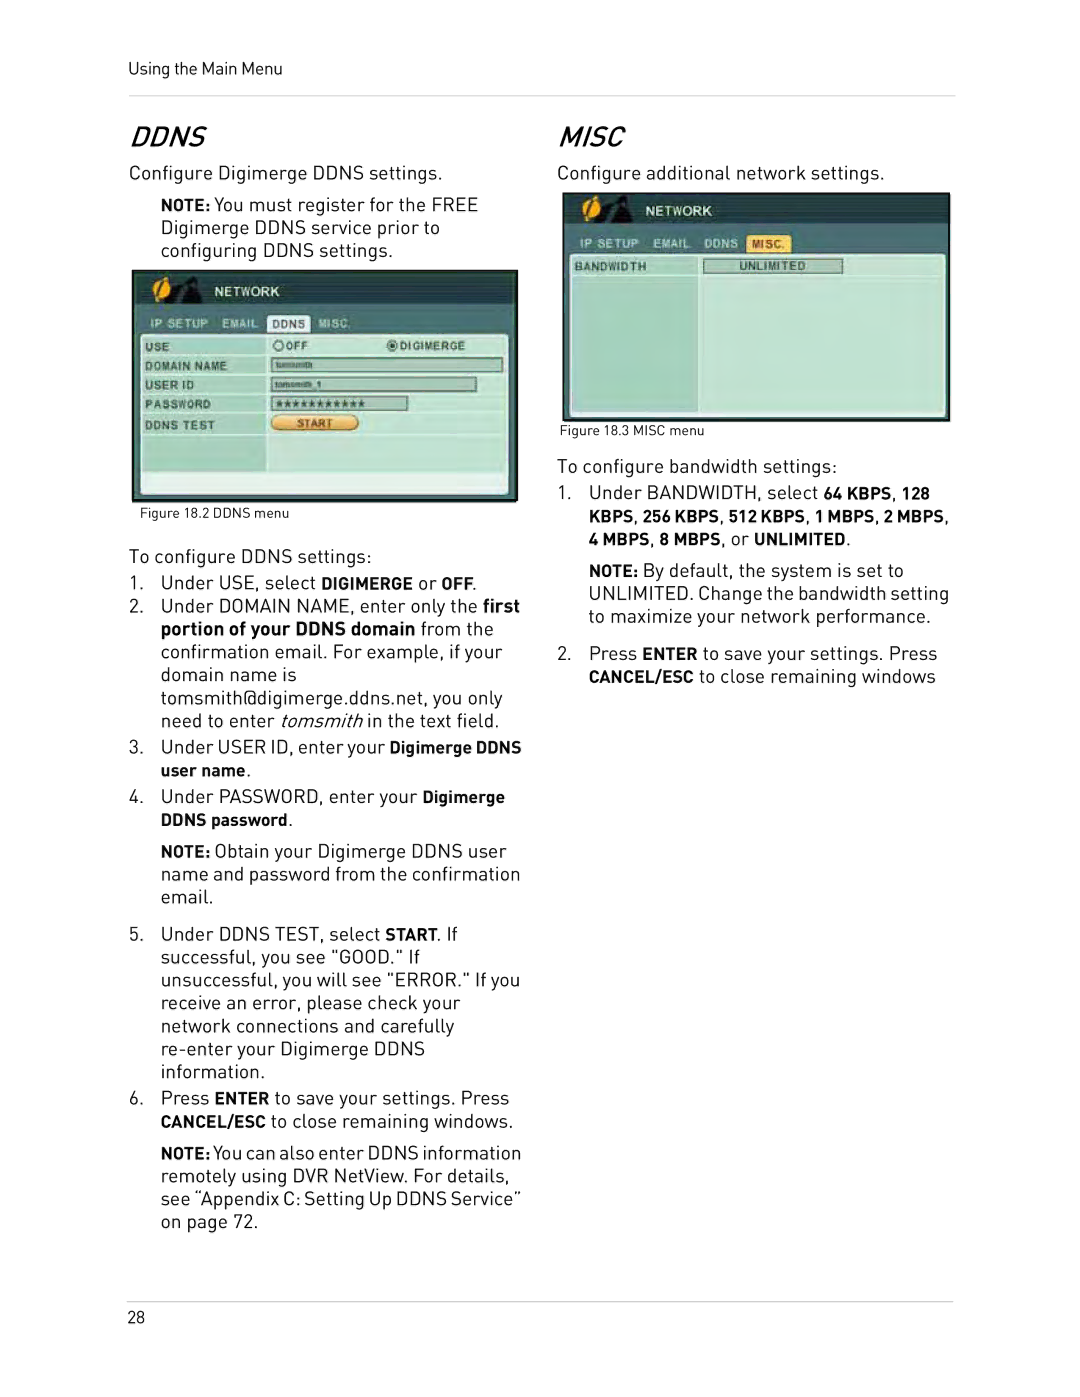
Configure Digimerge DDNS settings.
NOTE: You must register for the FREE Digimerge DDNS service prior to configuring DDNS settings.
Figure 18.2 DDNS menu
To configure DDNS settings:
1.Under USE, select DIGIMERGE or OFF.
2.Under DOMAIN NAME, enter only the first portion of your DDNS domain from the confirmation email. For example, if your domain name is tomsmith@digimerge.ddns.net, you only need to enter tomsmith in the text field.
3.Under USER ID, enter your Digimerge DDNS user name.
4.Under PASSWORD, enter your Digimerge DDNS password.
NOTE: Obtain your Digimerge DDNS user name and password from the confirmation email.
5.Under DDNS TEST, select START. If successful, you see "GOOD." If unsuccessful, you will see "ERROR." If you receive an error, please check your network connections and carefully
6.Press ENTER to save your settings. Press CANCEL/ESC to close remaining windows.
NOTE: You can also enter DDNS information remotely using DVR NetView. For details, see “Appendix C: Setting Up DDNS Service” on page 72.
MISC
Configure additional network settings.
Figure 18.3 MISC menu
To configure bandwidth settings:
1.Under BANDWIDTH, select 64 KBPS, 128 KBPS, 256 KBPS, 512 KBPS, 1 MBPS, 2 MBPS, 4 MBPS, 8 MBPS, or UNLIMITED.
NOTE: By default, the system is set to UNLIMITED. Change the bandwidth setting to maximize your network performance.
2.Press ENTER to save your settings. Press CANCEL/ESC to close remaining windows
28