Using the Main Menu
DISPLAY
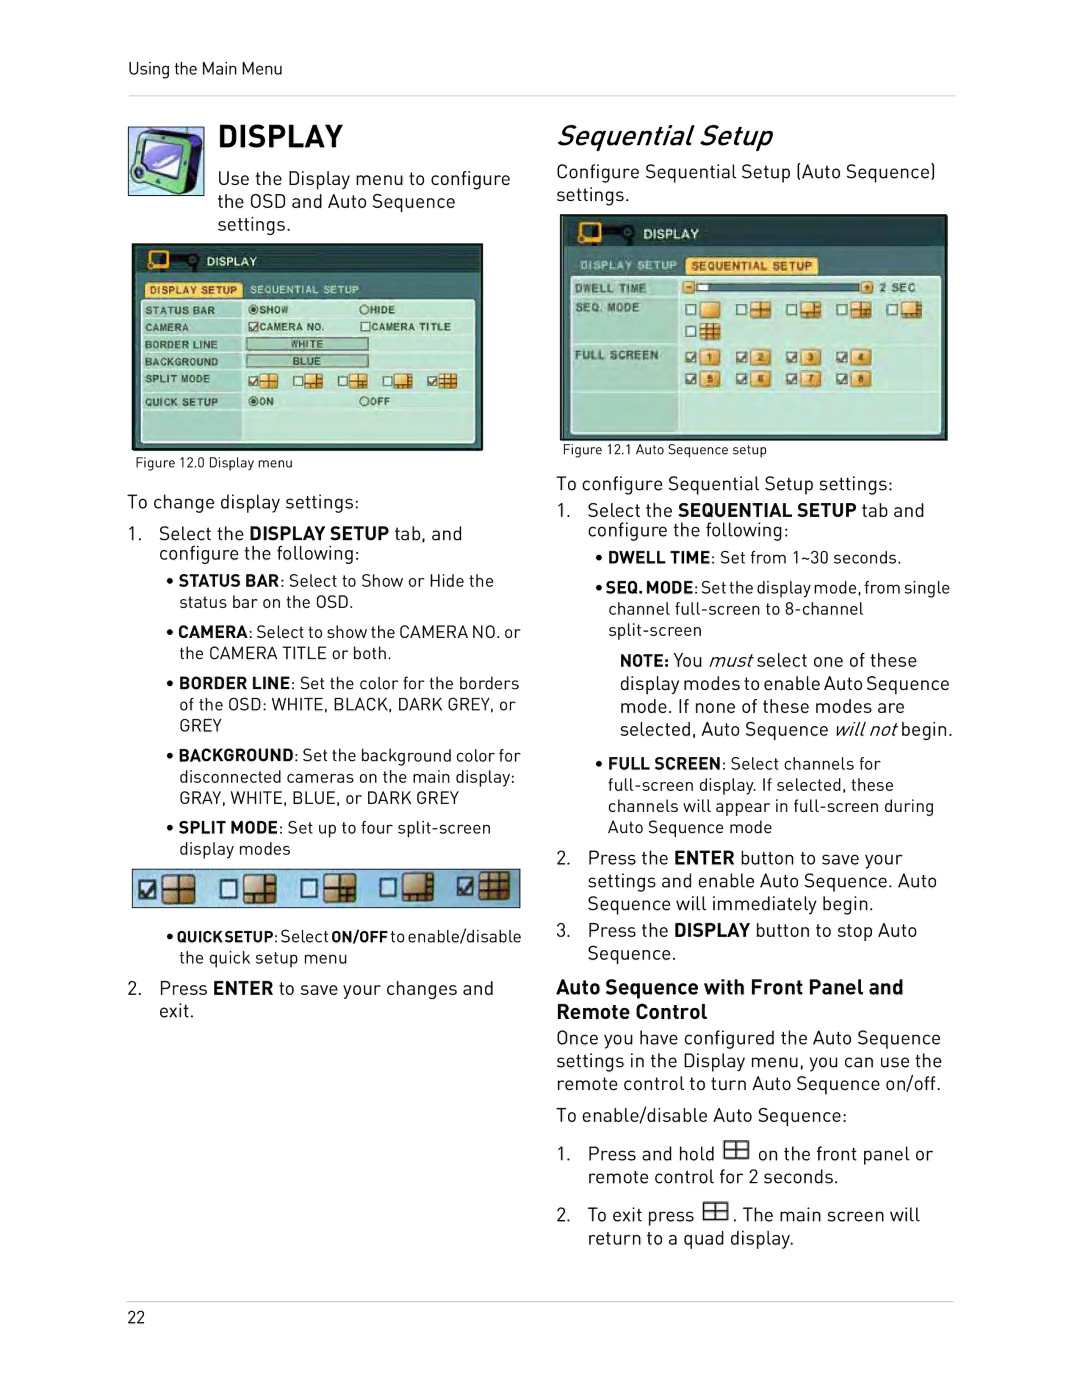
Use the Display menu to configure the OSD and Auto Sequence settings.
Figure 12.0 Display menu
To change display settings:
1.Select the DISPLAY SETUP tab, and configure the following:
•STATUS BAR: Select to Show or Hide the status bar on the OSD.
•CAMERA: Select to show the CAMERA NO. or the CAMERA TITLE or both.
•BORDER LINE: Set the color for the borders
of the OSD: WHITE, BLACK, DARK GREY, or
GREY
•BACKGROUND: Set the background color for disconnected cameras on the main display: GRAY, WHITE, BLUE, or DARK GREY
•SPLIT MODE: Set up to four
•QUICKSETUP:SelectON/OFF toenable/disable the quick setup menu
2.Press ENTER to save your changes and exit.
Sequential Setup
Configure Sequential Setup (Auto Sequence) settings.
Figure 12.1 Auto Sequence setup
To configure Sequential Setup settings:
1.Select the SEQUENTIAL SETUP tab and configure the following:
•DWELL TIME: Set from 1~30 seconds.
•SEQ.MODE:Setthedisplaymode,fromsingle channel
NOTE: You must select one of these display modes to enable Auto Sequence mode. If none of these modes are selected, Auto Sequence will not begin.
•FULL SCREEN: Select channels for
2.Press the ENTER button to save your settings and enable Auto Sequence. Auto Sequence will immediately begin.
3.Press the DISPLAY button to stop Auto Sequence.
Auto Sequence with Front Panel and Remote Control
Once you have configured the Auto Sequence settings in the Display menu, you can use the remote control to turn Auto Sequence on/off.
To enable/disable Auto Sequence:
1.Press and hold ![]() on the front panel or remote control for 2 seconds.
on the front panel or remote control for 2 seconds.
2.To exit press ![]() . The main screen will return to a quad display.
. The main screen will return to a quad display.
22