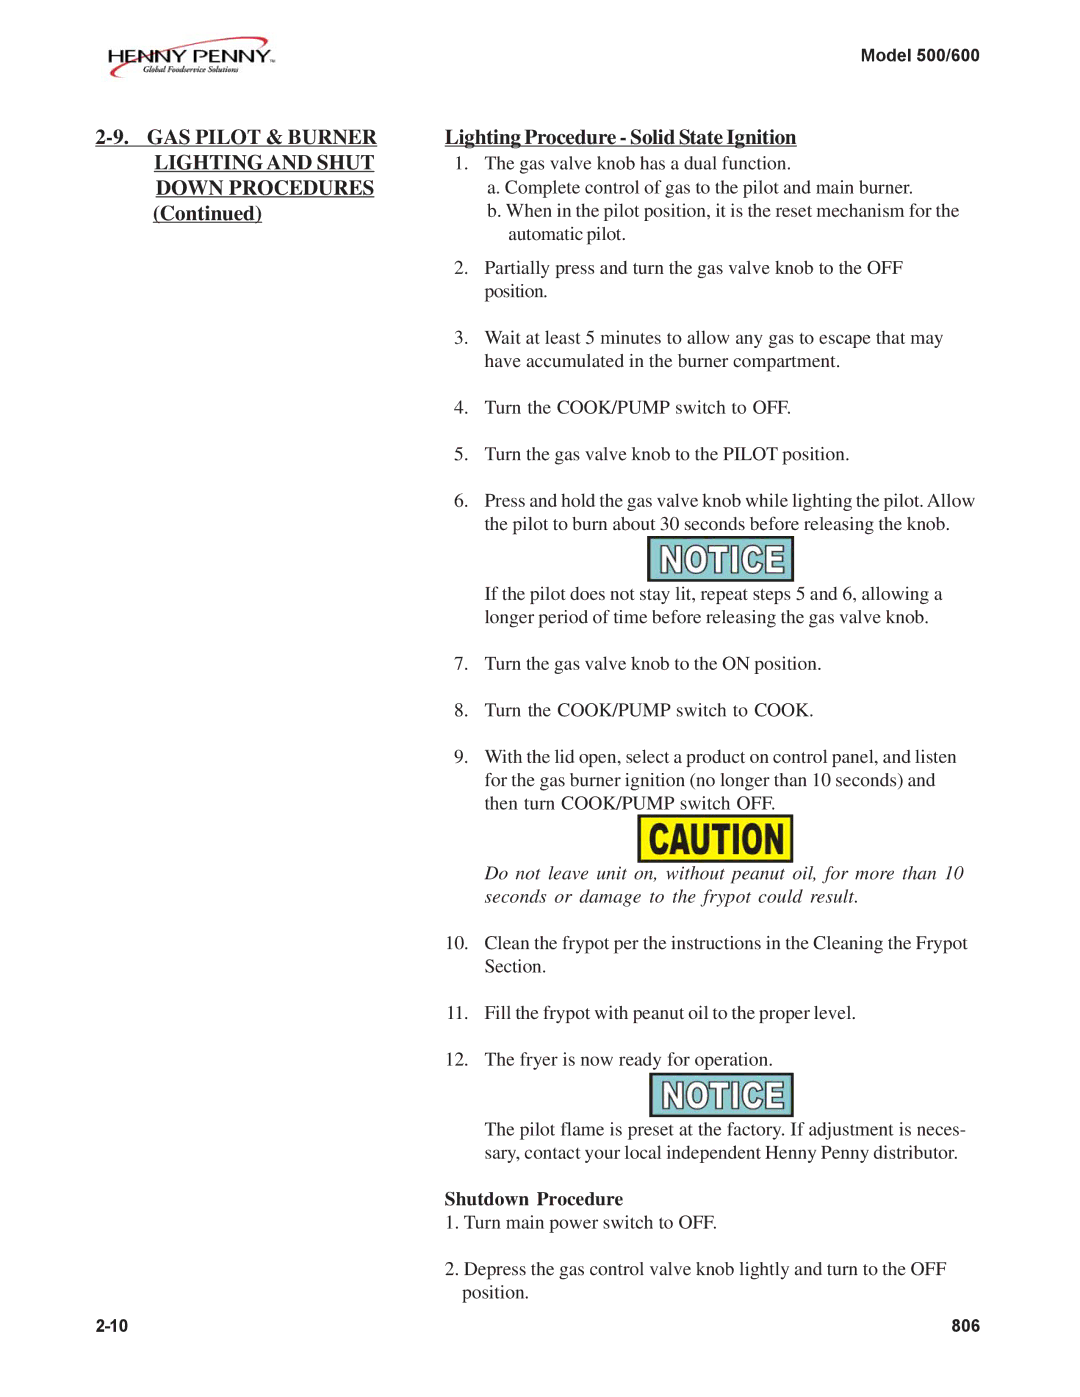
500, 600 specifications
Henny Penny has established itself as a leading name in the commercial cooking equipment industry, particularly known for its innovative fryers and cooking solutions. Among its notable products are the Henny Penny 500 and 600 series, which embody the brand's commitment to efficiency, reliability, and advanced technology.The Henny Penny 500 series is designed for high-volume operations, perfect for restaurants, fast-food chains, and other foodservice establishments that require exceptional frying performance. This series features a highly efficient airflow design that ensures even cooking and reduces energy consumption. With a stainless-steel counter design, the Henny Penny 500 not only looks appealing but also offers durability and ease of cleaning, essential for maintaining hygiene in a busy kitchen.
One of the standout technologies in the 500 series is the advanced filtration system. This system helps to prolong oil life, reducing the frequency of oil replacements, which can save money and minimize waste. The intuitive control panel allows operators to manage cooking times and temperatures easily, resulting in consistent food quality. Additionally, the automatic basket lift feature enhances safety by reducing the chances of accidents during frying.
The Henny Penny 600 series takes this innovation further with additional features aimed at maximizing productivity. It shares many similarities with the 500 series but includes upgraded digital controls that allow for precise temperature management and programming options for various menu items. This added flexibility provides operators the ability to multitask effectively in a fast-paced kitchen environment.
Both series prioritize energy efficiency, with the 600 series particularly noted for its ability to minimize energy consumption without compromising performance. The fryers’ design incorporates energy-efficient heating elements and advanced insulation technology, ensuring quick recovery times and lower operating costs.
Furthermore, Henny Penny has incorporated user-friendly maintenance features in both series, such as easy-access panels for cleaning and routine maintenance checks. By focusing on operational ease and performance efficiency, the 500 and 600 series fryers exemplify Henny Penny’s dedication to providing commercial kitchens with the tools they need to succeed.
In summary, the Henny Penny 500 and 600 series reflect a blend of advanced technology and practical design, making them invaluable assets in any high-volume foodservice operation. With features such as high-efficiency frying, easy maintenance, and operator-centric controls, they stand as testaments to Henny Penny’s innovation in commercial cooking solutions.

