Chapter 5
3.Slide the
4.Verify that the photo paper is flat.
5.Place the photo paper in the In tray, with the side to be printed on facing down.
If you are using photo paper with a
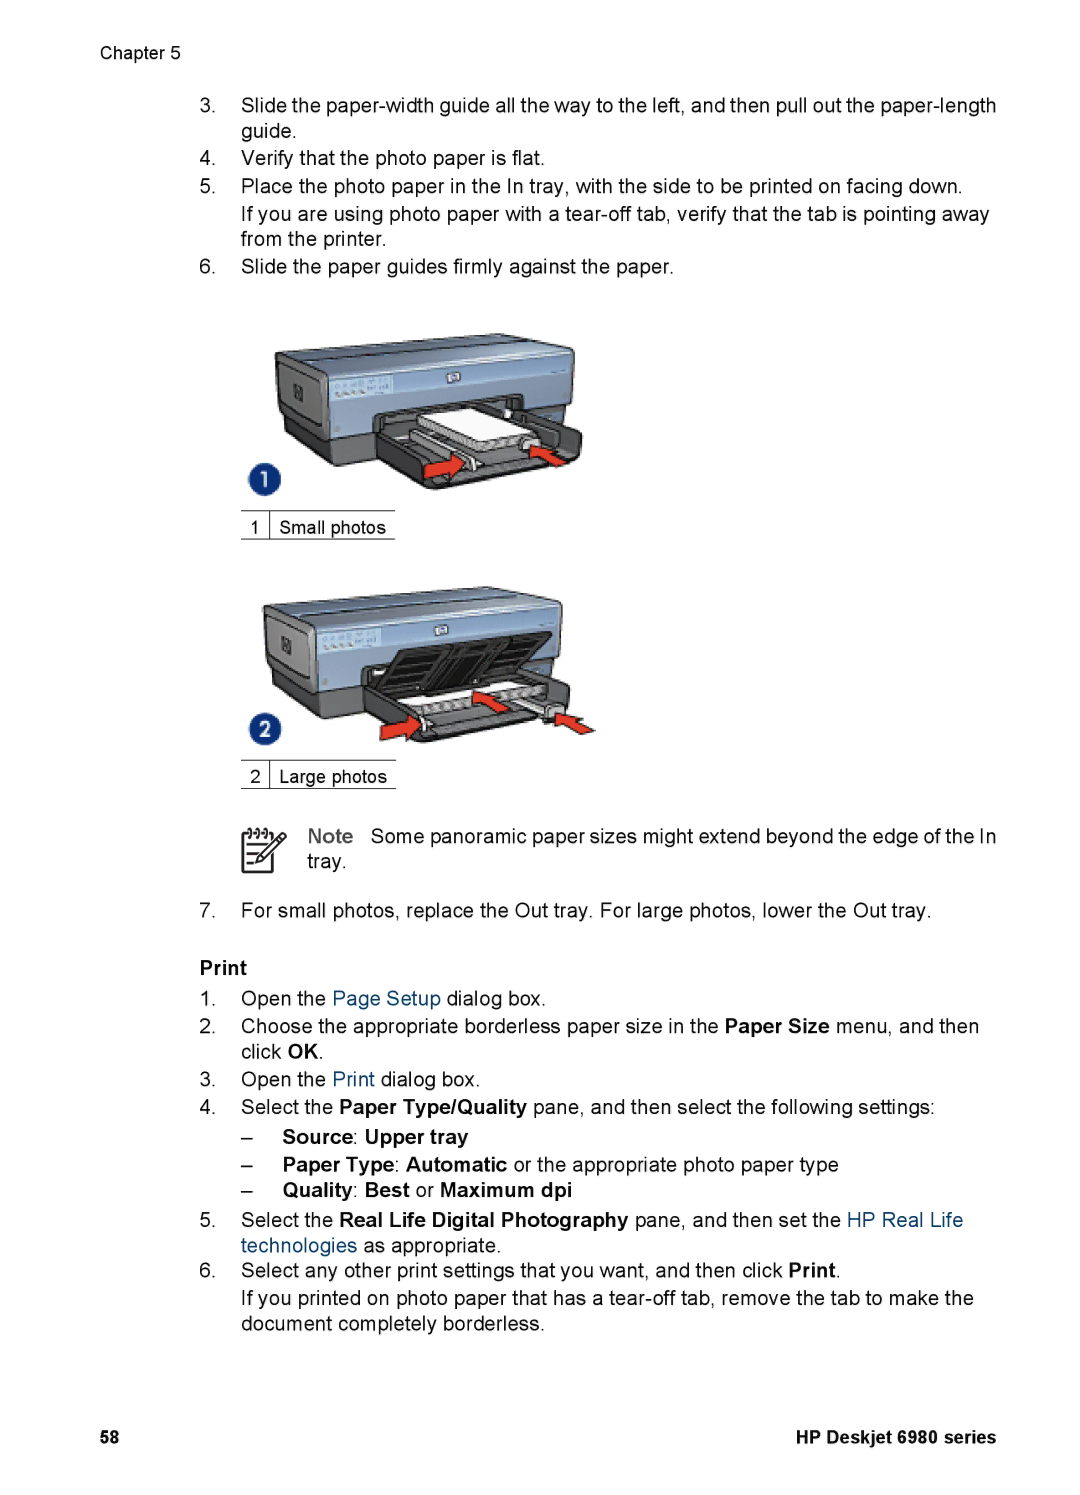
6.Slide the paper guides firmly against the paper.
1
Small photos
2
Large photos
Note Some panoramic paper sizes might extend beyond the edge of the In tray.
7.For small photos, replace the Out tray. For large photos, lower the Out tray.
1.Open the Page Setup dialog box.
2.Choose the appropriate borderless paper size in the Paper Size menu, and then click OK.
3.Open the Print dialog box.
4.Select the Paper Type/Quality pane, and then select the following settings:
–Source: Upper tray
–Paper Type: Automatic or the appropriate photo paper type
–Quality: Best or Maximum dpi
5.Select the Real Life Digital Photography pane, and then set the HP Real Life technologies as appropriate.
6.Select any other print settings that you want, and then click Print.
If you printed on photo paper that has a
58 | HP Deskjet 6980 series |