8.If the enclosure uses Virtual Connect, then unassign any VC server profiles assigned to enclosure bays occupied by existing servers and any other enclosure bays which will be occupied by the upgraded server. See the HP Virtual Connect for
9.If this system is managed using HP Systems Insight Manager (HP SIM), then it's recommended that all nodes associated with the original servers be deleted now. This would include the BLDomain node, if present. Rediscovery to incorporate the upgraded server will be executed after the upgrade has been completed.
Adding resources
1.If not already in place, put the Monarch Server into its enclosure bay location for the upgrade. The Monarch blade of this server must be in the Monarch blade position of the upgraded server.
2.Place any other existing servers and Upgrade Blades to be combined in the upgrade into enclosure bays adjacent to the Monarch Server.
IMPORTANT: Existing servers other than the Monarch Server and also any Upgrade Blades must be placed into enclosure bays with higher numbers than those occupied by the Monarch Server.
3.Transfer the Monarch Server label carrier card to the Upgrade Blade Link:
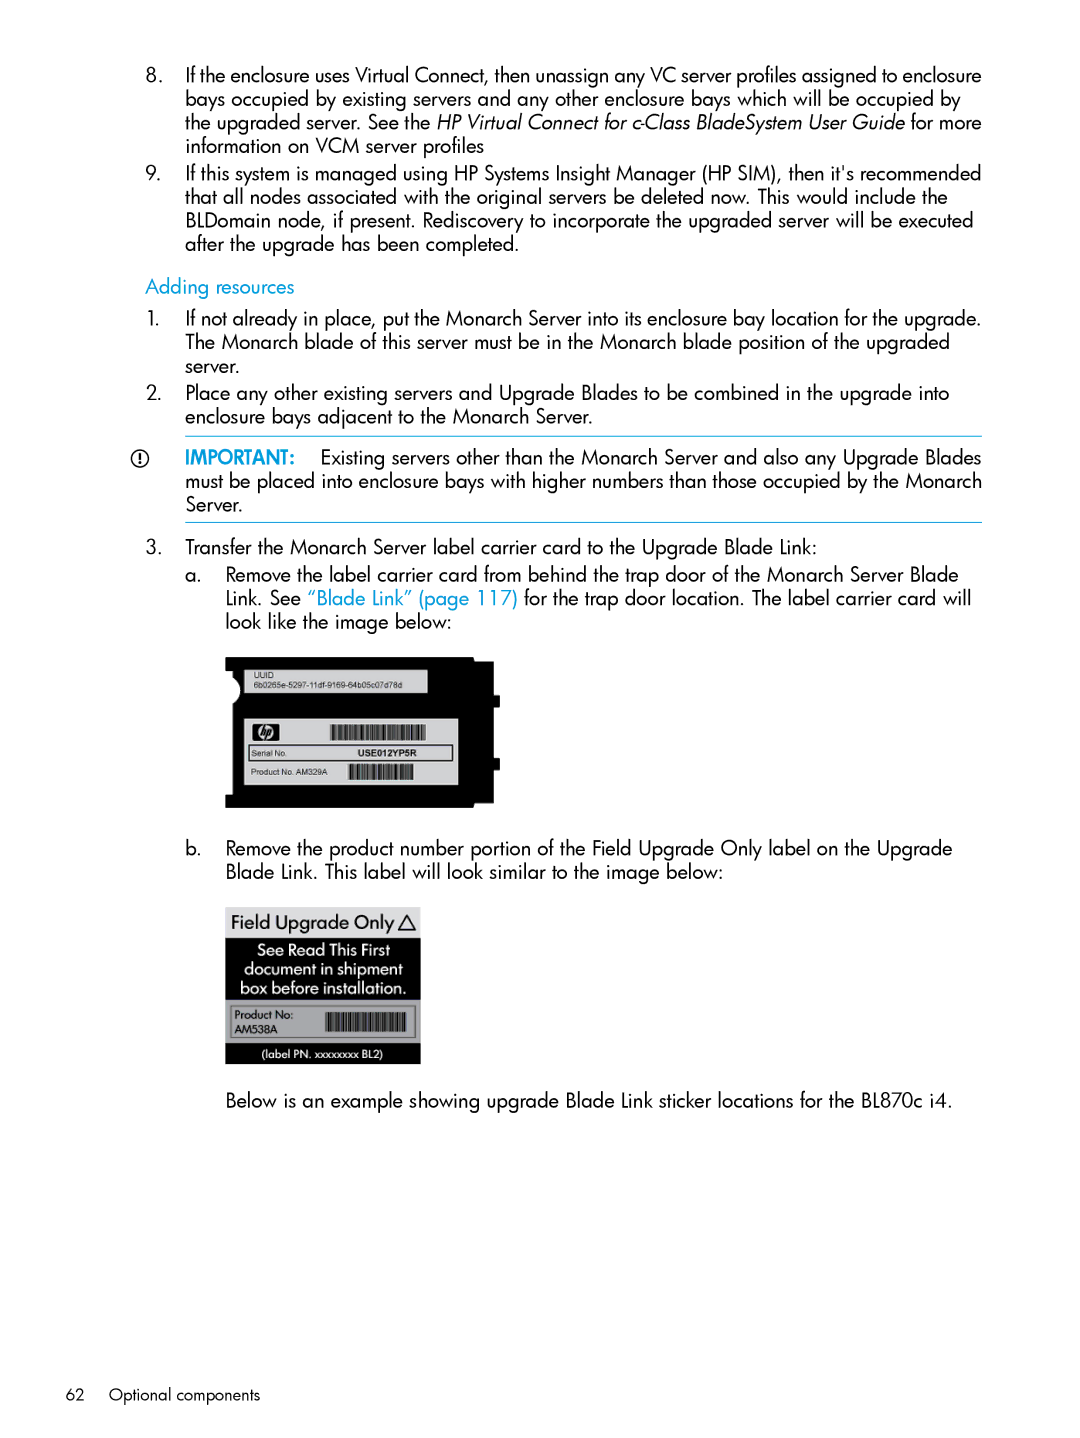
a.Remove the label carrier card from behind the trap door of the Monarch Server Blade Link. See “Blade Link” (page 117) for the trap door location. The label carrier card will look like the image below:
b.Remove the product number portion of the Field Upgrade Only label on the Upgrade Blade Link. This label will look similar to the image below:
Below is an example showing upgrade Blade Link sticker locations for the BL870c i4.