10.Click Browse.
11.Click the certificate file that you want and then click Open. The file name (including the full path) is displayed in the field next to the Browse button.
12.Click Import Server Certificate to begin the process. A progress indicator is displayed as the file is transferred to storage on the Remote Supervisor Adapter II. Continue to display this page until the transfer is completed.
Enabling SSL for the secure Web server
Note: To enable SSL, you must have a valid SSL certificate installed.
Complete the following steps to enable the secure Web server:
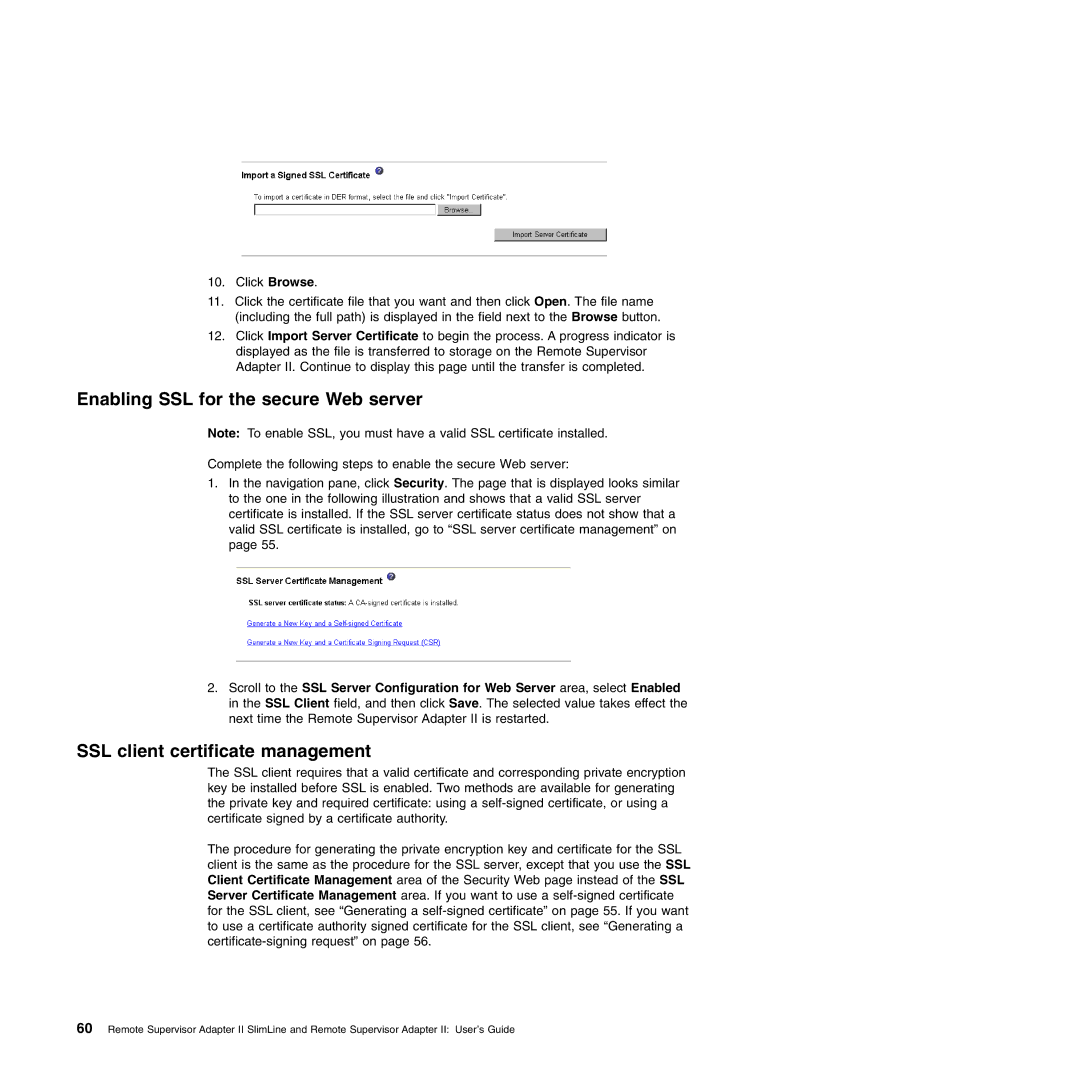
1.In the navigation pane, click Security. The page that is displayed looks similar to the one in the following illustration and shows that a valid SSL server certificate is installed. If the SSL server certificate status does not show that a valid SSL certificate is installed, go to “SSL server certificate management” on page 55.
2.Scroll to the SSL Server Configuration for Web Server area, select Enabled in the SSL Client field, and then click Save. The selected value takes effect the next time the Remote Supervisor Adapter II is restarted.
SSL client certificate management
The SSL client requires that a valid certificate and corresponding private encryption key be installed before SSL is enabled. Two methods are available for generating the private key and required certificate: using a
The procedure for generating the private encryption key and certificate for the SSL client is the same as the procedure for the SSL server, except that you use the SSL Client Certificate Management area of the Security Web page instead of the SSL Server Certificate Management area. If you want to use a
60 Remote Supervisor Adapter II SlimLine and Remote Supervisor Adapter II: User’s Guide