Recording
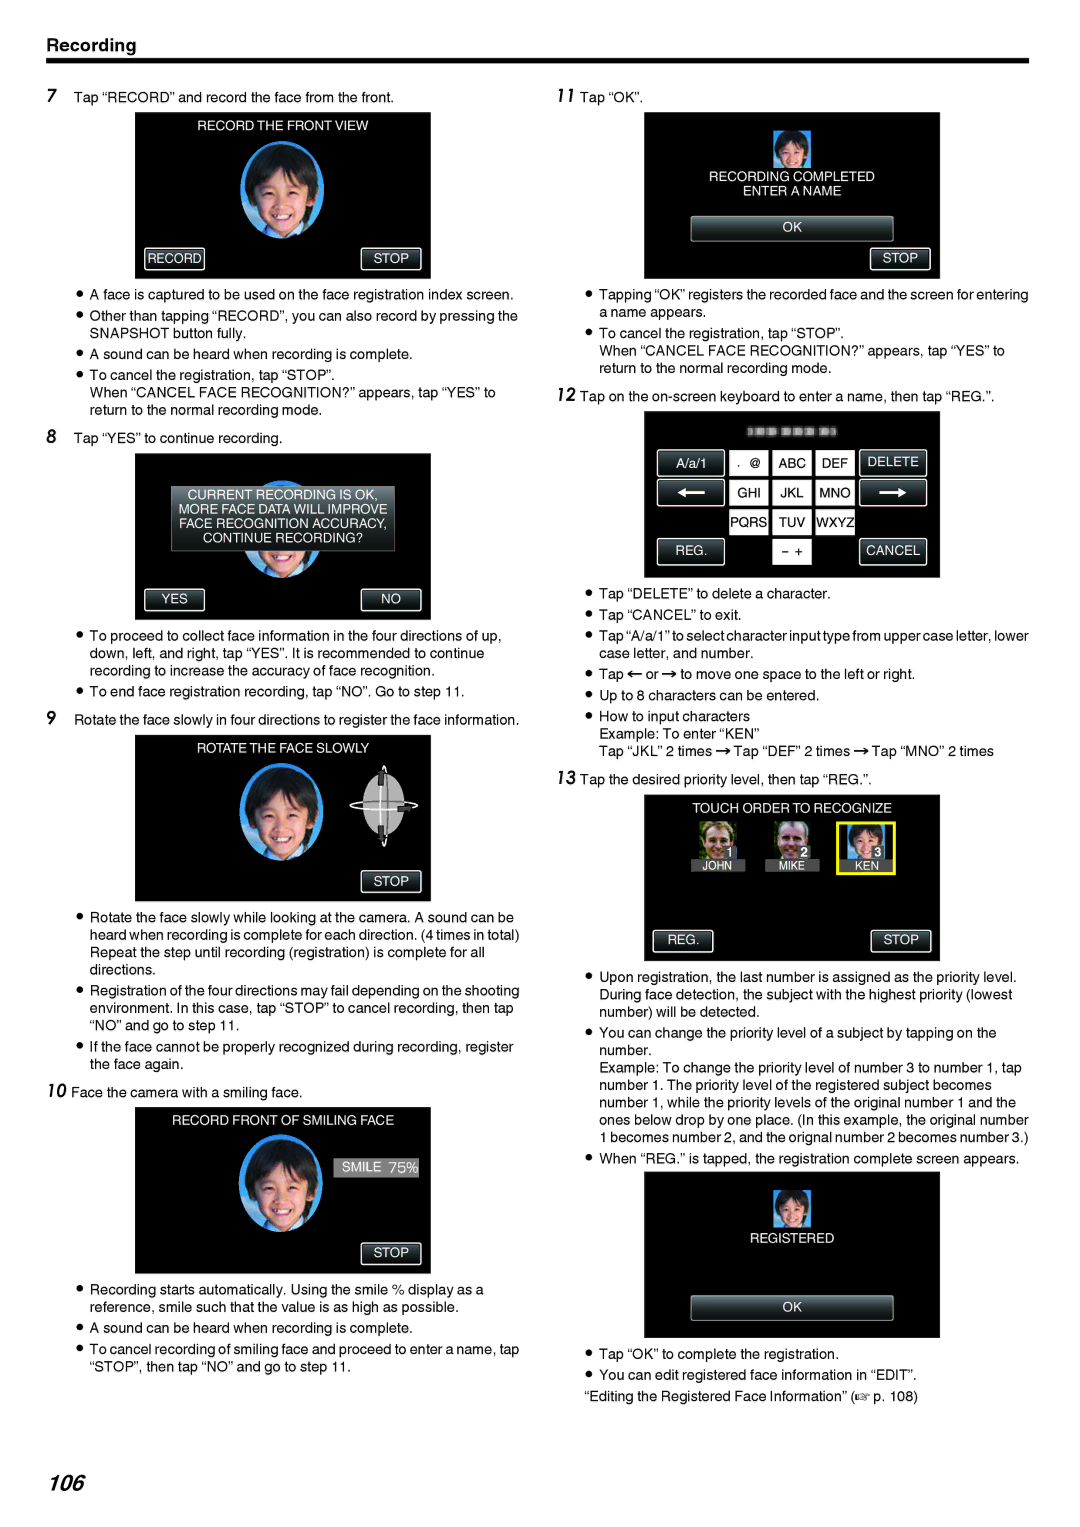
7Tap “RECORD” and record the face from the front.
RECORD THE FRONT VIEW
RECORDSTOP
.
0A face is captured to be used on the face registration index screen.
0Other than tapping “RECORD”, you can also record by pressing the SNAPSHOT button fully.
0A sound can be heard when recording is complete.
0To cancel the registration, tap “STOP”.
When “CANCEL FACE RECOGNITION?” appears, tap “YES” to return to the normal recording mode.
8Tap “YES” to continue recording.
CURRENT RECORDING IS OK,
MORE FACE DATA WILL IMPROVE
FACE RECOGNITION ACCURACY,
CONTINUE RECORDING?
YESNO
.
0To proceed to collect face information in the four directions of up, down, left, and right, tap “YES”. It is recommended to continue recording to increase the accuracy of face recognition.
0To end face registration recording, tap “NO”. Go to step 11.
9Rotate the face slowly in four directions to register the face information.
ROTATE THE FACE SLOWLY
STOP
.
0Rotate the face slowly while looking at the camera. A sound can be heard when recording is complete for each direction. (4 times in total) Repeat the step until recording (registration) is complete for all directions.
0Registration of the four directions may fail depending on the shooting environment. In this case, tap “STOP” to cancel recording, then tap “NO” and go to step 11.
0If the face cannot be properly recognized during recording, register the face again.
10 Face the camera with a smiling face.
RECORD FRONT OF SMILING FACE
SMILE 75%
STOP
.
0Recording starts automatically. Using the smile % display as a reference, smile such that the value is as high as possible.
0A sound can be heard when recording is complete.
0To cancel recording of smiling face and proceed to enter a name, tap “STOP”, then tap “NO” and go to step 11.
11 Tap “OK”.
RECORDING COMPLETED
ENTER A NAME
OK
STOP
.
0Tapping “OK” registers the recorded face and the screen for entering a name appears.
0To cancel the registration, tap “STOP”.
When “CANCEL FACE RECOGNITION?” appears, tap “YES” to return to the normal recording mode.
12 Tap on the
DELETE
REG.CANCEL
.
0Tap “DELETE” to delete a character.
0Tap “CANCEL” to exit.
0Tap “A/a/1” to select character input type from upper case letter, lower case letter, and number.
0Tap E or F to move one space to the left or right.
0Up to 8 characters can be entered.
0How to input characters Example: To enter “KEN”
Tap “JKL” 2 times F Tap “DEF” 2 times F Tap “MNO” 2 times
13 Tap the desired priority level, then tap “REG.”.
TOUCH ORDER TO RECOGNIZE
KEN
REG.STOP
.
0Upon registration, the last number is assigned as the priority level. During face detection, the subject with the highest priority (lowest number) will be detected.
0You can change the priority level of a subject by tapping on the number.
Example: To change the priority level of number 3 to number 1, tap number 1. The priority level of the registered subject becomes number 1, while the priority levels of the original number 1 and the ones below drop by one place. (In this example, the original number 1 becomes number 2, and the orignal number 2 becomes number 3.)
0When “REG.” is tapped, the registration complete screen appears.
REGISTERED
OK
.
0Tap “OK” to complete the registration.
0You can edit registered face information in “EDIT”. “Editing the Registered Face Information” (A p. 108)