Using
6Tap “WPS PIN”. (Operation on this camera)
ADD
WPS PIN
.
0The PIN code appears.
7Enter the PIN code displayed on the camera to the access point (wireless LAN router).
0 For details on how to enter the PIN code, refer to the instruction manual of the device in use.
8Tap “START”.
(Operation on this camera)
WPS PIN
PIN:********
ENTER THIS NUMBER
TO ACCESS POINT
THEN TOUCH "START"
STARTQUIT
.
0Tap “START” after entering PIN code to the wireless LAN router. (Connection cannot be established if “START” is tapped before entering the code.)
9After registration is complete, tap “OK” on the camera’s screen. (Operation on this camera)
WPS
REGISTERED
SSID:********************************
ENCRYPTION METHOD
WPA2
OK
.
Editing LAN Settings of Access Points (Wireless LAN Router)
Change accordingly such as when you want to fix the IP address for the camera.
1Tap “MENU”.
(Operation on this camera)
≪PLAYREC MENU
.
0The shortcut menu appears.
2Tap
MENU
.
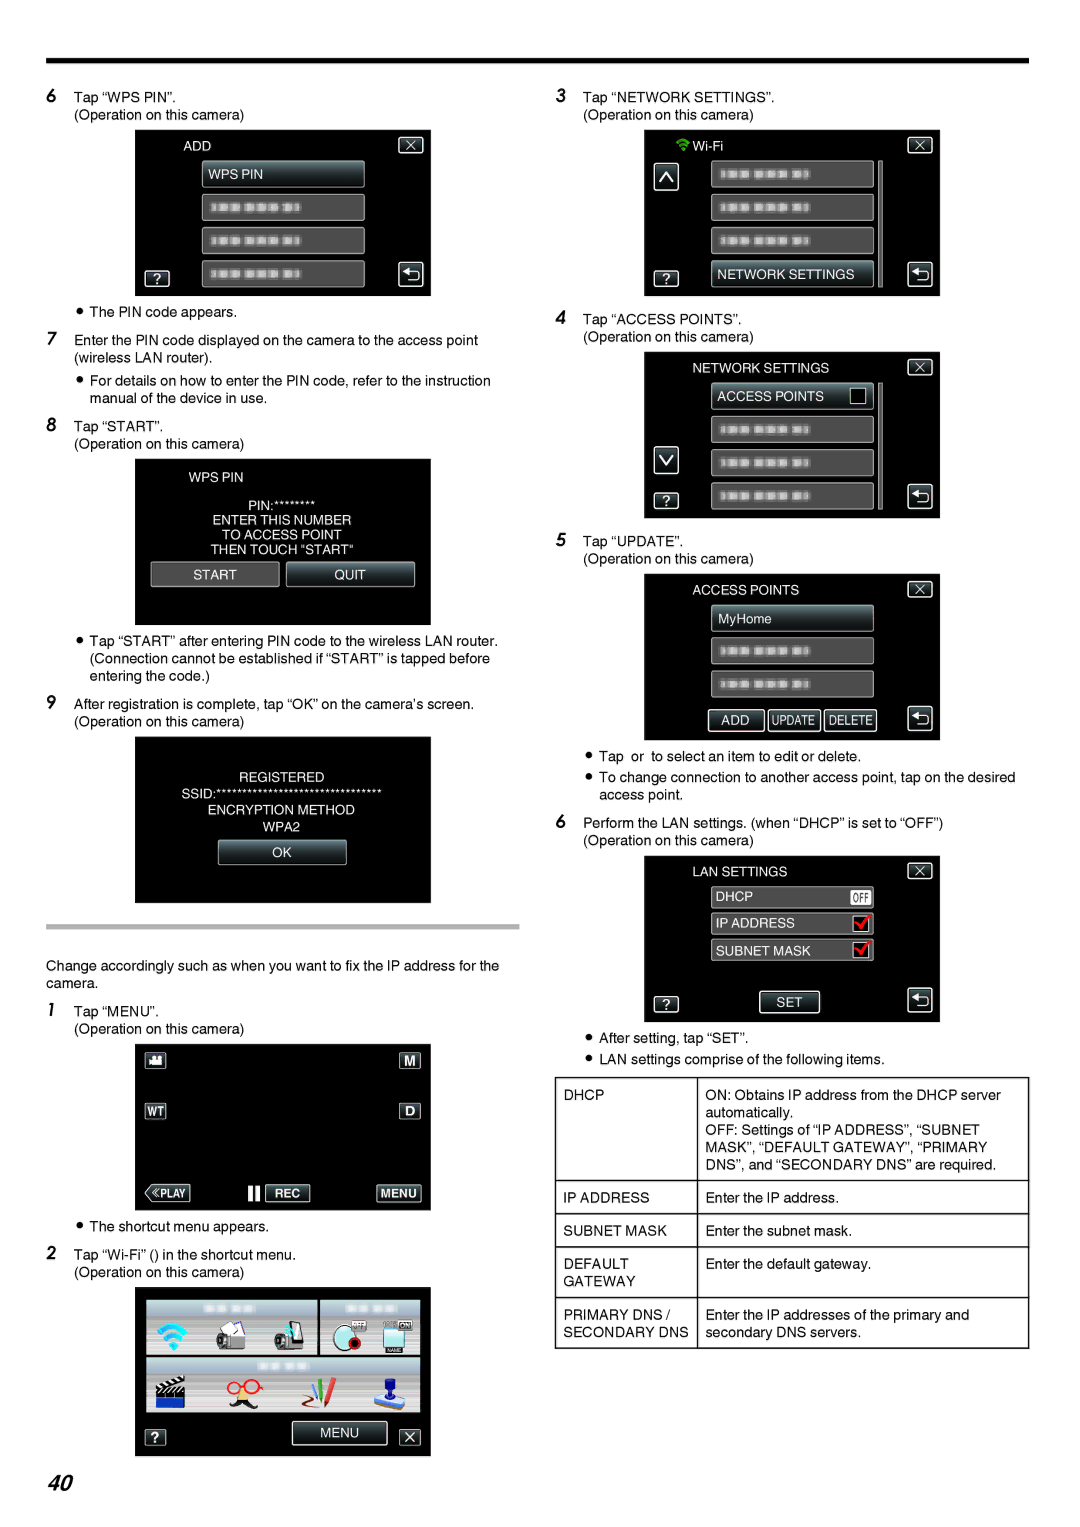
3Tap “NETWORK SETTINGS”. (Operation on this camera)
![]()
![]()
![]()
NETWORK SETTINGS
.
4Tap “ACCESS POINTS”. (Operation on this camera)
NETWORK SETTINGS
ACCESS POINTS
.
5Tap “UPDATE”. (Operation on this camera)
ACCESS POINTS
MyHome
ADD UPDATE DELETE
.
0Tap 3or 2to select an item to edit or delete.
0To change connection to another access point, tap on the desired access point.
6Perform the LAN settings. (when “DHCP” is set to “OFF”) (Operation on this camera)
LAN SETTINGS |
|
DHCP | OFF |
IP ADDRESS |
|
SUBNET MASK |
|
SET
.
0After setting, tap “SET”.
0LAN settings comprise of the following items.
DHCP | ON: Obtains IP address from the DHCP server |
| automatically. |
| OFF: Settings of “IP ADDRESS”, “SUBNET |
| MASK”, “DEFAULT GATEWAY”, “PRIMARY |
| DNS”, and “SECONDARY DNS” are required. |
IP ADDRESS | Enter the IP address. |
SUBNET MASK | Enter the subnet mask. |
|
|
DEFAULT | Enter the default gateway. |
GATEWAY |
|
PRIMARY DNS / | Enter the IP addresses of the primary and |
SECONDARY DNS | secondary DNS servers. |
40