Using
7Enter the name (SSID) of the access point (wireless LAN router) and tap “SET”.
(Operation on this camera)
SSID
DELETE
oWPS PIN Registration
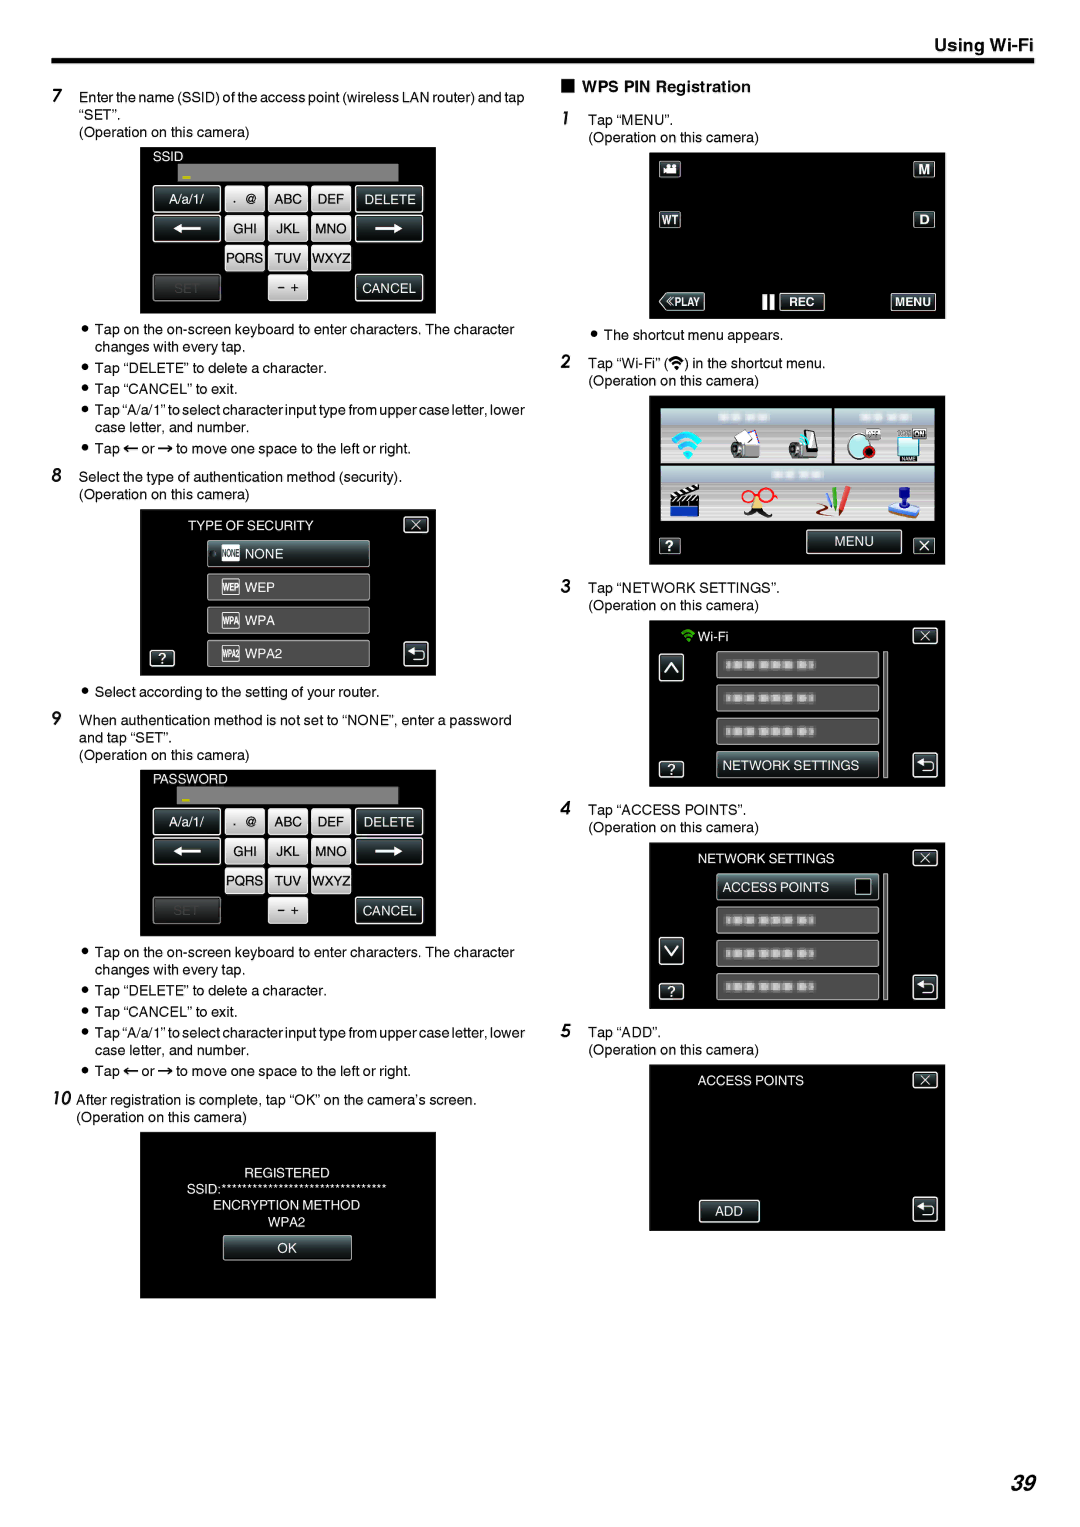
1 Tap “MENU”.
(Operation on this camera)
SET |
| CANCEL |
|
.
0Tap on the
0Tap “DELETE” to delete a character.
0Tap “CANCEL” to exit.
0Tap “A/a/1” to select character input type from upper case letter, lower case letter, and number.
0Tap E or F to move one space to the left or right.
8Select the type of authentication method (security). (Operation on this camera)
TYPE OF SECURITY
![]()
![]() NONE
NONE
![]() WEP
WEP
![]() WPA
WPA
![]() WPA2
WPA2
.
0Select according to the setting of your router.
9When authentication method is not set to “NONE”, enter a password and tap “SET”.
(Operation on this camera)
PASSWORD
DELETE
SET ![]() CANCEL
CANCEL
.
0Tap on the
0Tap “DELETE” to delete a character.
0Tap “CANCEL” to exit.
0Tap “A/a/1” to select character input type from upper case letter, lower case letter, and number.
0Tap E or F to move one space to the left or right.
10 After registration is complete, tap “OK” on the camera’s screen. (Operation on this camera)
WPS
REGISTERED
SSID:********************************
ENCRYPTION METHOD
WPA2
OK
.
≪PLAYREC MENU
.
0The shortcut menu appears.
2Tap
MENU
.
3Tap “NETWORK SETTINGS”. (Operation on this camera)
![]()
![]()
NETWORK SETTINGS
.
4Tap “ACCESS POINTS”. (Operation on this camera)
NETWORK SETTINGS
ACCESS POINTS
.
5Tap “ADD”.
(Operation on this camera)
ACCESS POINTS
ADD
.
39