Assembling a booklet
1Flip the printed stack of papers over in the paper exit tray.
2Take the first bundle from the stack, fold it in half, and then set it aside with the front page down.
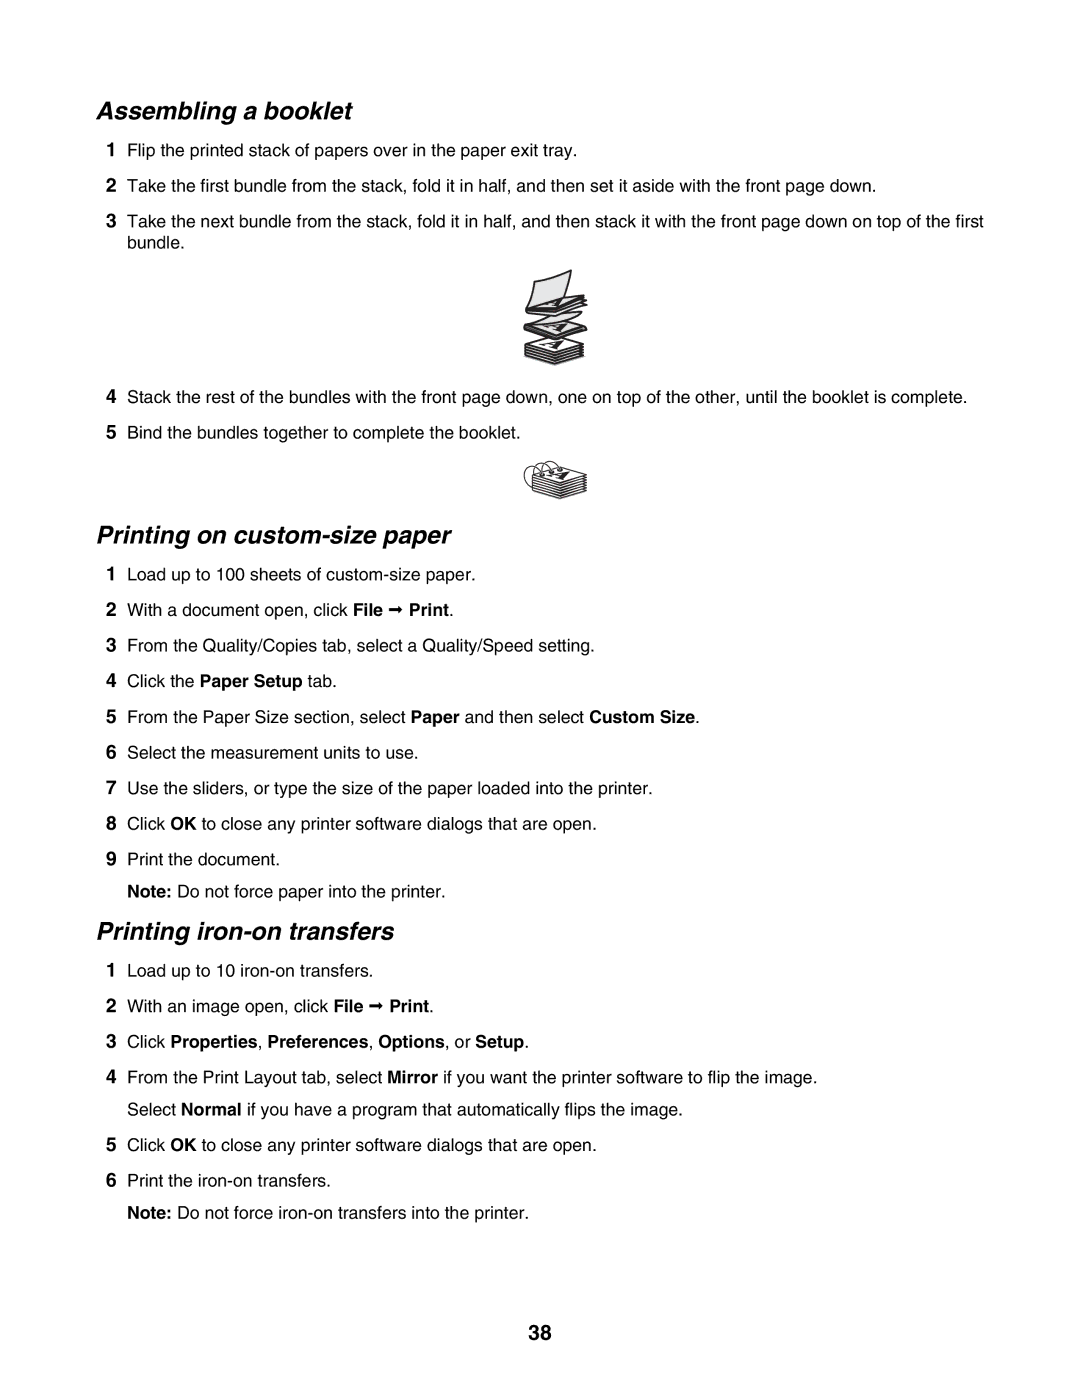
3Take the next bundle from the stack, fold it in half, and then stack it with the front page down on top of the first bundle.
4Stack the rest of the bundles with the front page down, one on top of the other, until the booklet is complete.
5Bind the bundles together to complete the booklet.
Printing on custom-size paper
1Load up to 100 sheets of
2With a document open, click File Print.
3From the Quality/Copies tab, select a Quality/Speed setting.
4Click the Paper Setup tab.
5From the Paper Size section, select Paper and then select Custom Size.
6Select the measurement units to use.
7Use the sliders, or type the size of the paper loaded into the printer.
8Click OK to close any printer software dialogs that are open.
9Print the document.
Note: Do not force paper into the printer.
Printing iron-on transfers
1Load up to 10
2With an image open, click File Print.
3Click Properties, Preferences, Options, or Setup.
4From the Print Layout tab, select Mirror if you want the printer software to flip the image. Select Normal if you have a program that automatically flips the image.
5Click OK to close any printer software dialogs that are open.
6Print the
Note: Do not force
38