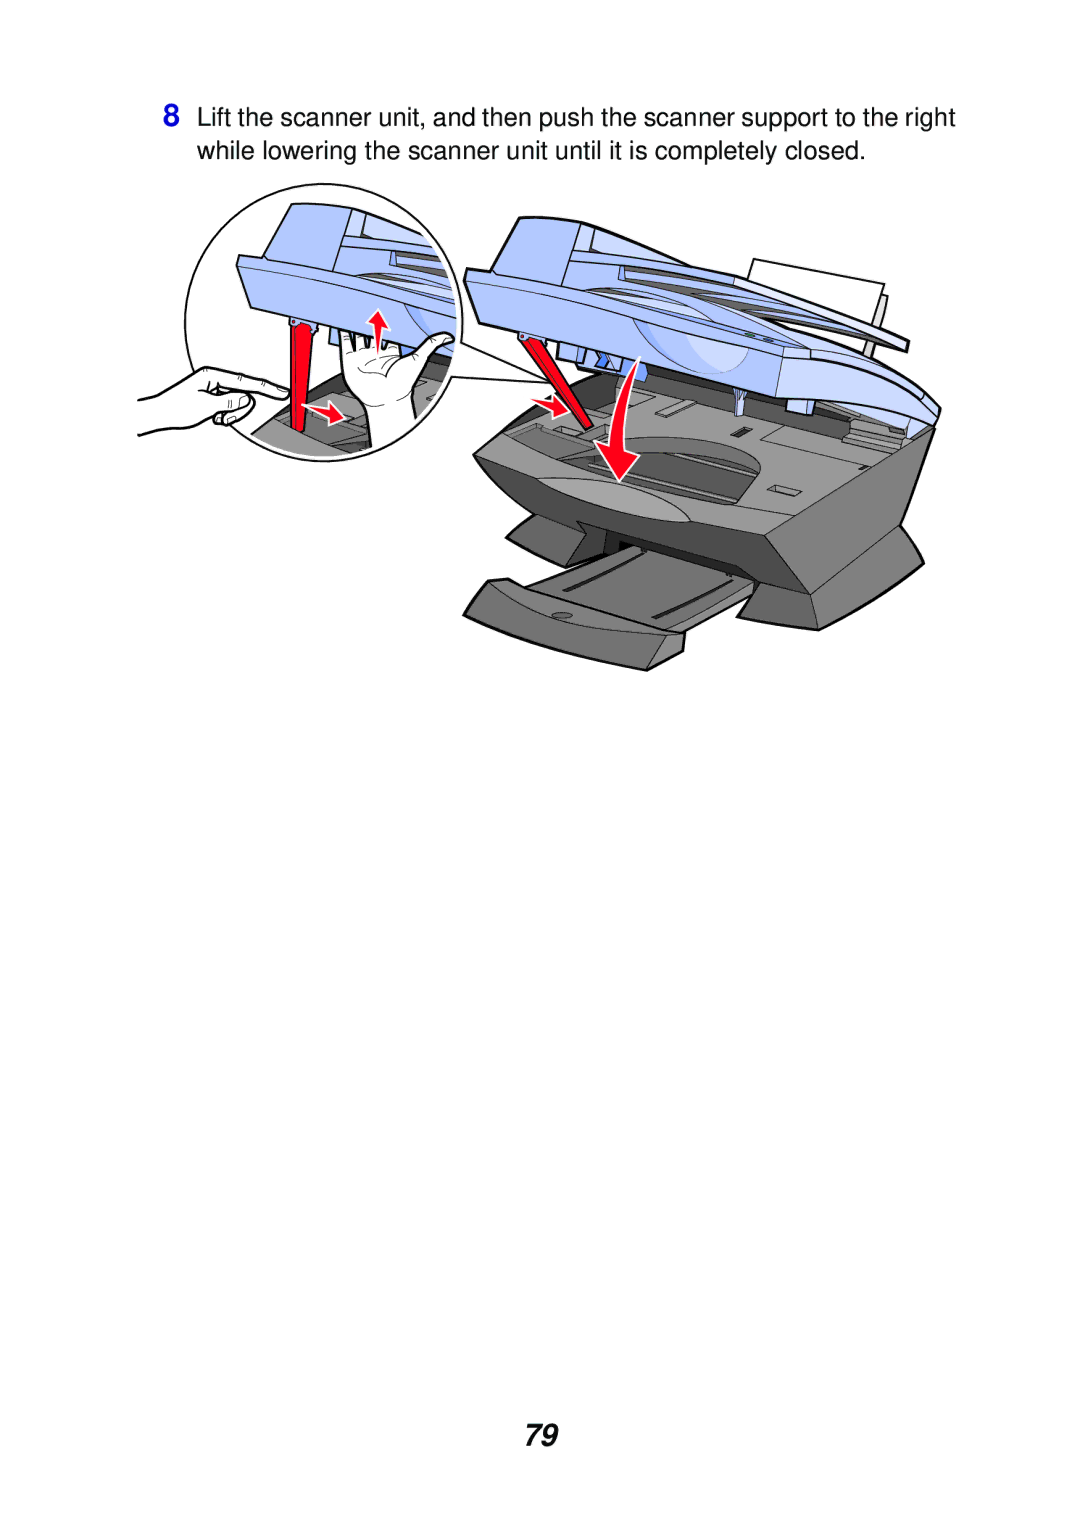
8Lift the scanner unit, and then push the scanner support to the right
while lowering the scanner unit until it is completely closed.
79
8Lift the scanner unit, and then push the scanner support to the right
while lowering the scanner unit until it is completely closed.
79