6.Detach the connector on the circuit board. Do not detach any other connectors.
7.Lift the battery assembly out of the cooling unit.
8.Place a new battery assembly into the cooling unit.
9.Attach the connector on the circuit board.
10.Install the two screws holding the battery assembly in place to the cooling unit.
11.Place the top section of the cooling unit onto the bottom section and tighten the thumbscrews.
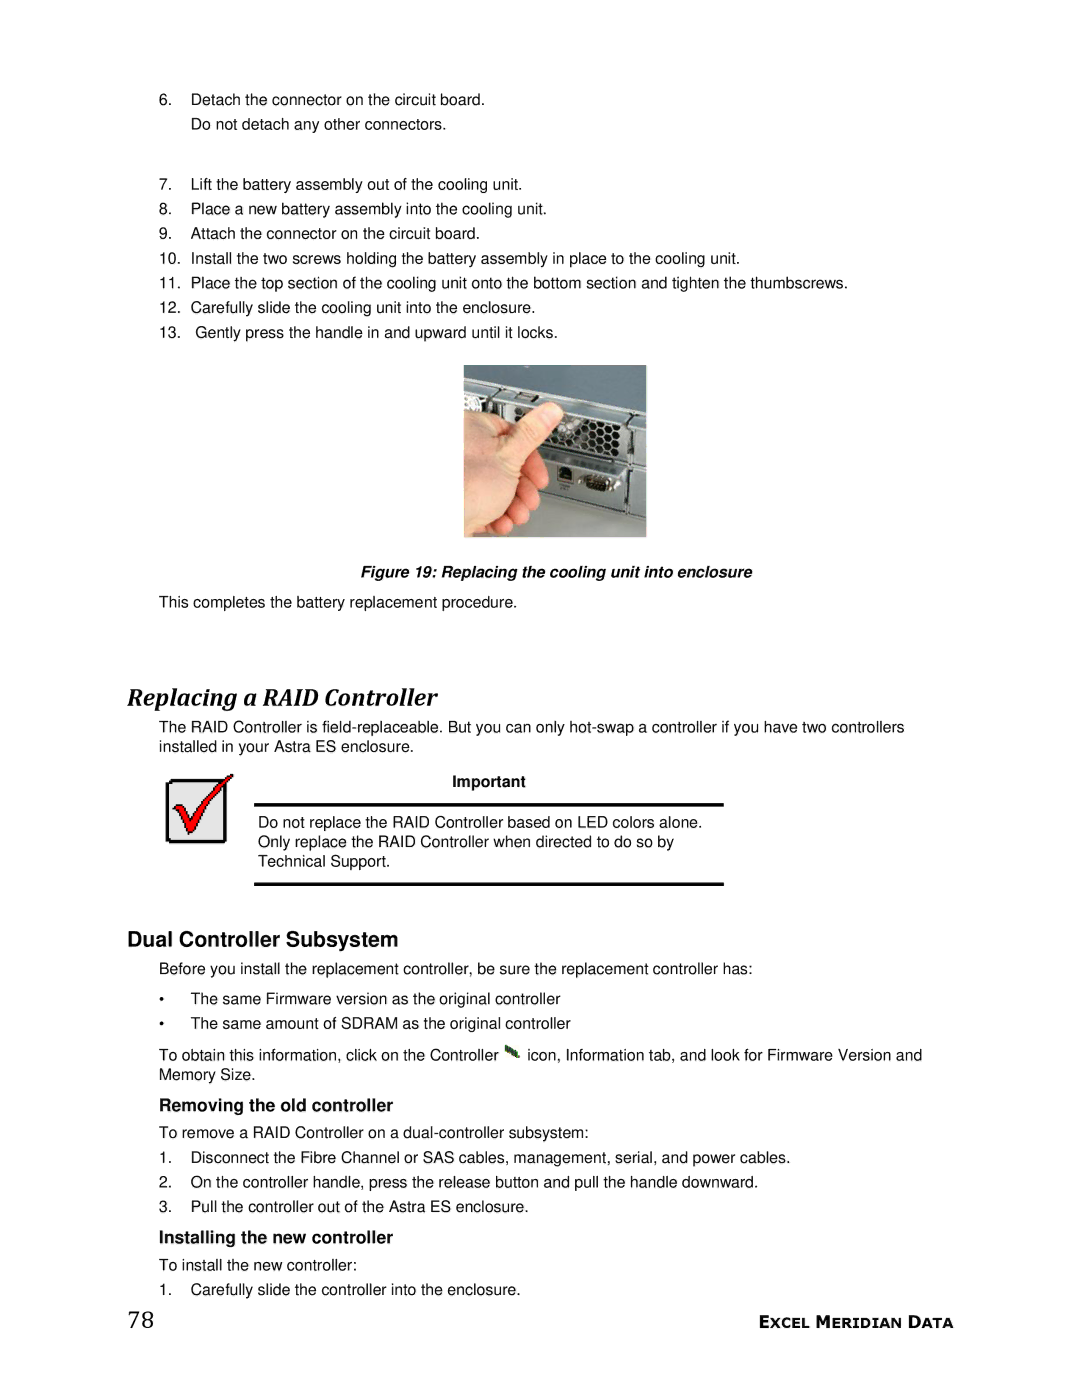
12.Carefully slide the cooling unit into the enclosure.
13.Gently press the handle in and upward until it locks.
Figure 19: Replacing the cooling unit into enclosure
This completes the battery replacement procedure.
Replacing a RAID Controller
The RAID Controller is
Important
Do not replace the RAID Controller based on LED colors alone.
Only replace the RAID Controller when directed to do so by
Technical Support.
Dual Controller Subsystem
Before you install the replacement controller, be sure the replacement controller has:
•The same Firmware version as the original controller
•The same amount of SDRAM as the original controller
To obtain this information, click on the Controller ![]() icon, Information tab, and look for Firmware Version and Memory Size.
icon, Information tab, and look for Firmware Version and Memory Size.
Removing the old controller
To remove a RAID Controller on a
1.Disconnect the Fibre Channel or SAS cables, management, serial, and power cables.
2.On the controller handle, press the release button and pull the handle downward.
3.Pull the controller out of the Astra ES enclosure.
Installing the new controller
To install the new controller:
1.Carefully slide the controller into the enclosure.
78 | EXCEL MERIDIAN DATA |