Chapter 2 - Hardware Installation
Mounting the MGC+50 on a Rack
The MGC+50 can be mounted in a 19” rack using two mounting plates (Kit 2012A). The side plates are usually mounted when shipped, but if not, follow the directions below to install the mounted plates on the MGC+50 and then mount the MGC+50 on the 19” rack.
To install and mount the MGC+50:
1.Make sure that the MGC+50 power is turned OFF and it is disconnected from the AC power.
2.Remove the five nylon plug hole covers from the MGC+50 protective side covers (using a slotted screwdriver).
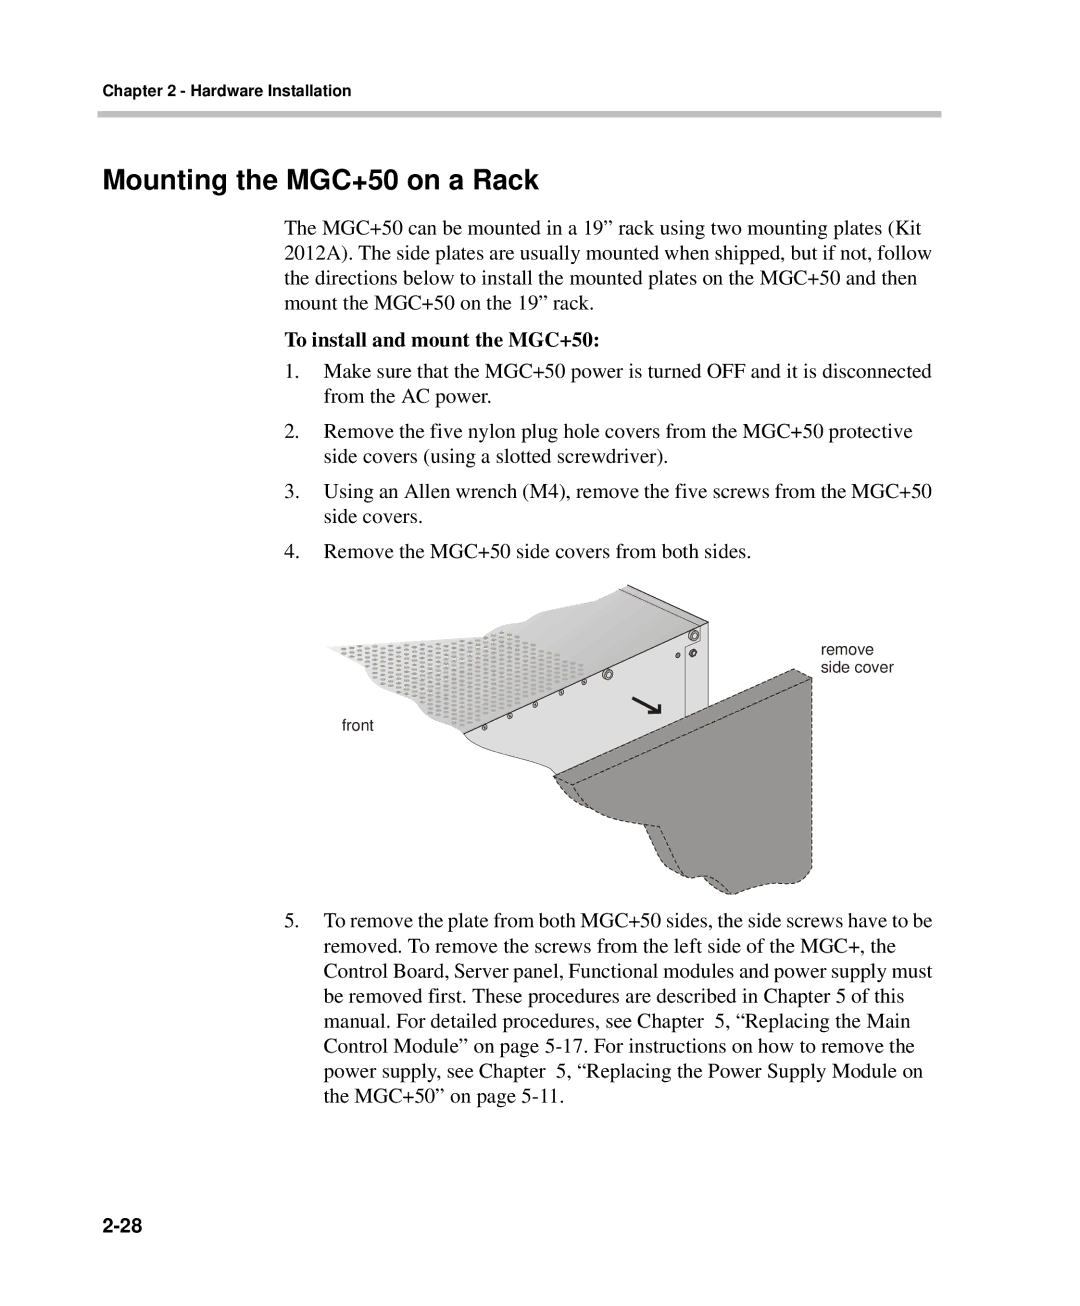
3.Using an Allen wrench (M4), remove the five screws from the MGC+50 side covers.
4.Remove the MGC+50 side covers from both sides.
remove side cover
front
5.To remove the plate from both MGC+50 sides, the side screws have to be removed. To remove the screws from the left side of the MGC+, the Control Board, Server panel, Functional modules and power supply must be removed first. These procedures are described in Chapter 5 of this manual. For detailed procedures, see Chapter 5, “Replacing the Main Control Module” on page